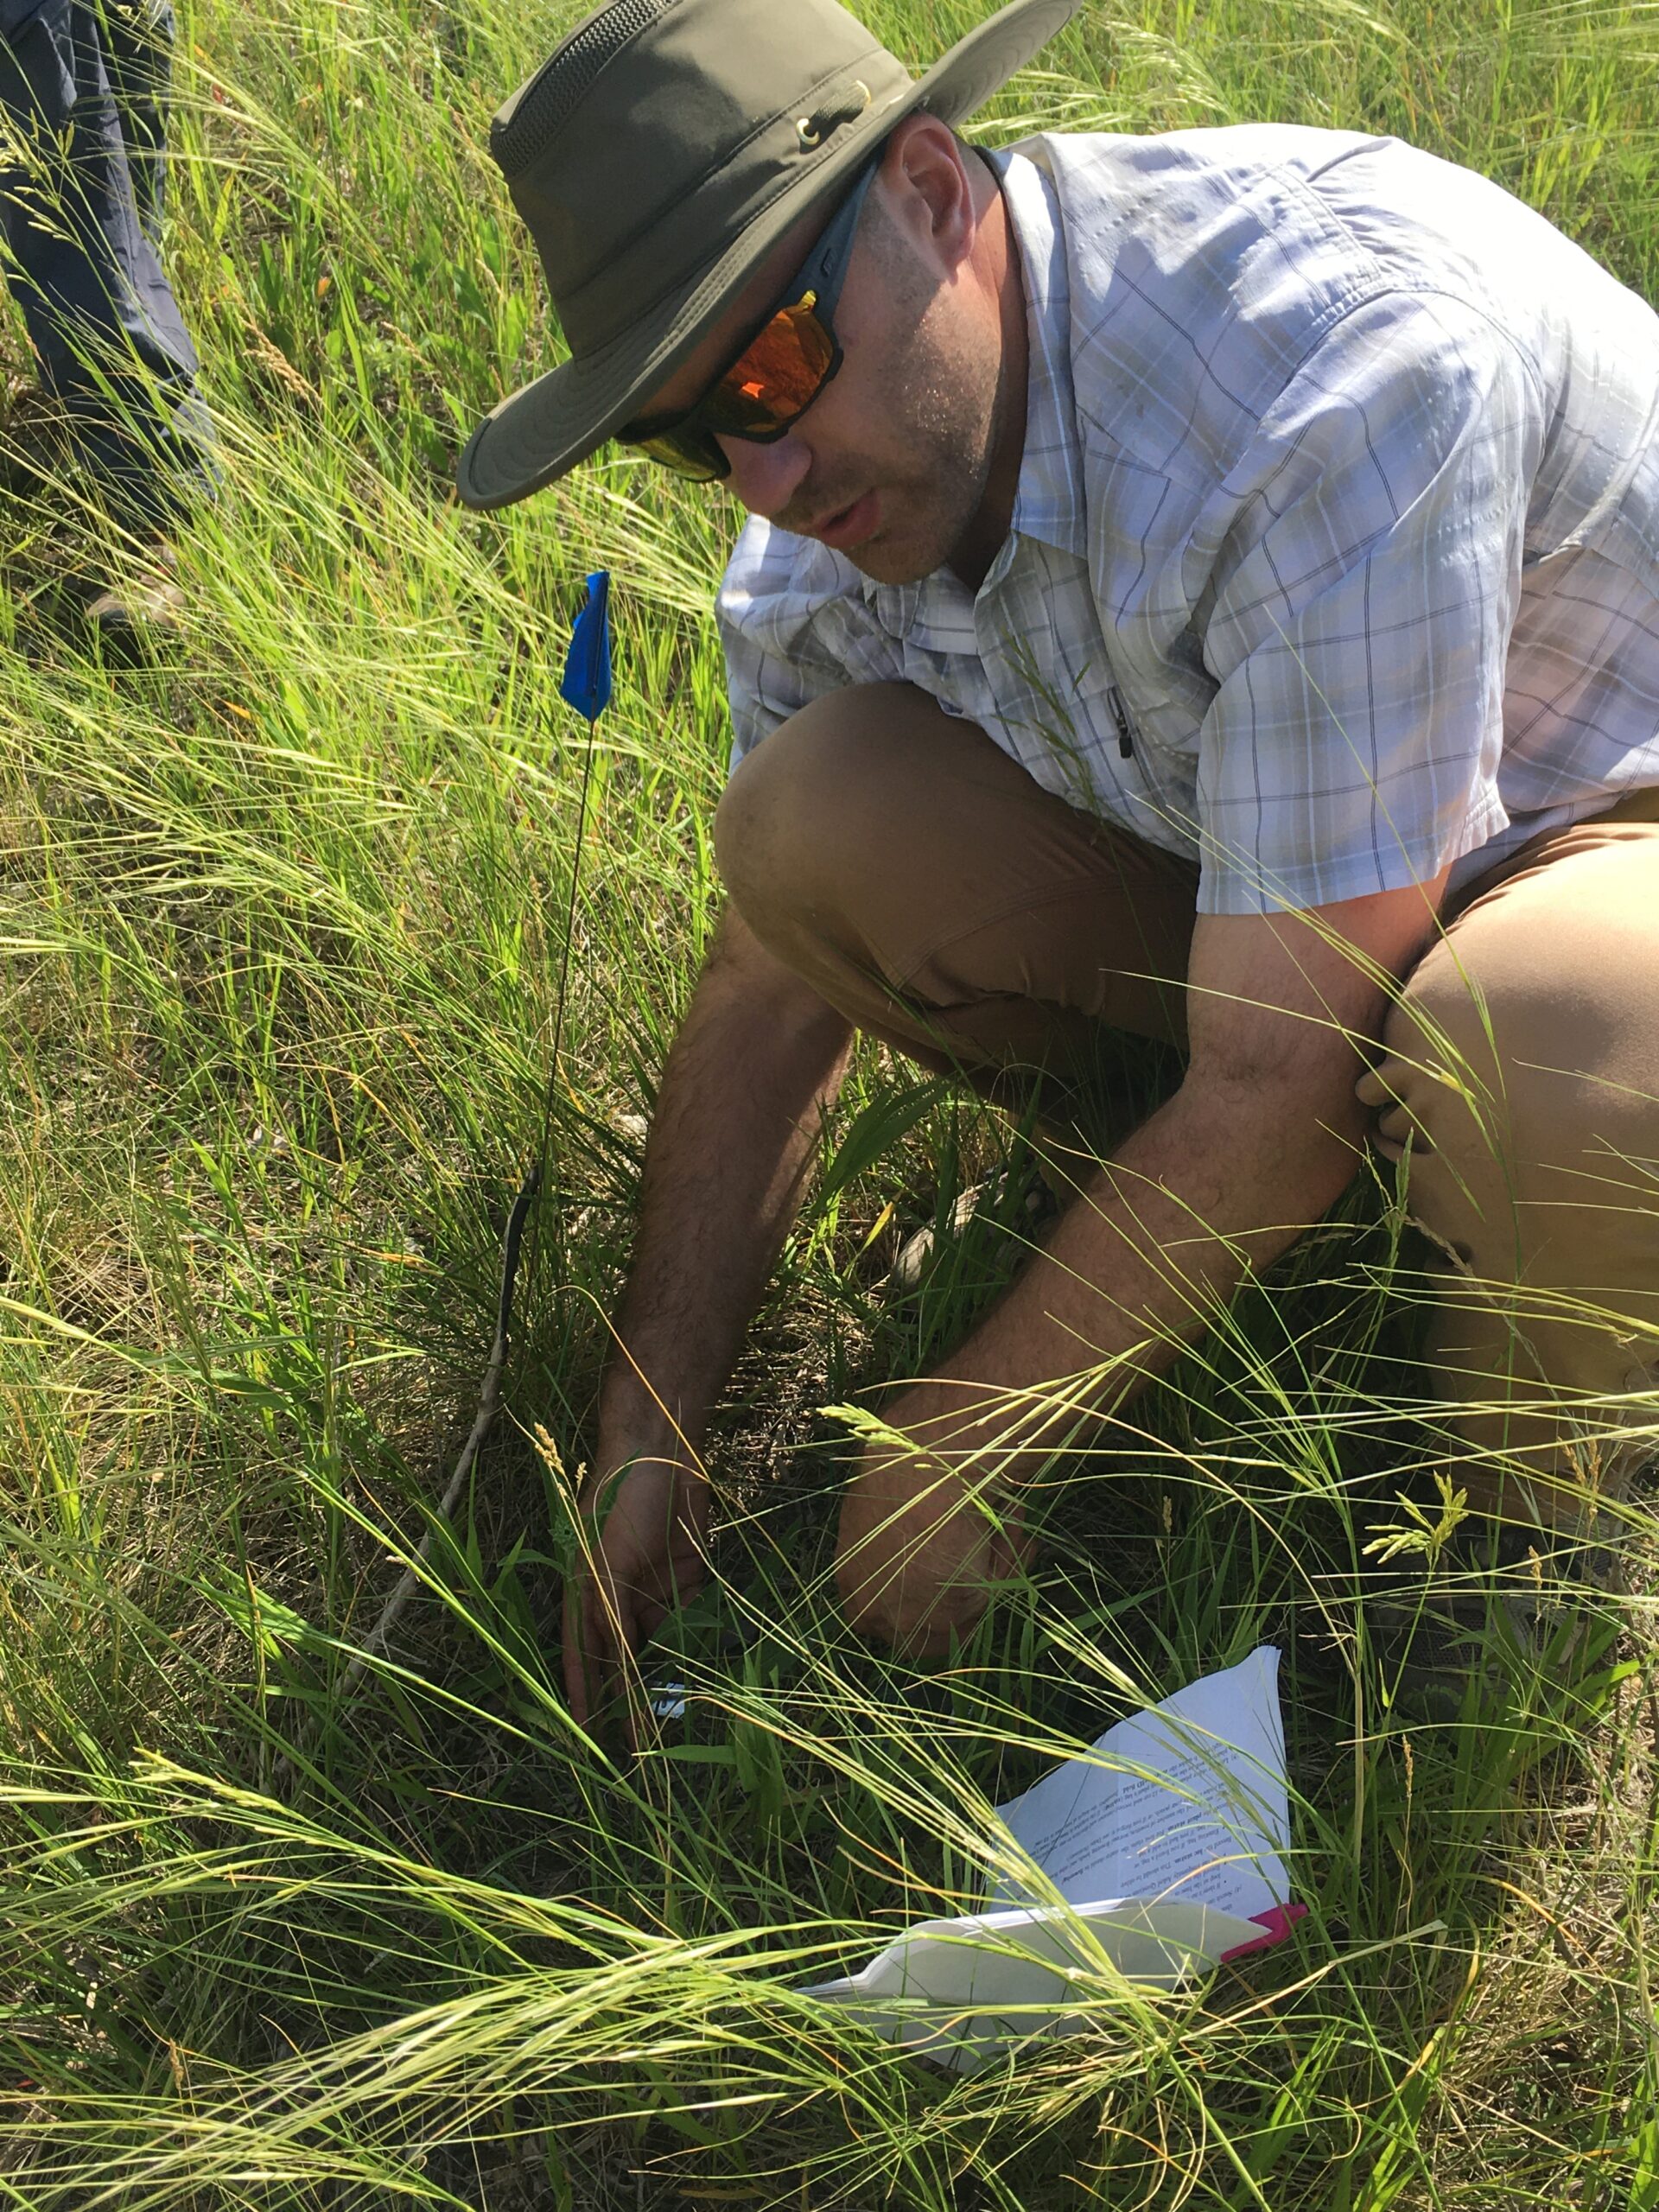
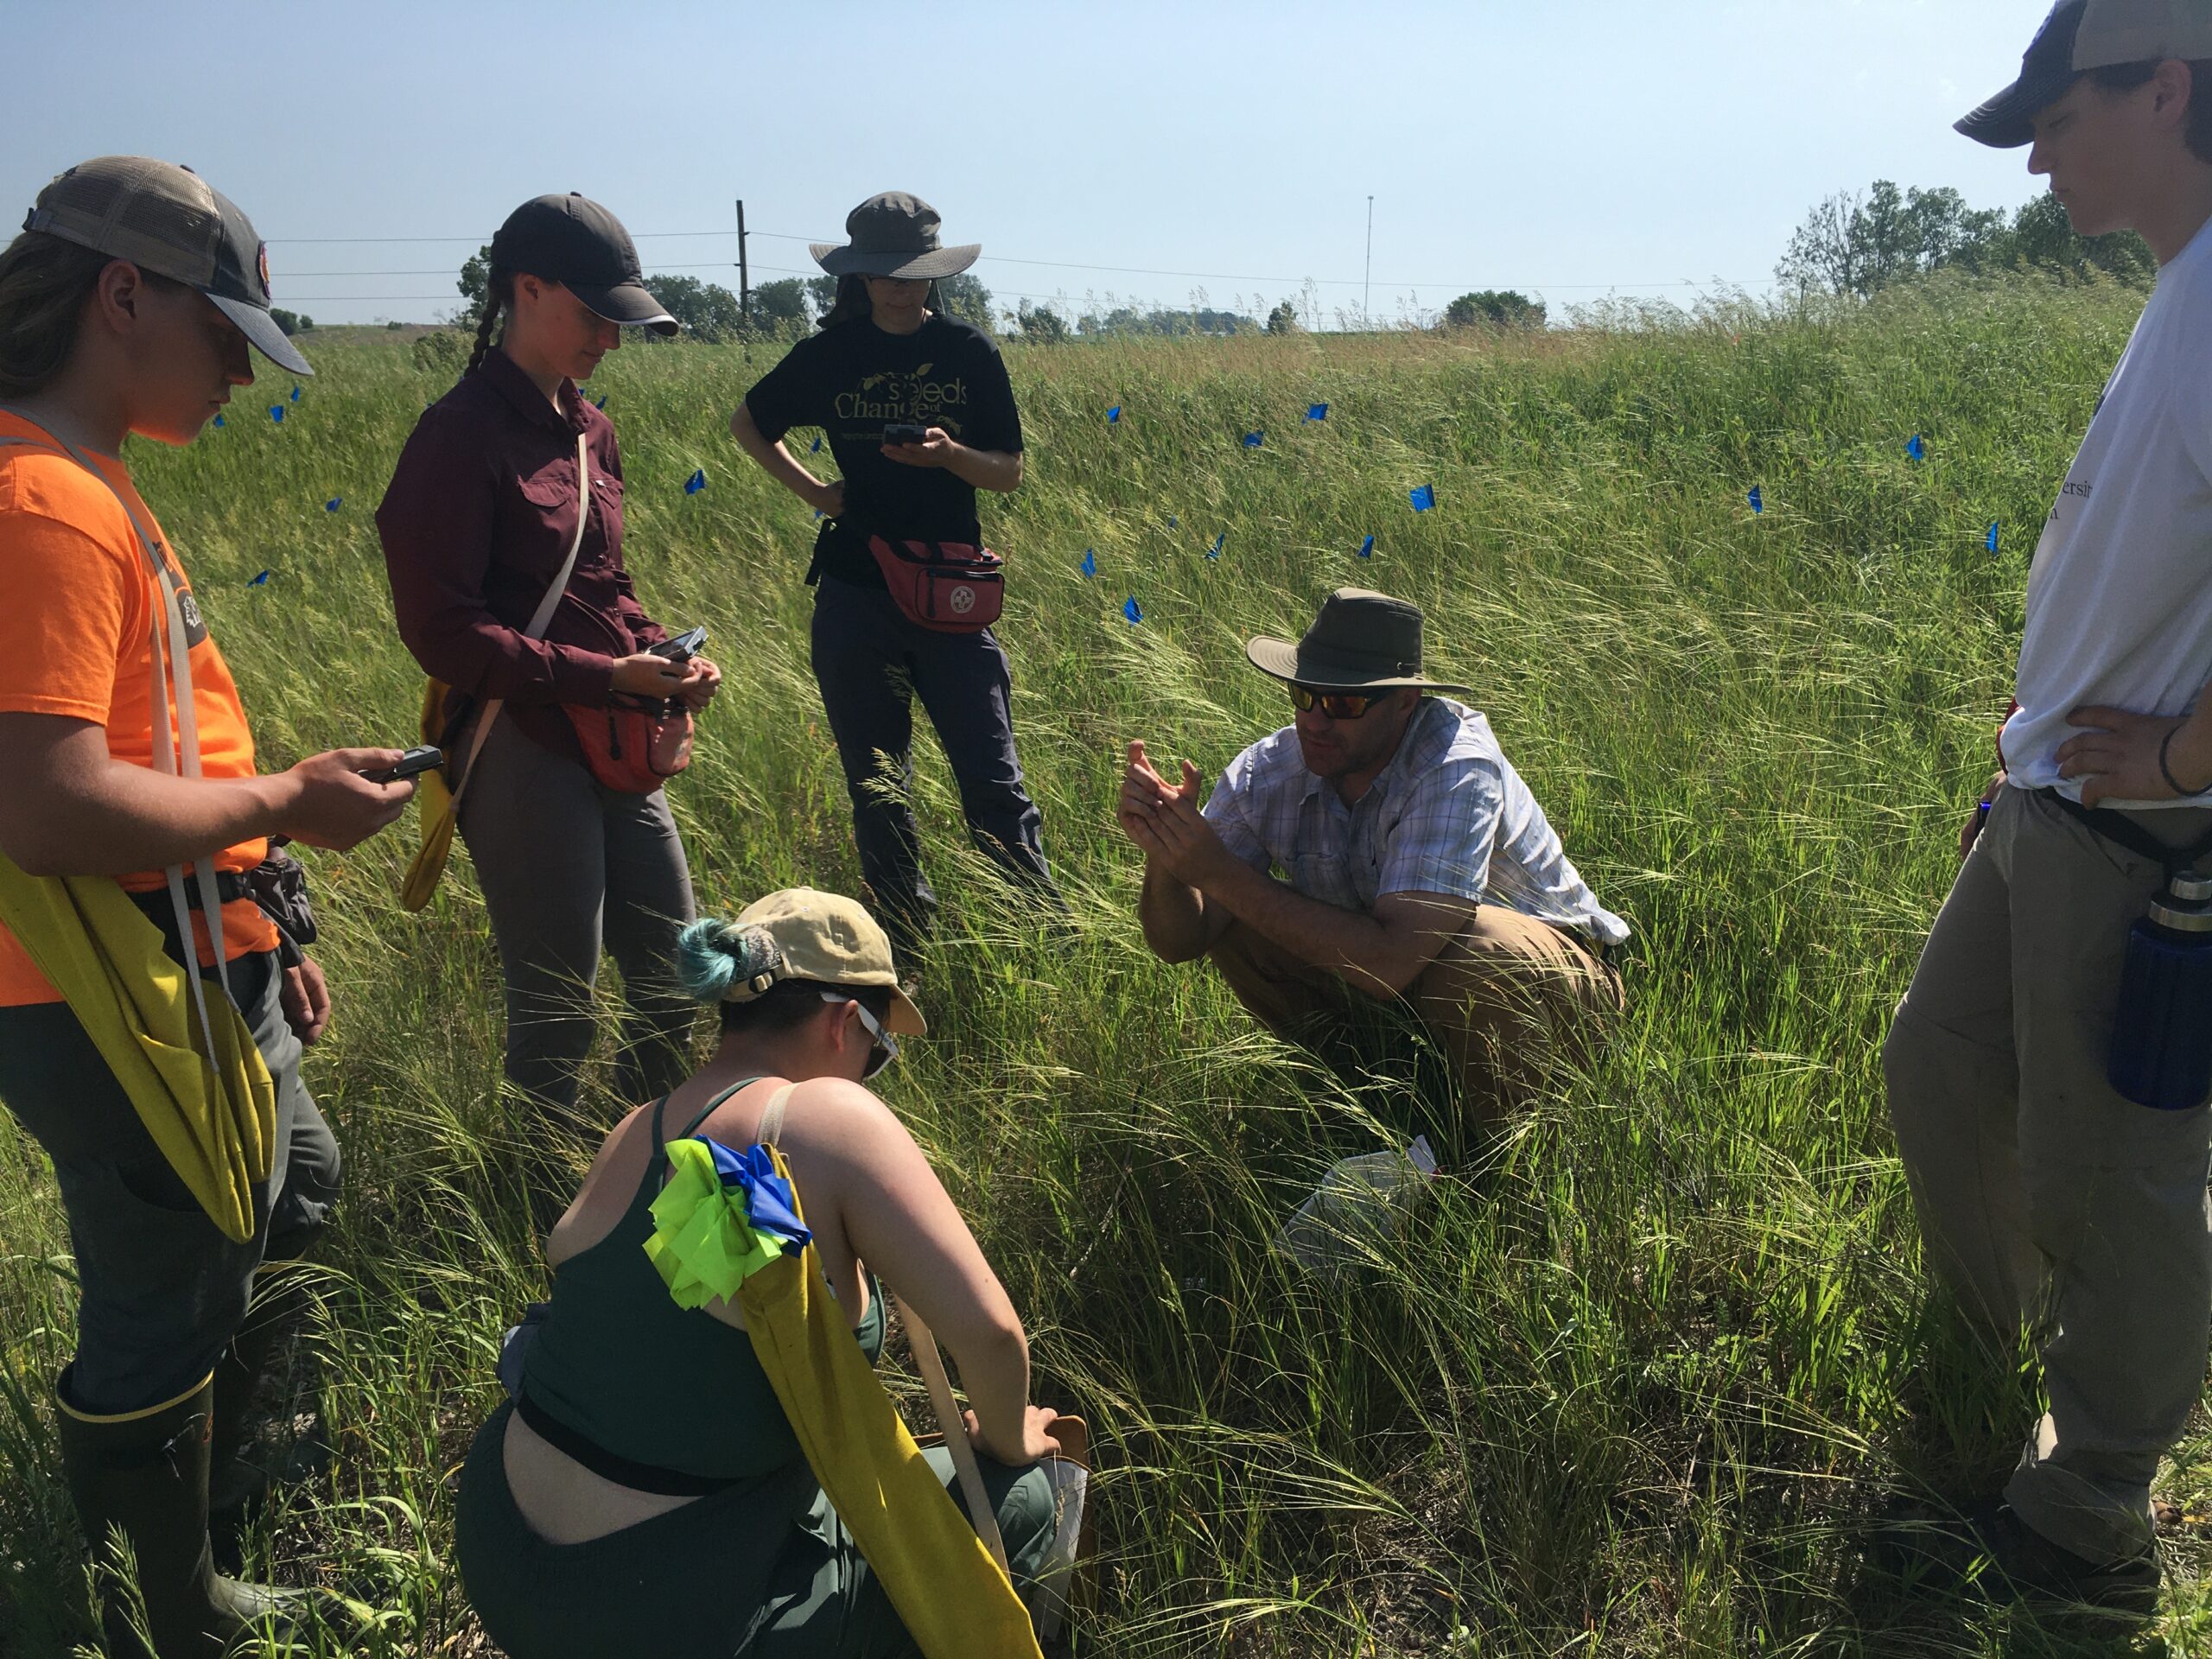
The goal of this research is to figure out a method and protocol to collect nectar from prairie plants. Once a collection method and protocol have been designed, the nectar can be analyzed for quality and quantity. We plan to compare prairie plants pre- and post-burn to investigate whether nutritional resources for pollinating insects differ before and after a burn. If there are differences, we can make recommendations about conducting burns and identify plants to use in restorations and reclamations that will provide the nutrients for pollinators.
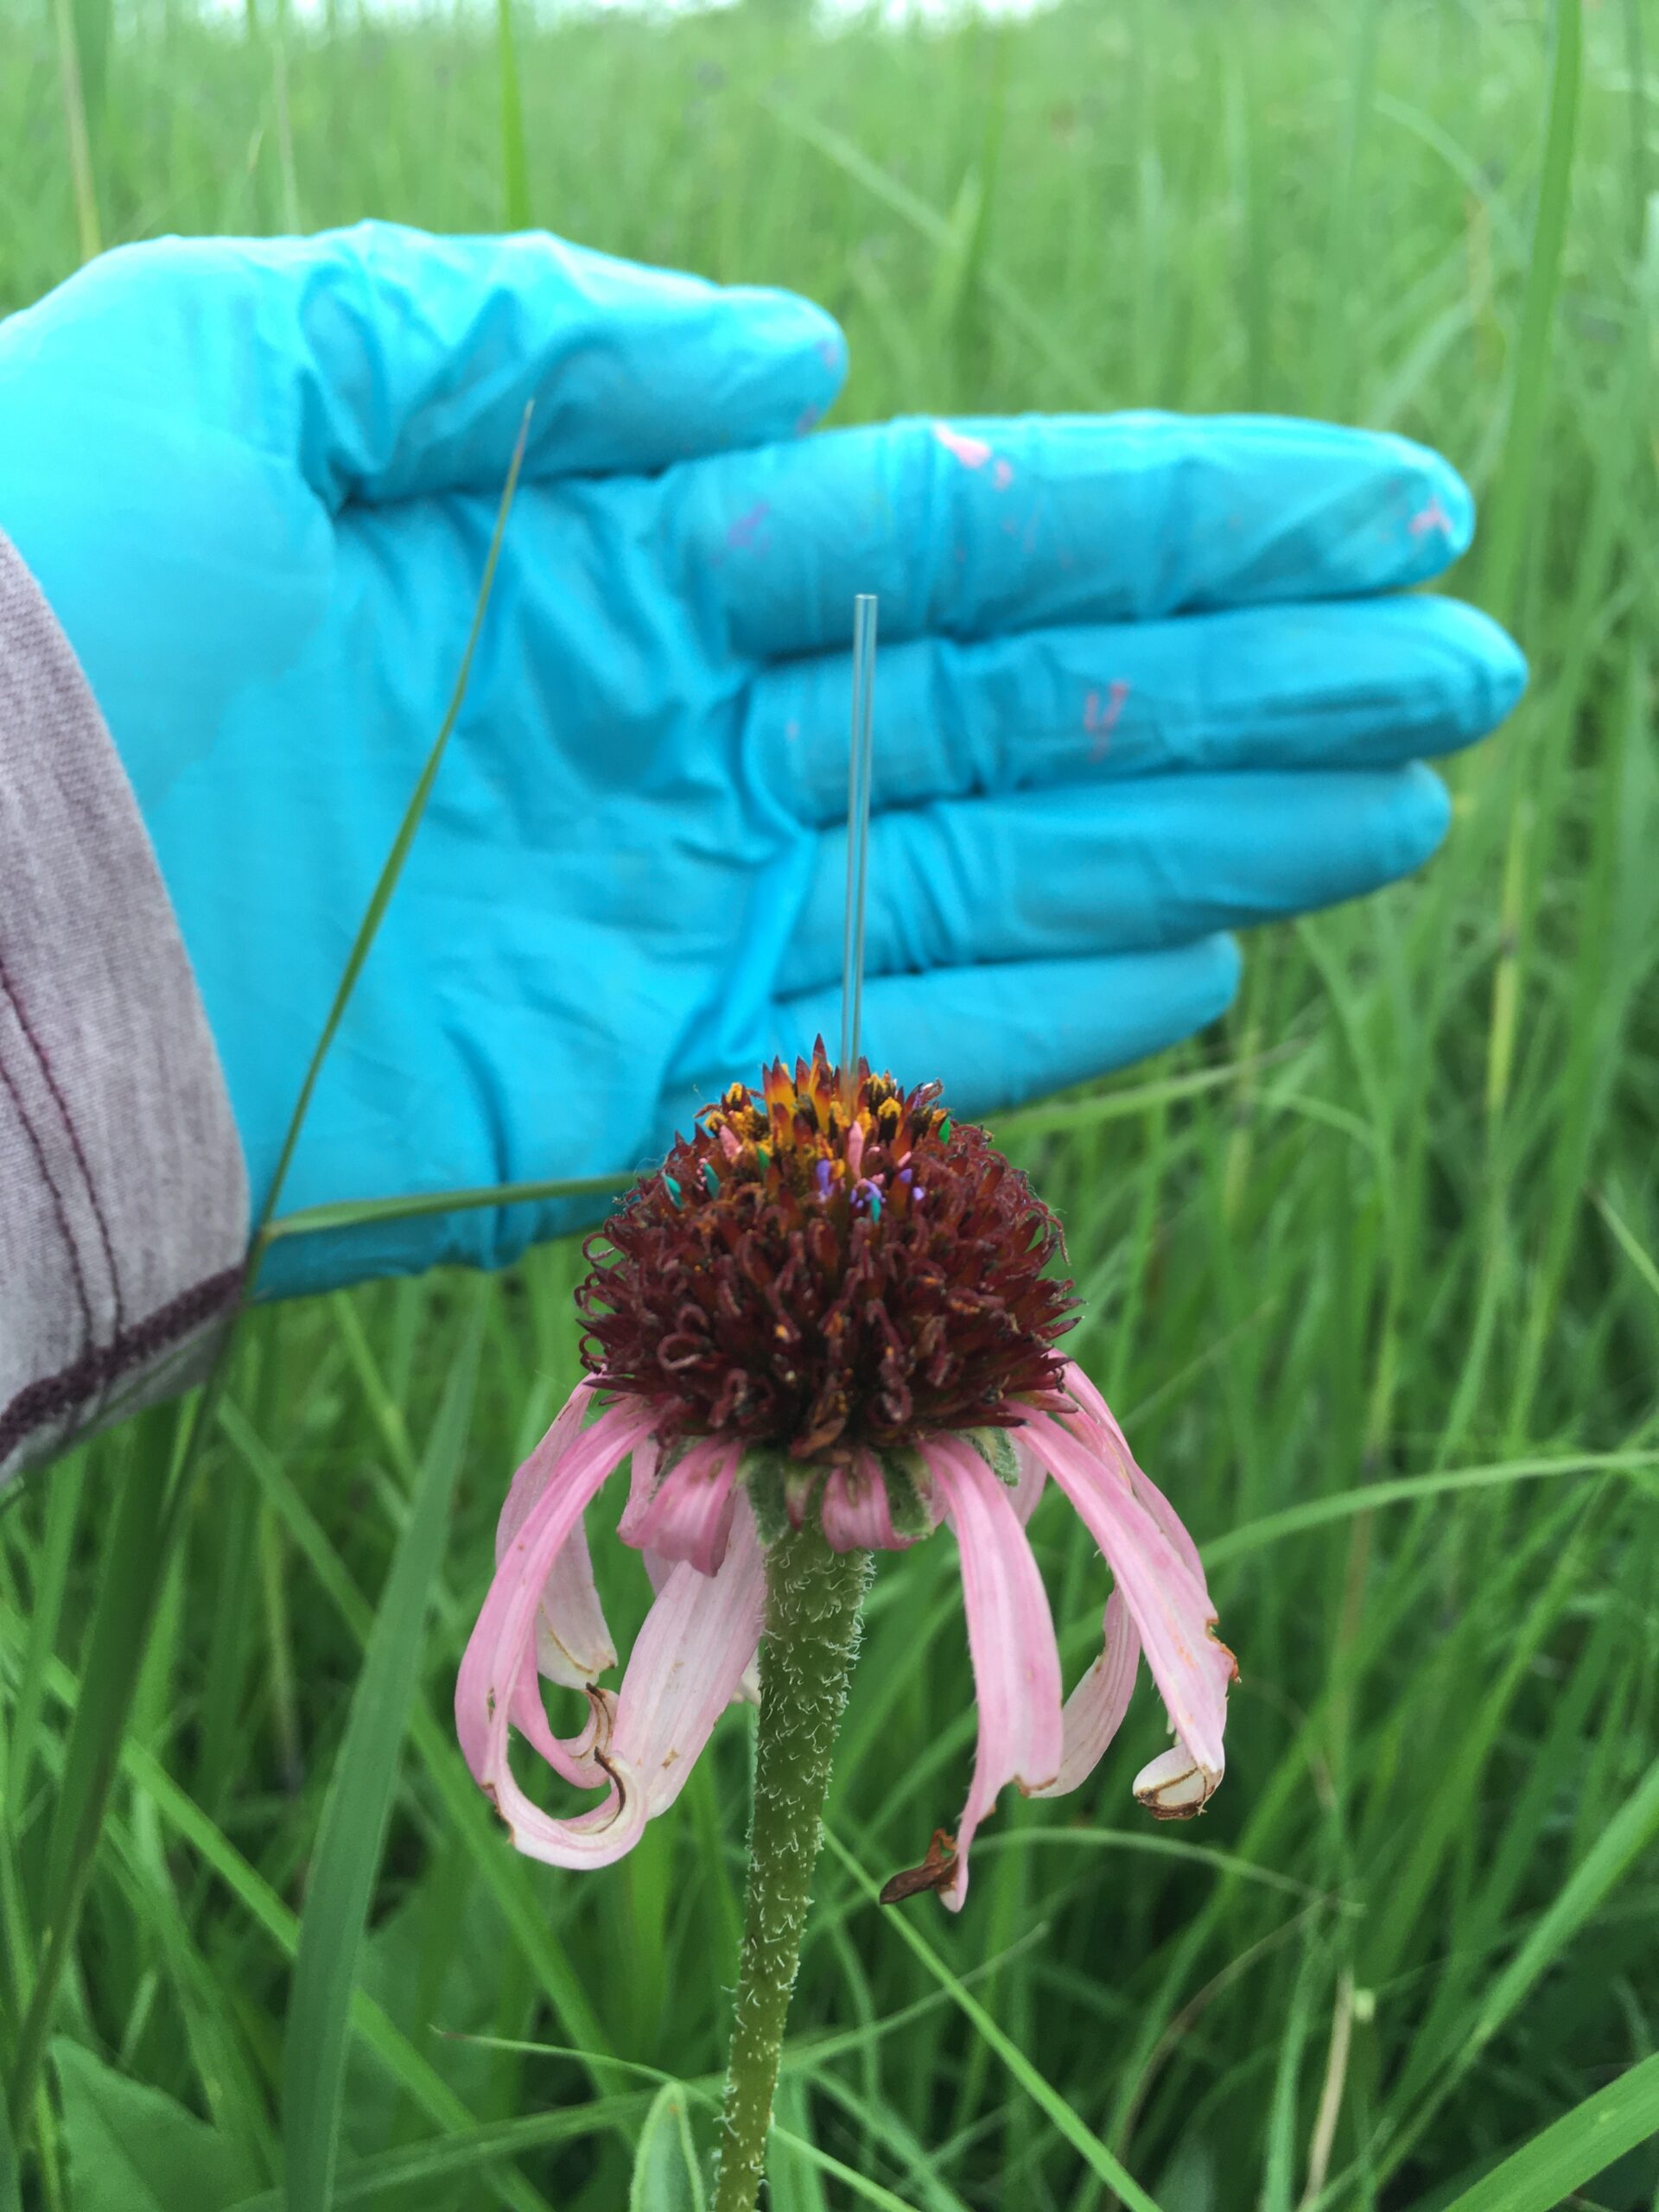
Here’s a draft protocol and notes from summer activities….
Pre-collection:
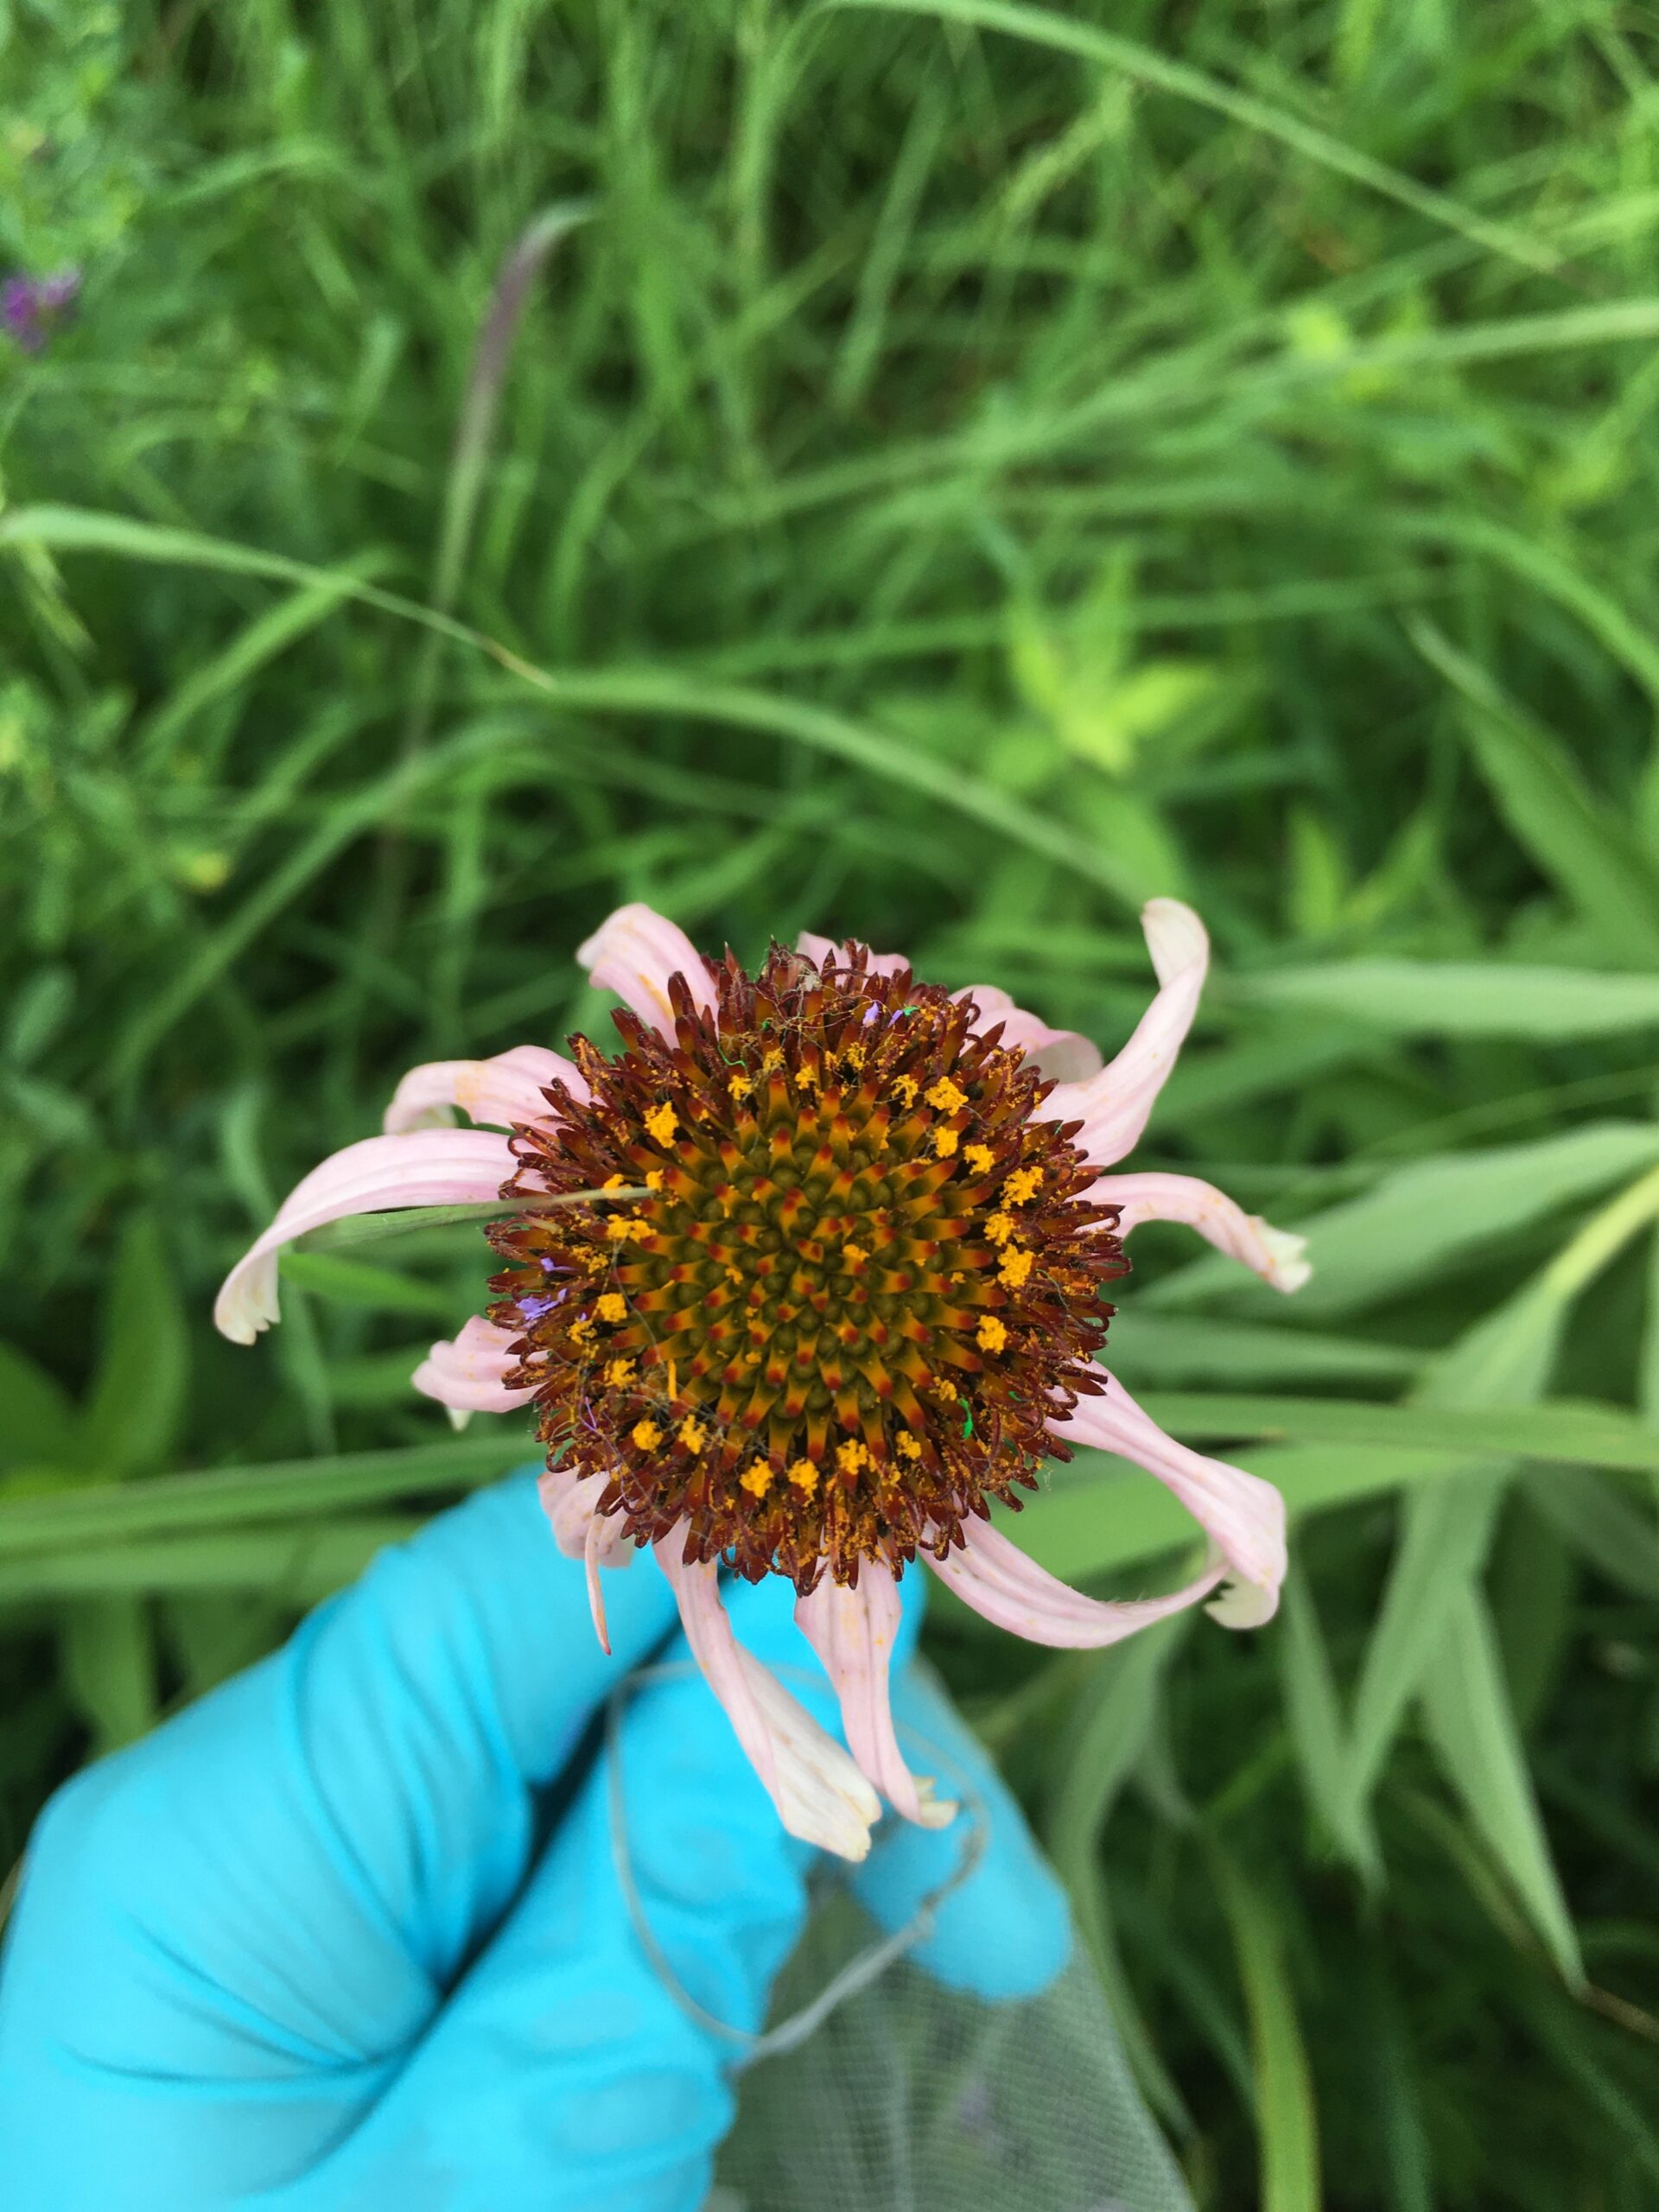
- Select heads ahead of time that will be flowering, preferably on day two of the male flowering stage, on the nectar collection day. Day two tends to have the most average anthers present on a head. Anthers tend to have more nectar than the styles, so the anthers will be our targeted area of collection. On the selected heads, place the crowns and pollinator exclusion bags over the heads. If the head has a twist tie for identification, use the same color twist tie on the bag.
- Label the microfuge tube in ascending order prior to going into the field. Place a large binder clip on the last numbered tube and leave it in the supply so the next person to number knows where to start. Clearly number the tubes with a fine tip or medium tip permanent marker.
Nectar collection procedure:
- Select the plants to sample from during the course of the day, I used seven.
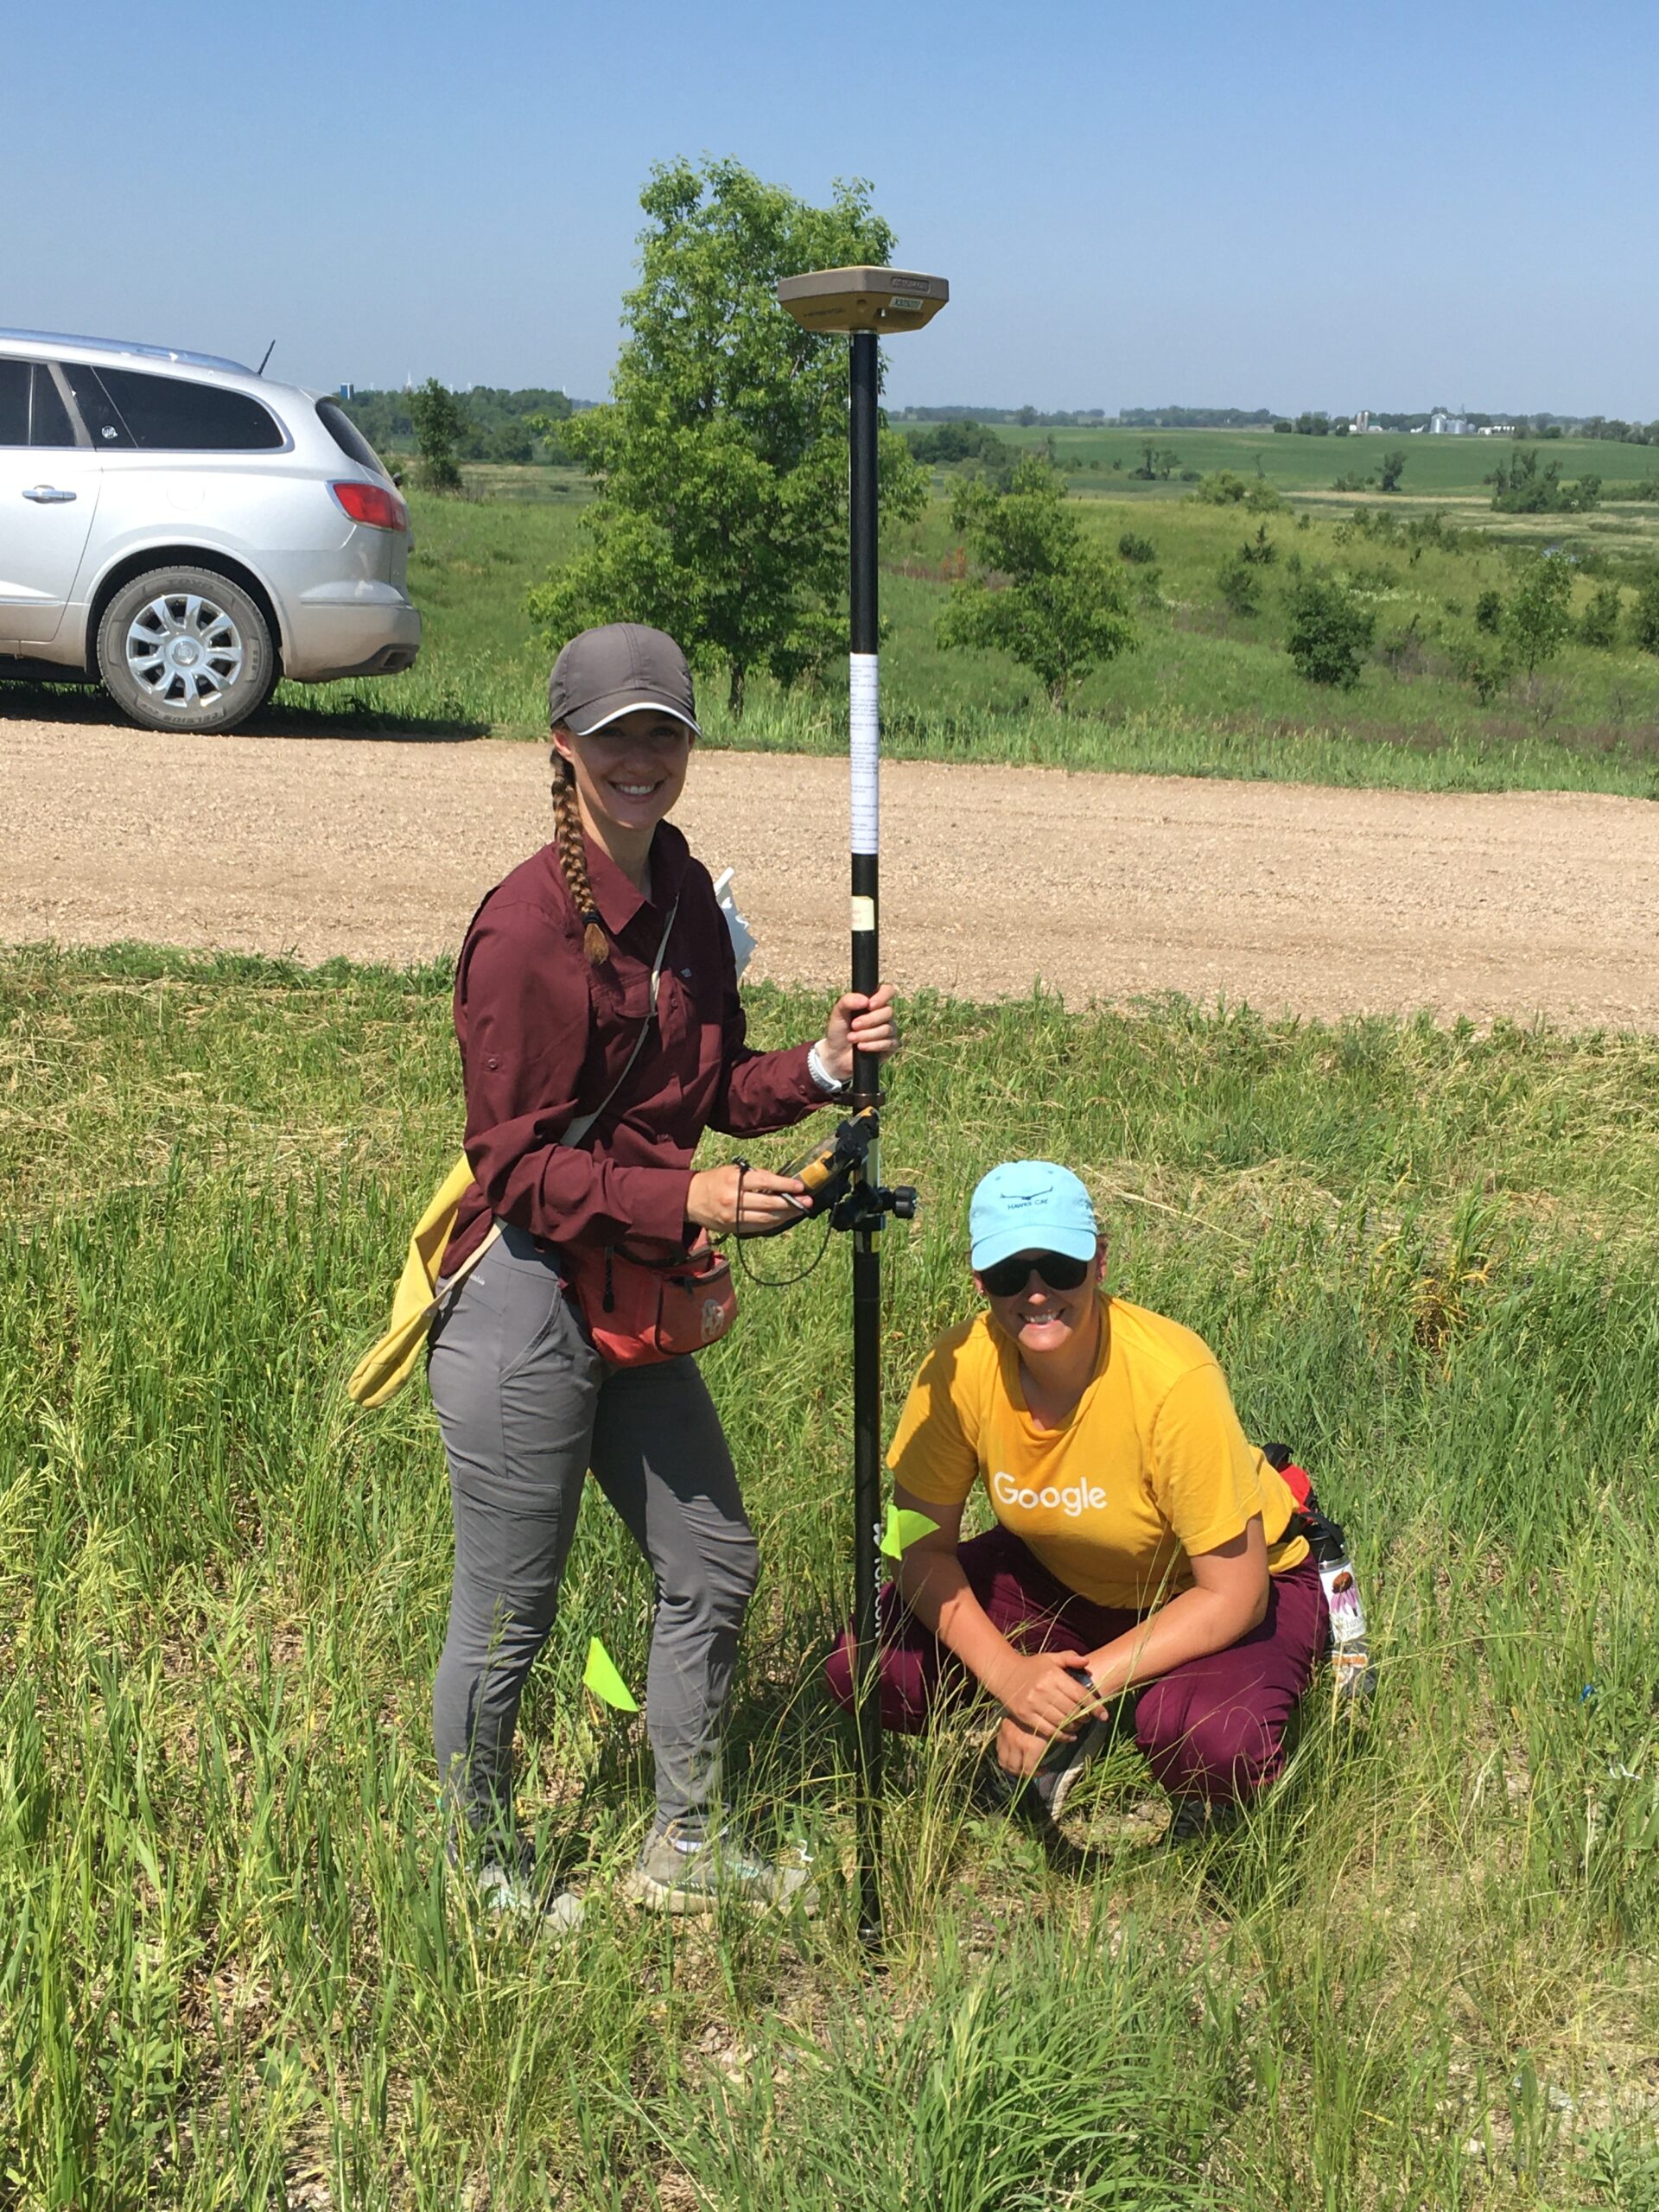
- If necessary, record the row, position, twist tie color, estimated male flowering day, and time of collection for the selected head to sample. If in a remnant, record the location using the GPS.
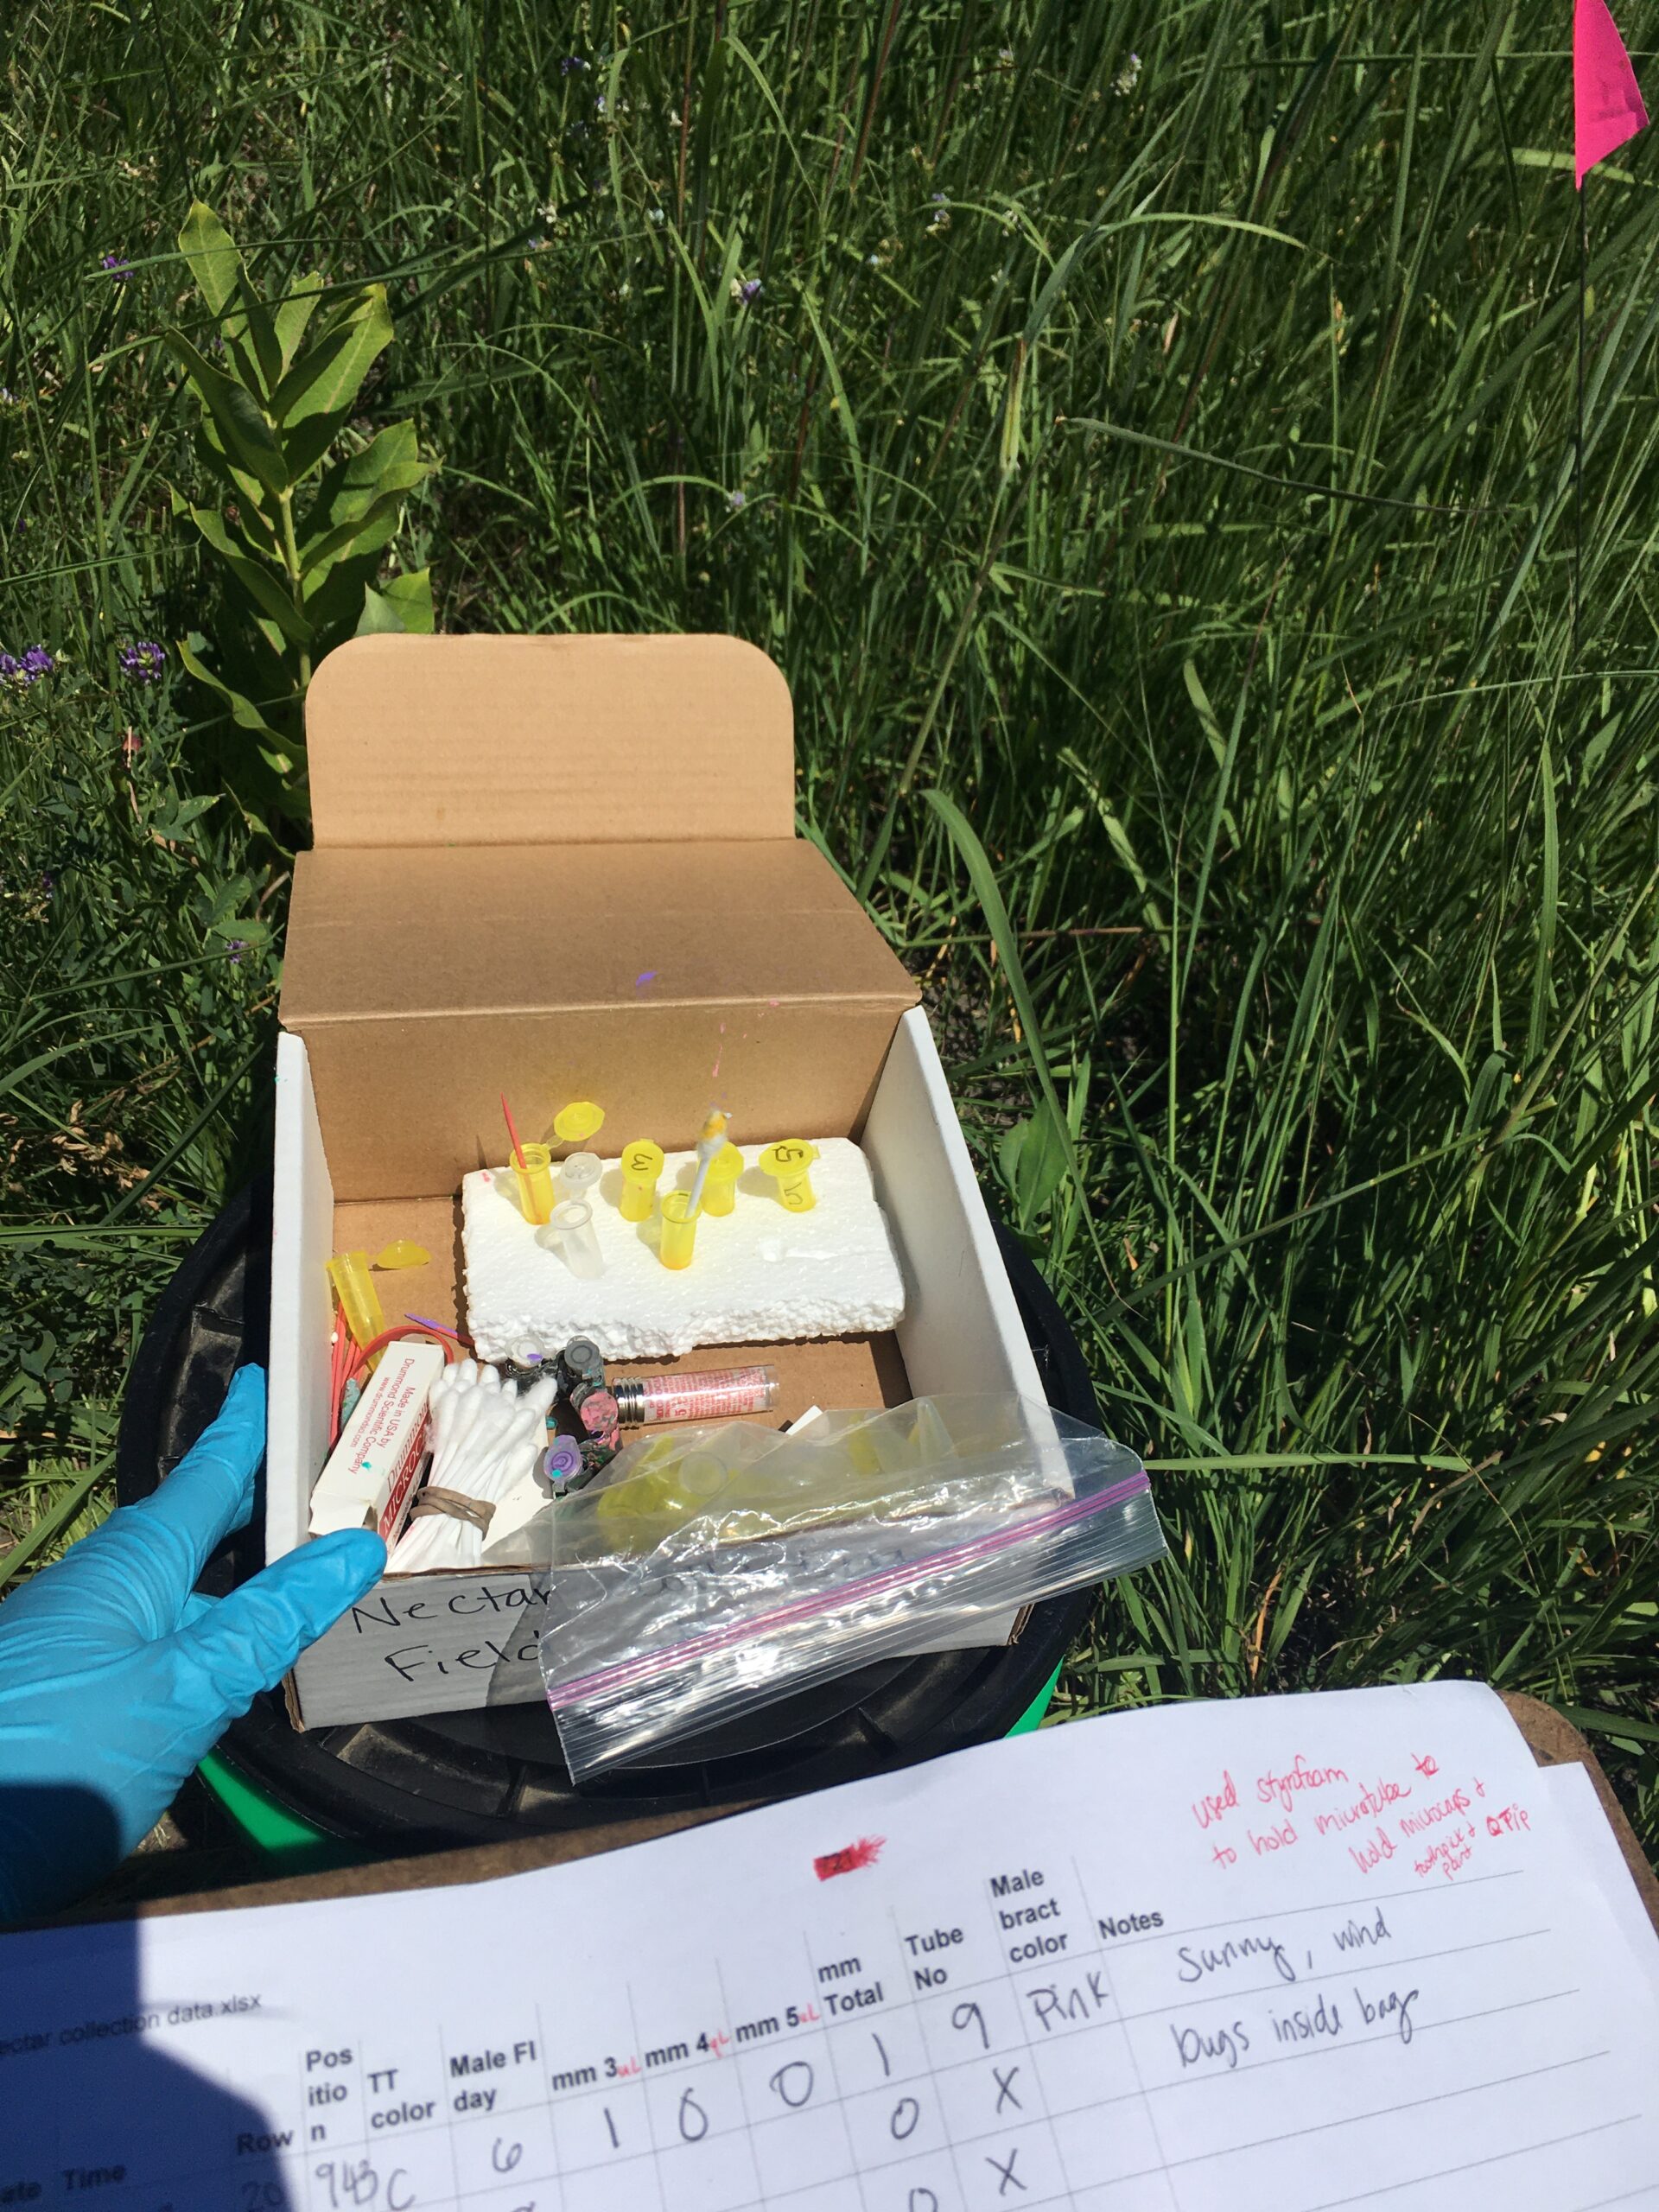
- Prepare the microcap(s) and leave it in an empty microcap tube in the styrofoam holder in the field collection box so you are ready to collect the sample.
- Remove the pollinator exclusion bag from the selected head.
- On the same head, select the anthers that are the most recently presented to sample from.
- Use a Q-tip to remove the pollen from the selected anther.
- If the pollen is still in the way, use a Q-tip or end of a toothpick to move the anther out of the way.
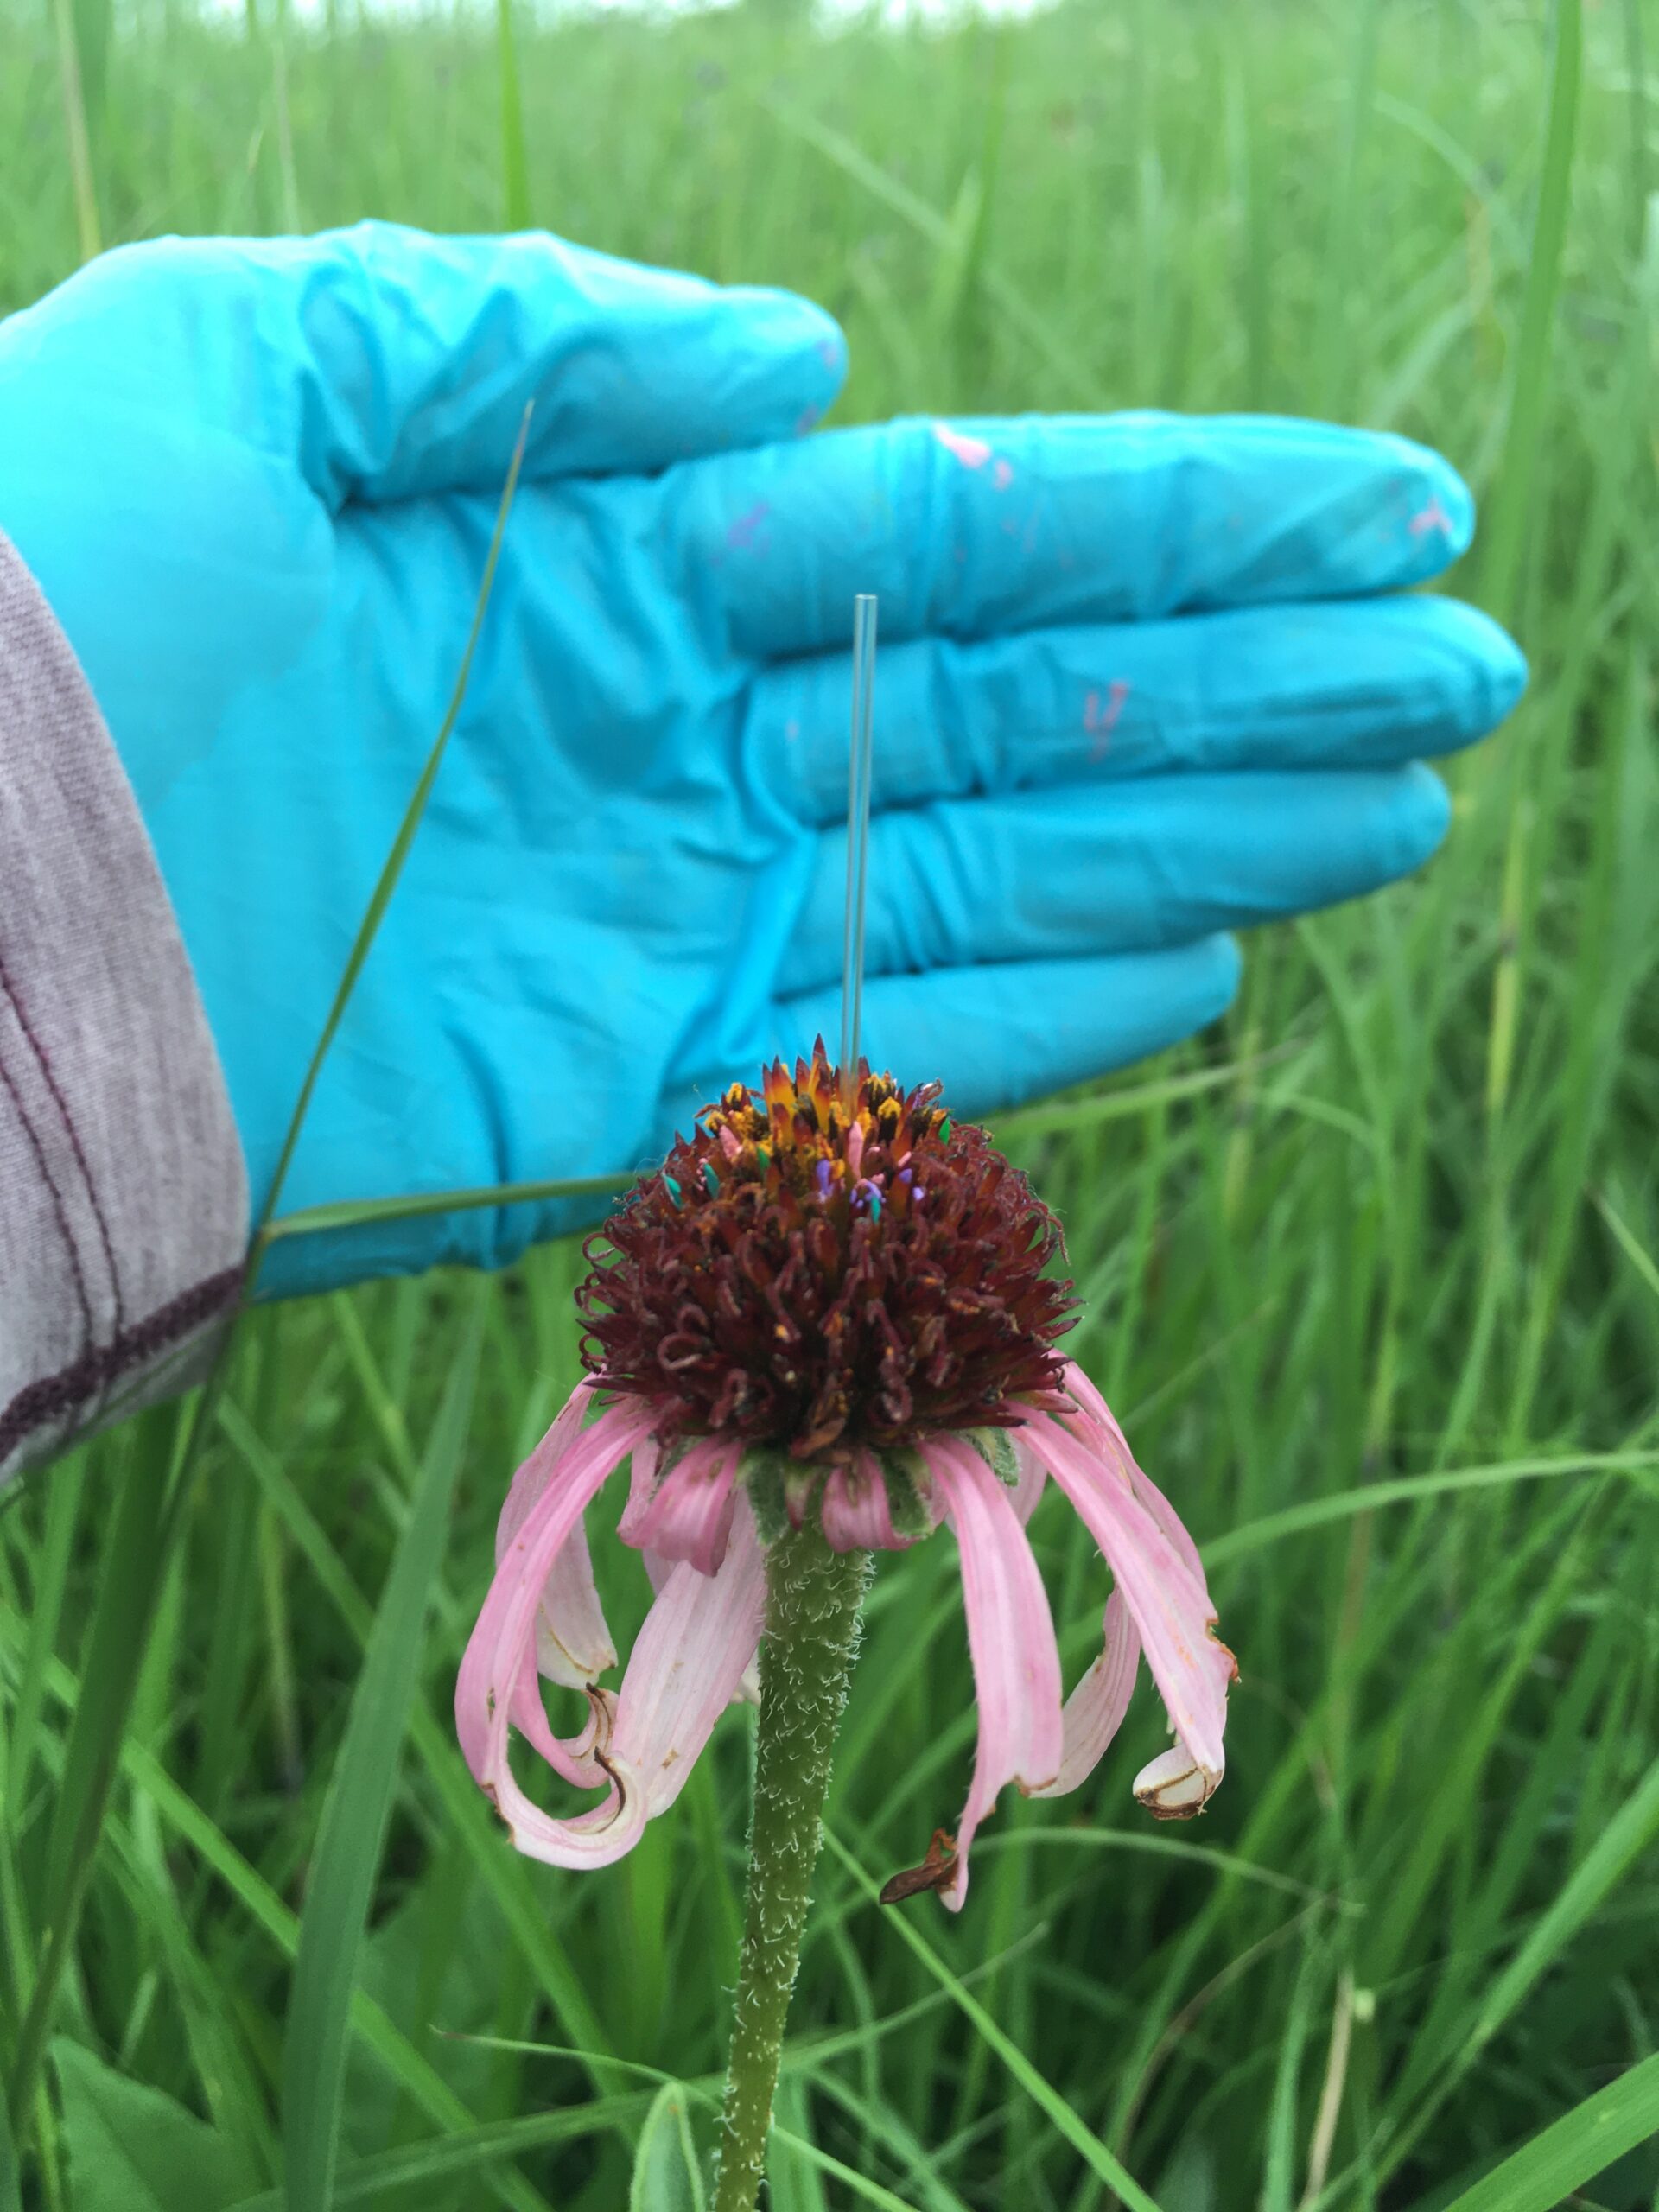
- Insert the microcap tube into the anther floret. Insert the microcap down into the floret until there is light resistance when you reach the base of the floret.
- Twist or rotate the microcap five times. Remove the microcap.
- Carefully remove the microcap.
- Record the amount of nectar collected in the microcap in millimeters (mm). It is helpful to hold the microcap up to the sun to see the refraction of light from the nectar to see the amount collected. You can use the magnifying glasses to read the amount of nectar in mm on the ruler.
- Place the entire microcap with the collected nectar sample into a numbered microfuge tube and record the number of the microfuge tube.
- Securely close the top of the microfuge tube and place it into the cooler or pouch with the ice packs.
- Replace the pollinator exclusion bag.
- Label the flag marking the plant with the row and position for future reference and time efficiency. Once this task is completed, it will not need to be done for the same plants in the future.
- Repeat steps 2-15 for the next plant.
- Once the seventh head has been completed, head back to the first plant to repeat the entire collection procedure. This should take about 50-60 minutes to collect from 7 plants.
- Upon returning to the Hjelm House, place the collected samples in the collected samples box, which then is stored in the refrigerator.
Field supply checklist:
- Nitrile gloves
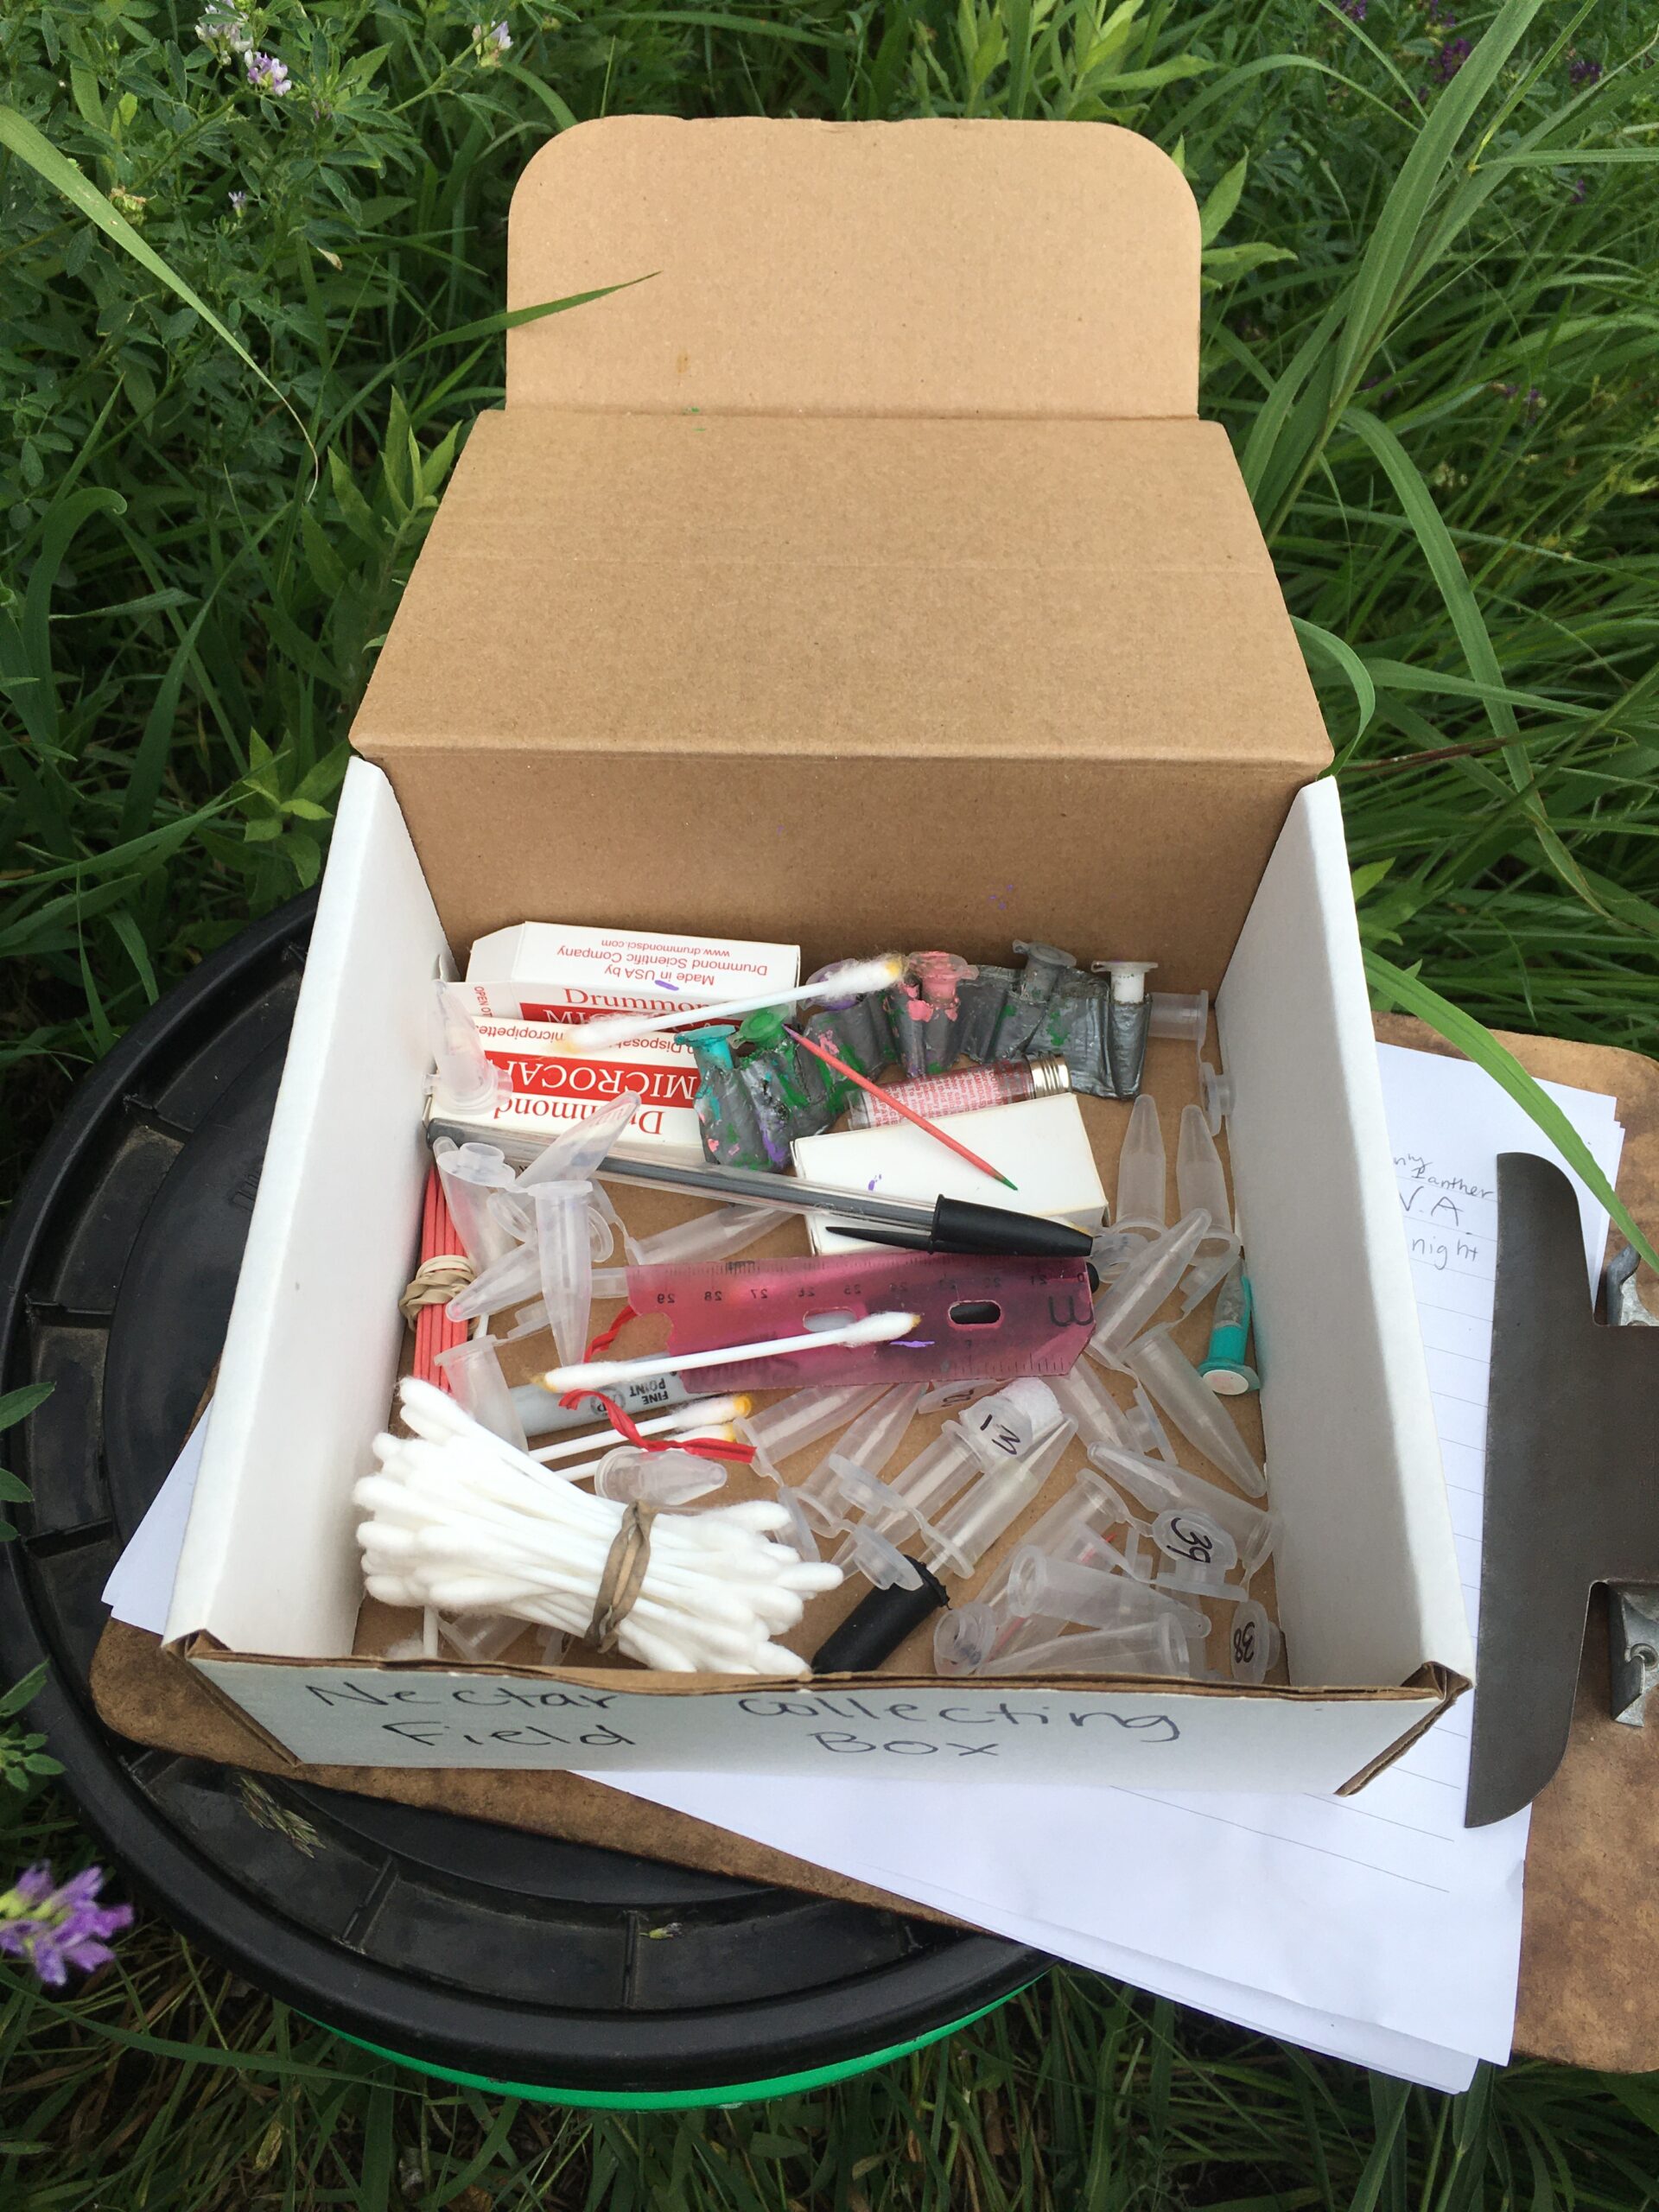
- Microfuge tubes (tall enough to put the microcap inside and close the cap)
- Microcaps
- Drummond Scientific Microcap 1-000-0033 Microliter Pipets, 3.33µL Capacity (Pack of 100) 0.34 mm or 0.0133 inch diameter.
- Extra twist ties
- Extra pollinator exclusion bags
- Extra crowns
- Flag bag with flags of the designated color
- Permanent marker
- Pen
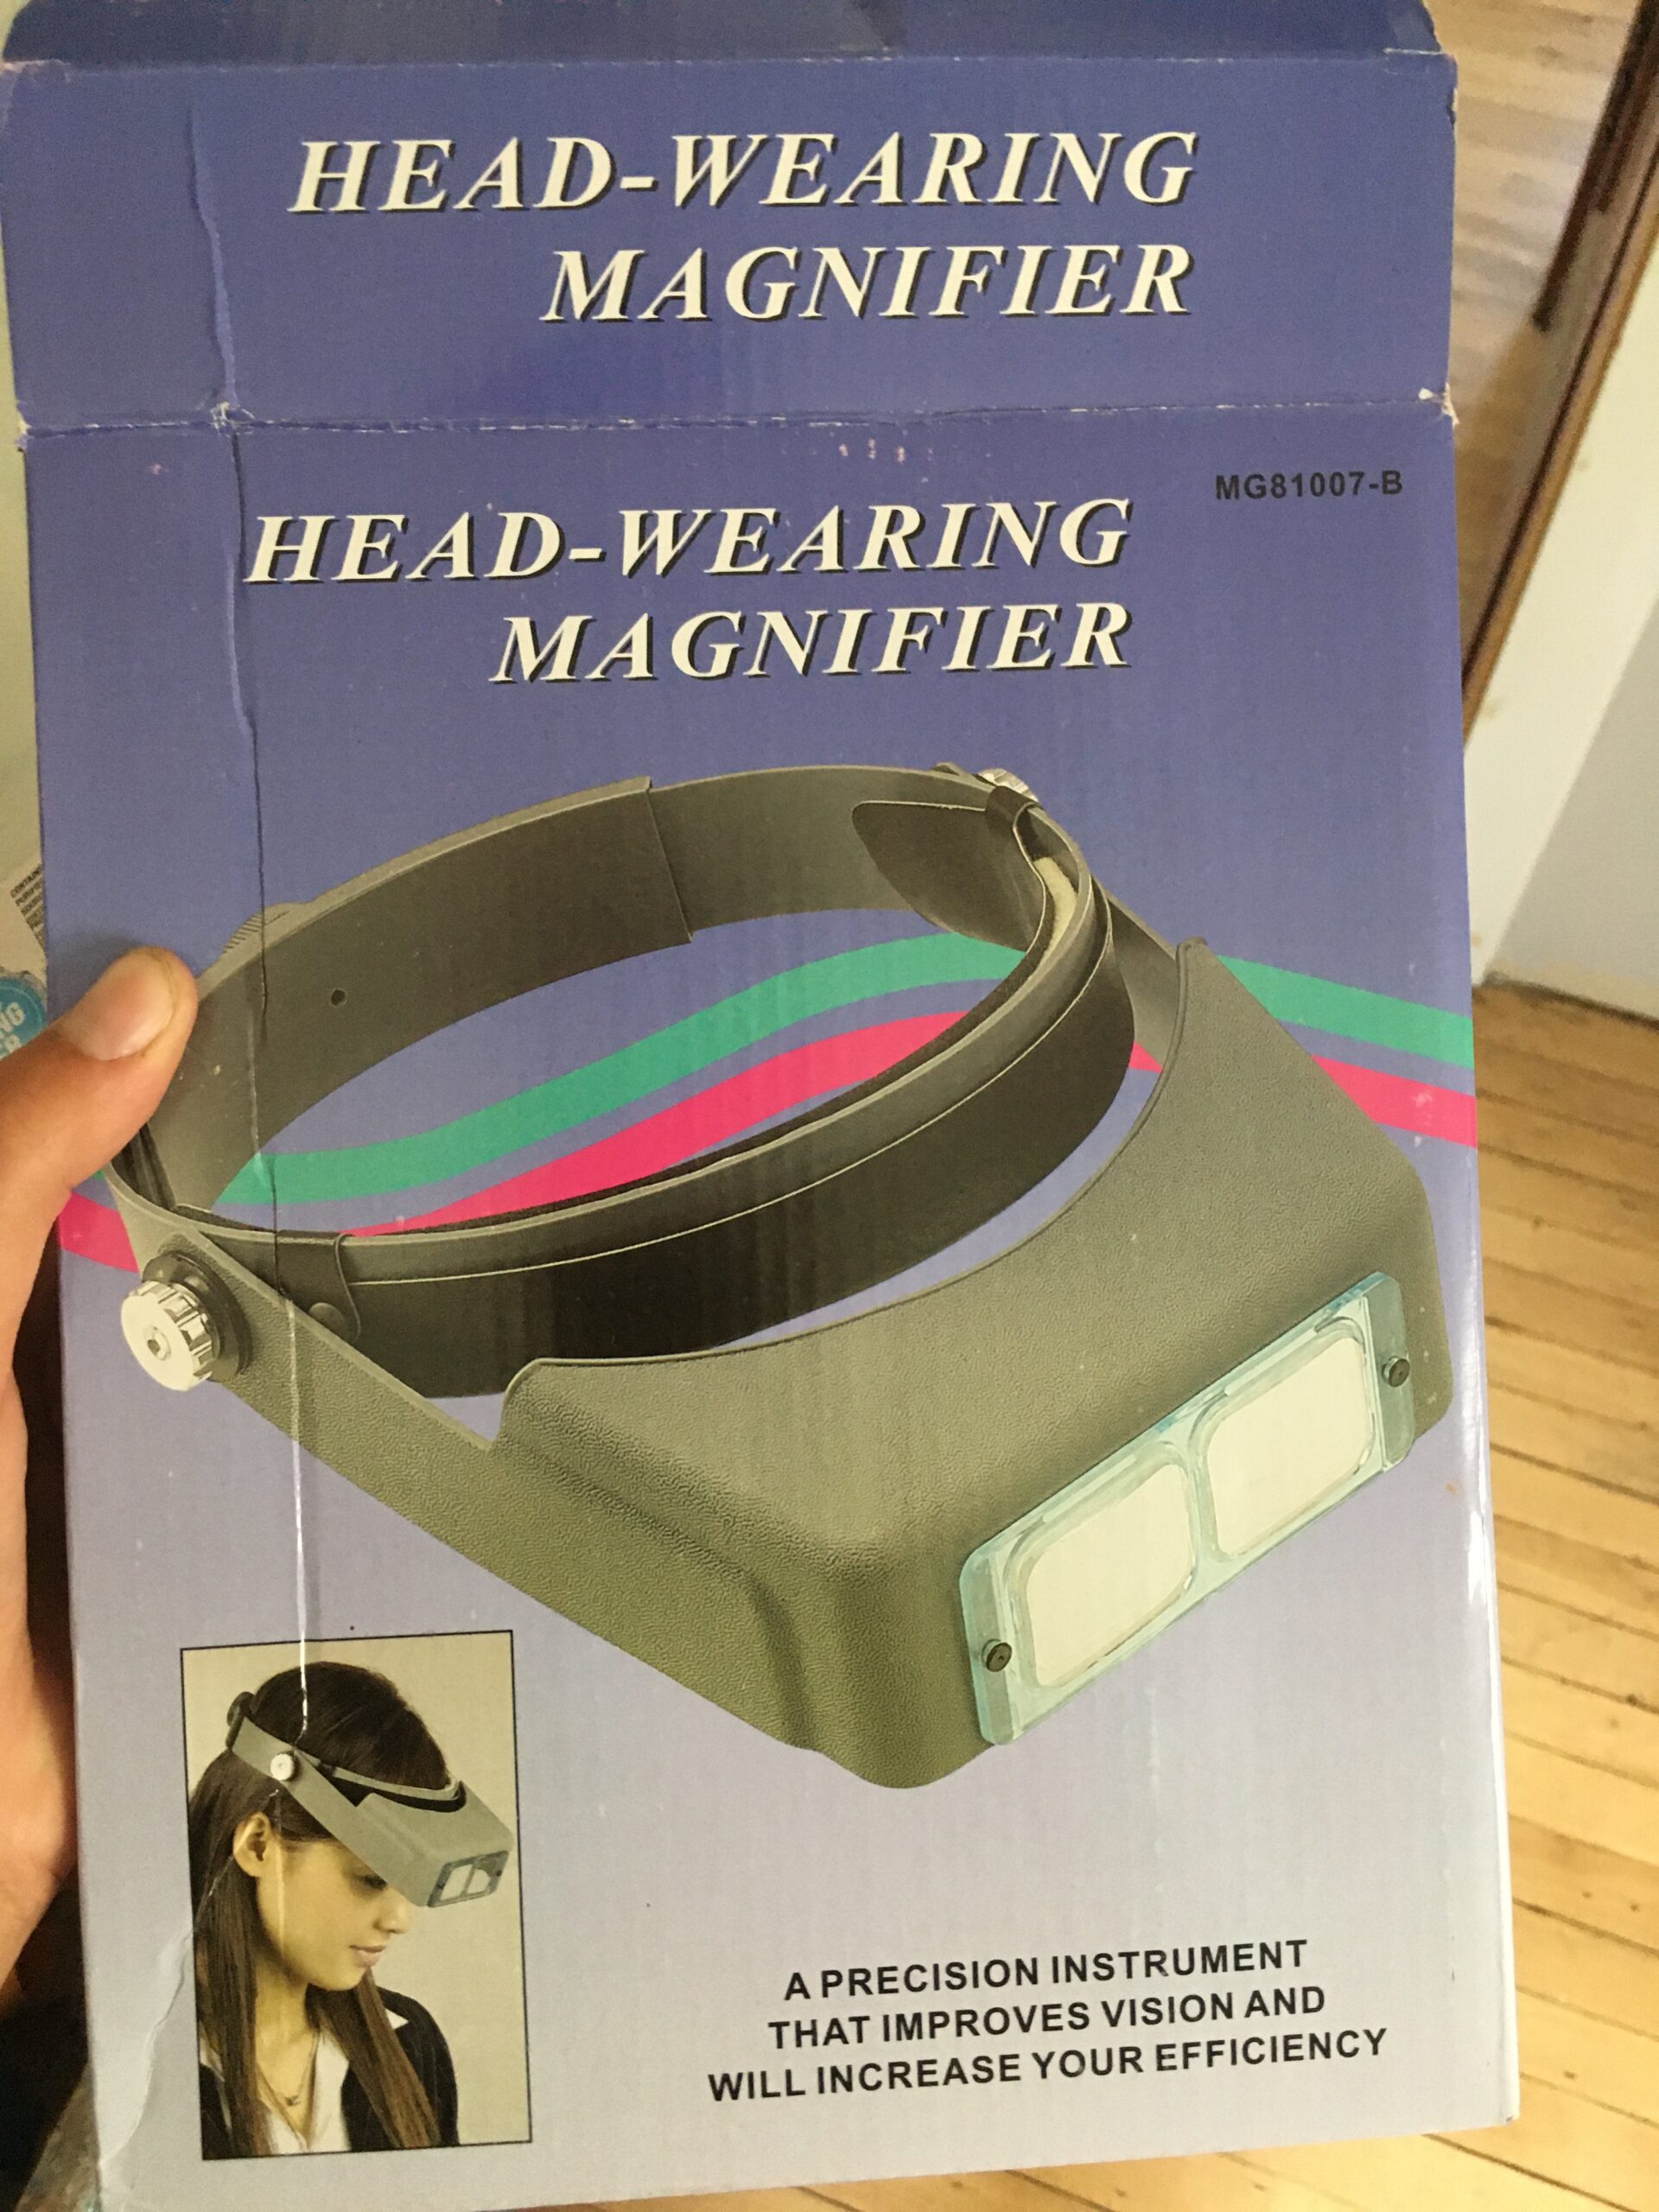
- Magnifying glass glasses with 3.5 – 5 X magnification
- Two ten gallon buckets (one for sitting and one to set supplies on top)
- Cooler with ice packs (ice packs can also be held in our pouch instead of the cooler)
- Ruler with mm markings
- Water and sunscreen
- Clipboard with the data sheet
- Rubber band to hold the data sheet onto the clipboard
- Duct tape paint holder filled with paint and toothpick
- Q-tip bundle
- Wooden toothpick bundle
- Field collection box to hold small supplies
- Kestrel weather unit
- Measuring tape or meter stick
Field notes:
- This data was collected in experimental plot 1 from 7/18/2022 through 7/28/2022.
- Sometimes the magnifying glasses directed sunlight to a focal point and it became quite warm (similar to killing an ant with a magnifying glass scenario).
- I found it easiest to put the supplies inside the buckets while traveling to the site because it was a lot to carry.
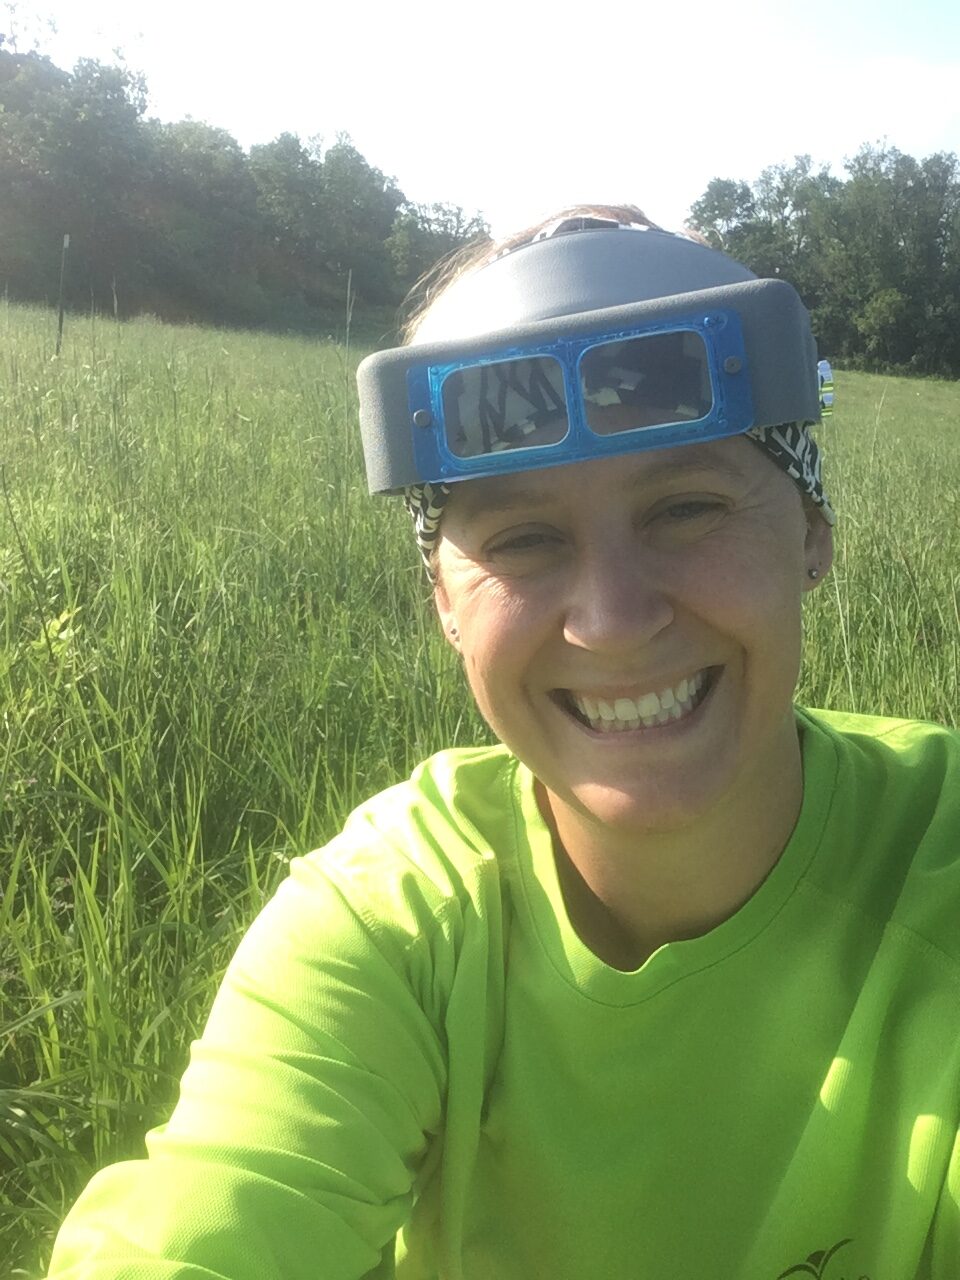
- I liked the magnifying glasses because I could adjust the lens up and down while going back and forth from the head to the supplies. I recommend wearing a bandana in between your head and the glasses for comfort, sweat, and keeping away long hair.
- I recommended using the 3 uL capacity microcaps. They fit best in the floret and collected the most nectar.
- I used a piece of Styrofoam to hold the microfuge tubes that contained the various sizes of microcaps, toothpick, pollen Q-tip, and the next empty numbered tube for the nectar.
- Sometimes the microcap got bubbles in the tube, so I only counted the amount of liquid I saw. It seemed on occasion that some of the nectar went out of the tube, so it may be best to record the amount after sampling each floret. *A recommendation for next time: Place your finger over the end of the microcap to try and prevent liquid from being removed.
- The pollinator exclusion bag being placed prior to collection increased the amount of nectar collected. Note, on 7/25, I sampled some heads that did not have pollinator exclusion bags prior to sampling and found that they had about the same amount of nectar as ones that had the bags at that same time of day. This will need further investigation. I also sampled from each of the most recently presented anthers that day to see if I would get more per head in one sampling rather than multiple times a day. I got more nectar per head, but I also sampled more anthers on this day. The data table below shows the average amount of nectar in mm per floret for each day of sampling. Note that the day I sampled the most florets in the afternoon, 7/25, has the least amount of nectar per floret. This day was also cloudy and some of the heads included in the data didn’t have pollinator exclusion bags prior to collection.
| 7/18 | 0.406 mm |
| 7/20 | 0.399 mm |
| 7/21 | 0.448 mm |
| 7/25 | 0.213 mm |
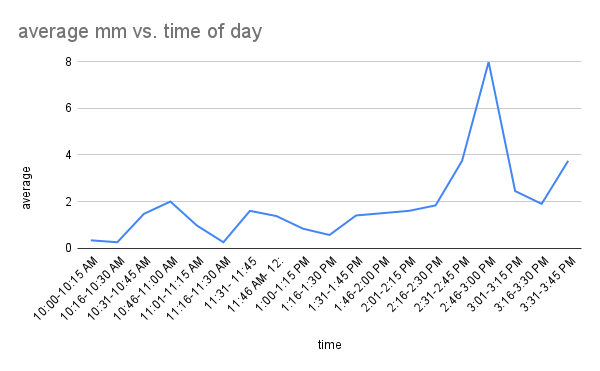
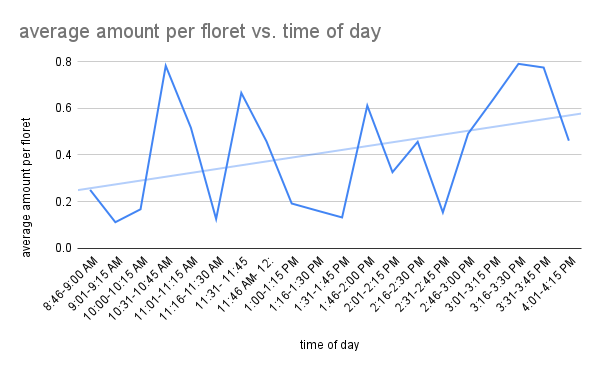
As of 7/25, the time frame of 2:30 and 3:00 pm has had the highest average amount of nectar collected. The mornings and cloudy days have produced the least amount of nectar. After the first three days of collection, we noted that the mornings had less nectar, so I focused on mid mornings and the afternoons for the following days.
- Start year: 2022
- Location: Experimental plot 1
- Overlaps with: NA
- Data collected: Britney has a datasheet from summer 2022 that lists all samples and the conditions associated with their collection
- Samples or specimens collected: All nectar samples were delivered to Dr. Rahul Roy at St. Catherine’s University on November 10th
- Products: Stay tuned!
You can read more about the nectar experiment and find links to prior flog entries about this experiment here.
Funding for this project was provided by the Minnesota Environment and Natural Resources
Trust Fund as recommended by the Legislative-Citizen Commission on Minnesota Resources
(LCCMR). The Trust Fund is a permanent fund constitutionally established by the citizens of Minnesota to assist in the protection, conservation, preservation, and enhancement of the state’s air, water, land, fish, wildlife, and other natural resources. Currently 40% of net Minnesota State Lottery proceeds are dedicated to growing the Trust Fund and ensuring future benefits for Minnesota’s environment and natural resources.

