The scanned image of all the individual achenes will be used to count the number of achenes for that one head . This process allows for increased accuracy in assessing female fitness by allowing for a precise count of total achenes per head.
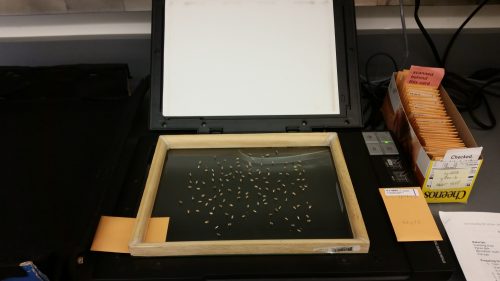
There is a document for the protocol of each step of scanning in addition to particular settings for the scanning software (please refer to that document for details). The document can be found in the “Protocols” folder in the lab by the light switch. First, the achenes are spread on a glass frame which is stored in the cabinet labeled “Trays for Scanning.” Spread the contents of the envelope onto the frame making sure that there are no achenes along the edge. Important to this process is that there are no overlapping achenes and that none are standing on end. Next, the envelope with the achene information should be placed at the bottom left of the glass (see image below). This whole setup is covered with a lid of a box top cover in black fabric NOT the cover that comes with the scanner.

The basic setup of scanning achenes.
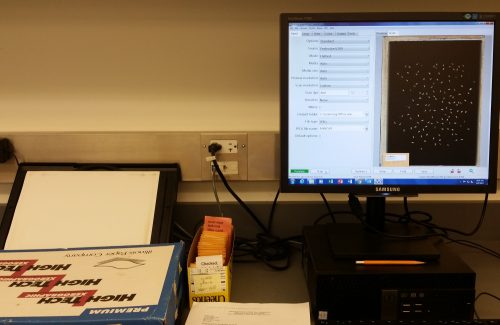
Double click the “VueScan” icon on the desktop to open. Make sure the settings correspond to those that are in the protocol that can be found in “Protocols” folder in the lab (once the setting is made a first time it remains but it is still a good idea to double check). The scans should be stored in a “Default Folder” on the computer; the name of the folder changes each year. The 2015 scans will be stored on the C drive in the folder entitled cg2015scans. This folder will change with the collection year. Each scan is named according to the letno on the envelope.
Once the achenes are scanned they get placed back in the envelope and any chaff or dust that may be left is put in the chaff envelope. The scanned achene envelope is then moved to the back of the box behind the marker “Scanned behind this paper.” After a box is done being scanned the envelopes of achenes and chaff move to the next step of random sampling.

Scanned image as seen in VueScan software. Note that a box lid is used to cover the scanner bed not the original cover.

Leave a Reply