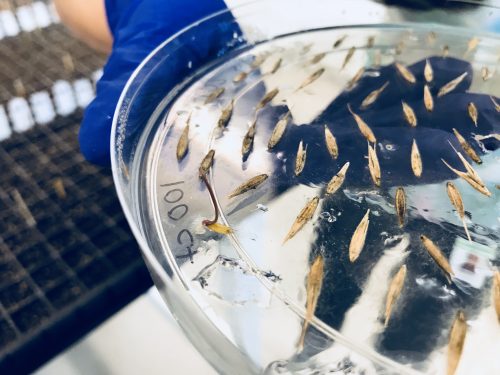
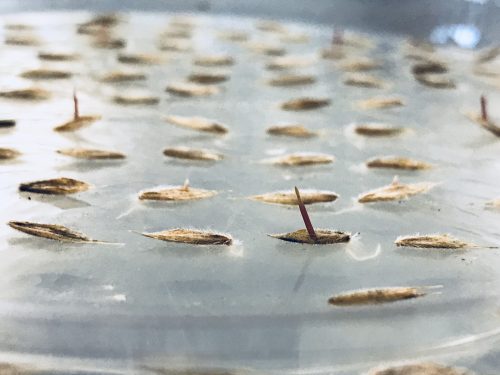
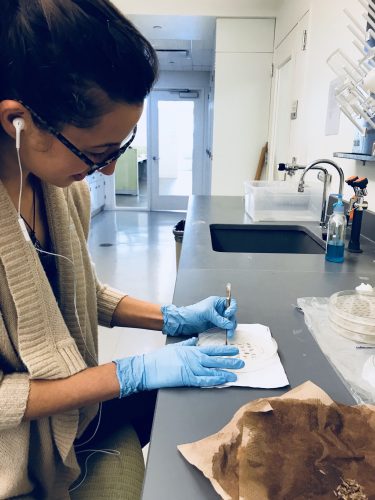
The seeds were pulled out of their pre-treatment and were moved into the growth chamber for germination to take place. After 5 days, a handful of E.canadensis were germinating, along with B. kalmii at a close behind rate. P. virgatum has yet to germinate, though at this time it’s still early. After filling three 20×10 flats with soilless soil, prior to removing the seeds from cold stratification, the cells (tiny plots on flat) where numbered in preparation of seed transport. By choosing soilless soil I can ensure a uniform system of adequate water retention and proper drainage. As a method for watering, my mentor Stuart has suggested to bottom-water the plants to avoid dampening one area of soil more than another area, which can occur when watering from above. By using sterilized tweezers, I carefully selected a germinating seed from a randomly ordered petri dish. Once the radical was successfully extracted from the agar, the seed was planted into its designated cell. Before transportation took place, I created a few randomizing sheets on an application called R. The sheets randomized the petri dish order, as well as the treatment (species vs. species) placement. The reason we want the order of everything to be randomized is to avoid any biased decisions. This also helps to yield accurate results. I was able to plant over 100 treatments this past week for E. canadensis and B. kalmii. I’m hoping this week P. virgatum will begin germinating.
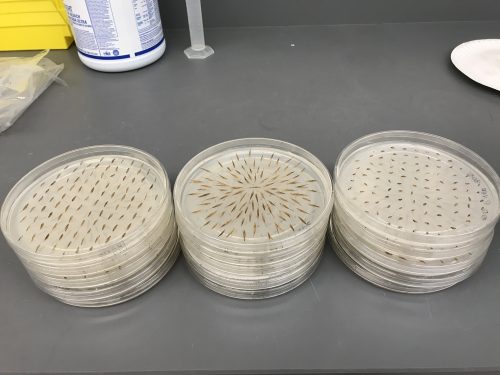
With that said, the next phase has begun- measurements of growth. To reiterate the purpose of this experiment, I will observe the growth of each species in relation to the species it’s competing with for resources such as water, root space, and light. I will do this by measuring their height on a weekly basis. I want to determine which species will be the most dominant in this early stage of development. On Friday, I started measuring my little sprouts. The tallest I have observed so far has grown to 70 mm. 🙂
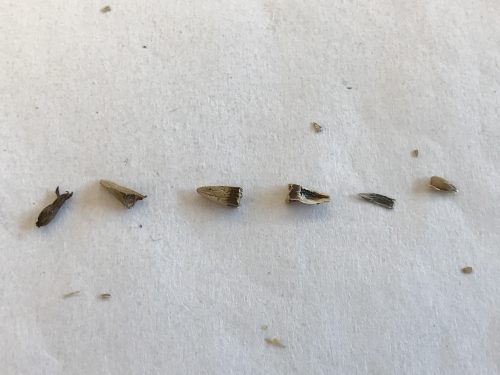
This process is very exciting, as I’ve mentioned before. To be able to plan something out so specifically detailed and to watch the process actually happen is nothing short of magical 🙂 It’s really fascinating to watch these little seeds germinate into such beautiful green sprouts!
Elymus canadensis germinating
Bromus kalmii germinating
Carefully transporting germinated seeds into their randomly assigned cell
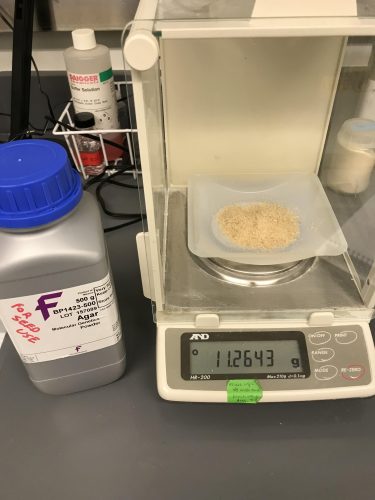
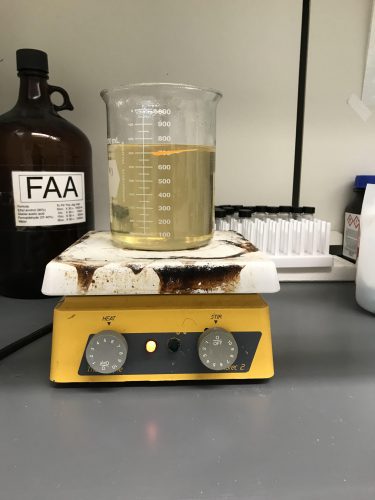
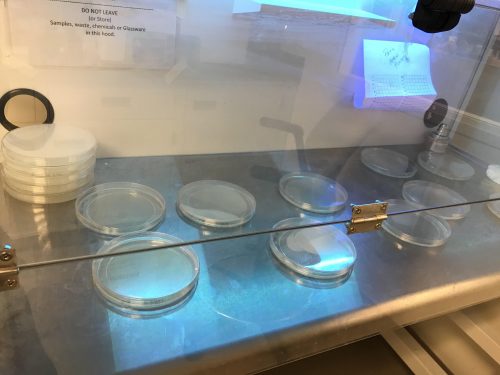
This past week steered off the E. angustifolia path for an exciting development on related research. I am beginning my experiment by researching two c3 prairie grasses- Elymus canadensis, Bromus kalmii, and one c4 prairie grass- Panicum virgatum.In the weeks to come, I will randomly plant two differing species in a plot and observe their competition for resources. To begin this process, I have prepared a pre-treatment of cold-stratification to help break seed dormancy. Pre-treatment consisted of filling fifteen 150 x 50mm petri dishes with agar, bleach treating seeds (to prevent growth of any possible bacteria or fungi), plating the seeds on the solidified agar, and refrigerating for two weeks. Each species filled five petri-dishes (1oo seeds per dish). After their pre-treatment of cold stratification, the seeds will stay in their dishes and be transferred to our grow chamber for germination. Once germination is observed, they will find their home in the soil. 🙂 This is very much a summery of the experimental process. However, it’s exciting news and relates to the Echinacea project on the grounds of prairie restoration. Upon completion of the experiment, the prairie grasses will be transported to our common gardens in Minnesota, which each species happens to be native to. Stay tuned for more exciting updates!
Sincerely,
Danielle
Weighing out agar
Heating agar mixed with deionized water
Agar solidifying into gel under UV light to assist in sterilization
Moving seeds (after bleach treatment) to petri dish on top of agar gel
From left to right- B. kalmii, E. canadensis, and P. virgatum – ready for cold-stratification in the refrigerator
Here are the books I recommended in today’s professional development seminar on Science Communication for the PBC graduate program. Best wishes in your endeavors to communicate more effectively! Everyone benefits when you communicate better, especially you.
Carol S. Dweck. 2006. Mindset : the new psychology of success. Random House.
Daniel Kahneman. 2011. Thinking, fast and slow. Farrar, Straus and Giroux.
Stephen B. Heard. 2016. The Scientist’s Guide to Writing. Princeton U Press.
Heath & Heath. 2007. Made to Stick. Random House.
Randy Olson. 2015. Houston, we have a narrative: why science needs a story. University of Chicago Press.
Anders Ericsson & Robert Pool. 2016. Peak: Secrets from the New Science of Expertise. Houghton Mifflin.
I also mentioned SMART goals. Wikipedia reveals all you need to know.
In a previous flog post, I recommended several books about managing your time.
Ahh, summer! We have lots of footage from experiments where we observed native solitary bees visiting Echinacea heads. Note: these bees aren’t visiting to pollinate. They are collecting pollen to eat or to feed to their babies.
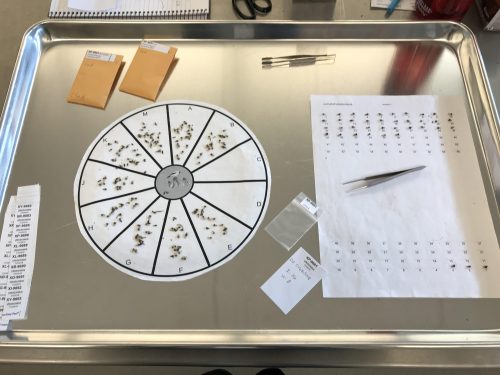
In recent weeks, I was trained in the process of randomizing the achenes collected from each Echinacea angustifolia head. After a thorough count is taken of all achenes per head, the measurement of seed count is also preferred. For clarification, the achenes are the fruit and if they have been fertilized then they will contain a seed. We measure seed count by taking a sample size of randomized achenes from each head to eventually be X-rayed. To begin the randomization process, I was given a chart that was divided into several sections. I took one of the labeled achene envelopes and scattered the achenes evenly over each section. I then used a computer randomizing application to generate two sections from the chart containing achenes. Once I moved the randomly selected achenes onto a separate sheet, I then examined each one and decided if they were informative or uninformative. An uninformative achene would either be shredded, contain a hole – which we believe is do to some sort of critter who may enjoy the achene or seed as a snack, or a ray-floret achene. The ray-floret achenes are three sided and infertile. These achenes surround the outer circle of the E. angustifolia head and hold the ray leaves, also known as the petals. The informative achenes are four sided and may possibly contain a seed. Once I determined informative versus uninformative, I re-enveloped the achenes and labeled them accordingly. The randomized achene samples will then be re-checked for conformation of informative versus uninformative achenes and later x-rayed.
The process continues with informative lessons on accuracy and precision of an unbiased experimental design. As I continue my exposure of important aspects on the Echinacea project sequence, I eagerly look forward to lessons awaiting my discovery. 🙂
Until next time floggers,
Danielle
From left to right: dried floret, uninformative ray-floret achene (3 sided), informative achene (4 sided), uninformative achene with a whole, siding of a shredded achene, and a seed!
Randomizing setup. -Notice the the two empty sections which were randomly selected. Those achenes are found on the right-hand sheet. The informative achenes are counted at the top and will be placed in the clear bag for X-ray. The uninformative achenes are counted at the bottom and will be placed in the white envelope.
Last week I spent more time familiarizing myself with the process of collecting achenes from Echinacea heads. Its become a therapeutic practice once you know what your looking for and find the best method to get each unique achene to wedge out from its previously fixed place. Some achenes are large and chunky, which makes them much easier to extract. Whereas, other achenes can range down to an extremely small size, they can almost be mistaken for a floret if not for the color change. The achenes that surround the outer base of the head like a ring are know as ray floret achenes. They often share a darker color than the others. The ray floret achenes are also classified as having three sides, while the rest have four sides. Interestingly enough, this happens to be a very small description for identifying achenes, as they can range in color, shape, and size. I’ve even come across a few with a tiny hole through the center. We puzzle over the cause of these holes and think, perhaps certain critters enjoy some part of the achene, or possible seed that may have been inside, as a snack. One of the aspects I’m really enjoying as a result of working on the Echinacea project is the limitless array of questions we can pose. Creativity is encouraged. 🙂
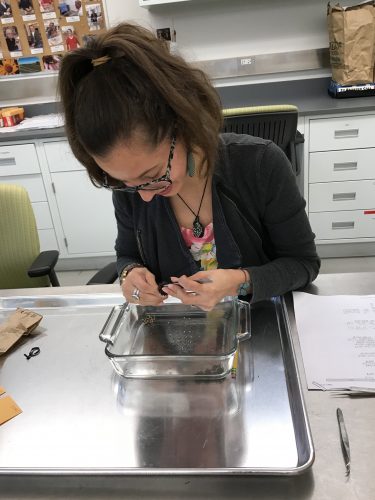
After taking the time to observe the varying appearances of achenes my mentor Tracie felt it was time for my training on a different task. I next learned the process of counting the achenes per Echinacea head. As I mentioned the week before, we want to examine the amount of fertilized achenes, but we also want to count the achenes on each head for all the Echinacea collected for the year as well. The counting software was surprisingly simple and efficient. Each set of achenes, collected from a head, was scanned onto the computer after several rounds of cleaning. Once on the software, the image loads and can be zoomed in or out to several degrees. By using the mouse, I simply click on every achene I see and it leaves a blue dot-like image. Likewise, each blue dot is counted by the software. The same achene set is counted at random by three different people. The median of 3 counts is what we end up using for our final data. Now it ties together. The experience of cleaning the heads lead me to gain observations of all the physically-varying achenes, and all of this has led me to identify the achenes for counting. To no surprise, there are more tasks to come, each intriguing and methodical as I progress. 🙂 Until next time floggers, enjoy the scenery, wherever you find yourselves.
My name is Danielle. I’m excited to announce that I’m the new research intern at The Chicago Botanic Garden and I come from Lake Forest College in Lake Forest, IL. I’m currently a junior majoring in Biology and minoring in Environmental Science. My focus is Botany which brings me to my next point… interning here is nothing short of a dream come true! My work begins with taking part on the Echinacea project.
This week I was shown around the plant science building, where I will be spending the duration of my internship. I was tasked with cleaning and collecting achenes from the dried up heads of Echinacea angustifolia. The achenes are tiny seeds, also known as fruit, that are attached to the florets, which are the tiny flowers that make up the composite head of the Echinacea plant. After collecting the achenes by wedging them out with tweezers, they were placed inside a labeled envelope for further examination. The purpose of this step is to accumulate all the achenes so they can be counted as well as to formulate a random sample which can then be x-rayed to determine Echinacea fitness with regard to their pollinators. We want to understand the basis of successful reproduction via pollination for each Echinacea plant. The heads were harvested in 2016 from one of the experimental plots. By measuring the fitness of the Echinacea head we can get a better idea of how well pollinated they are.
My first week has been nothing short of wonderful. Each day that I have walked into the plant conservation science building I have felt immense joy for what I am taking part in. I trust that this feeling will not steer me wrong as I zone in on my true career goals. Stay tuned, as I’ll be making weekly posts throughout these next three months! 🙂
If you are an avid reader of the flog, you may remember hearing about a drone joining Team Echinacea in the summer of 2017. Here’s some information about what happened with the drone, and where we stand now.
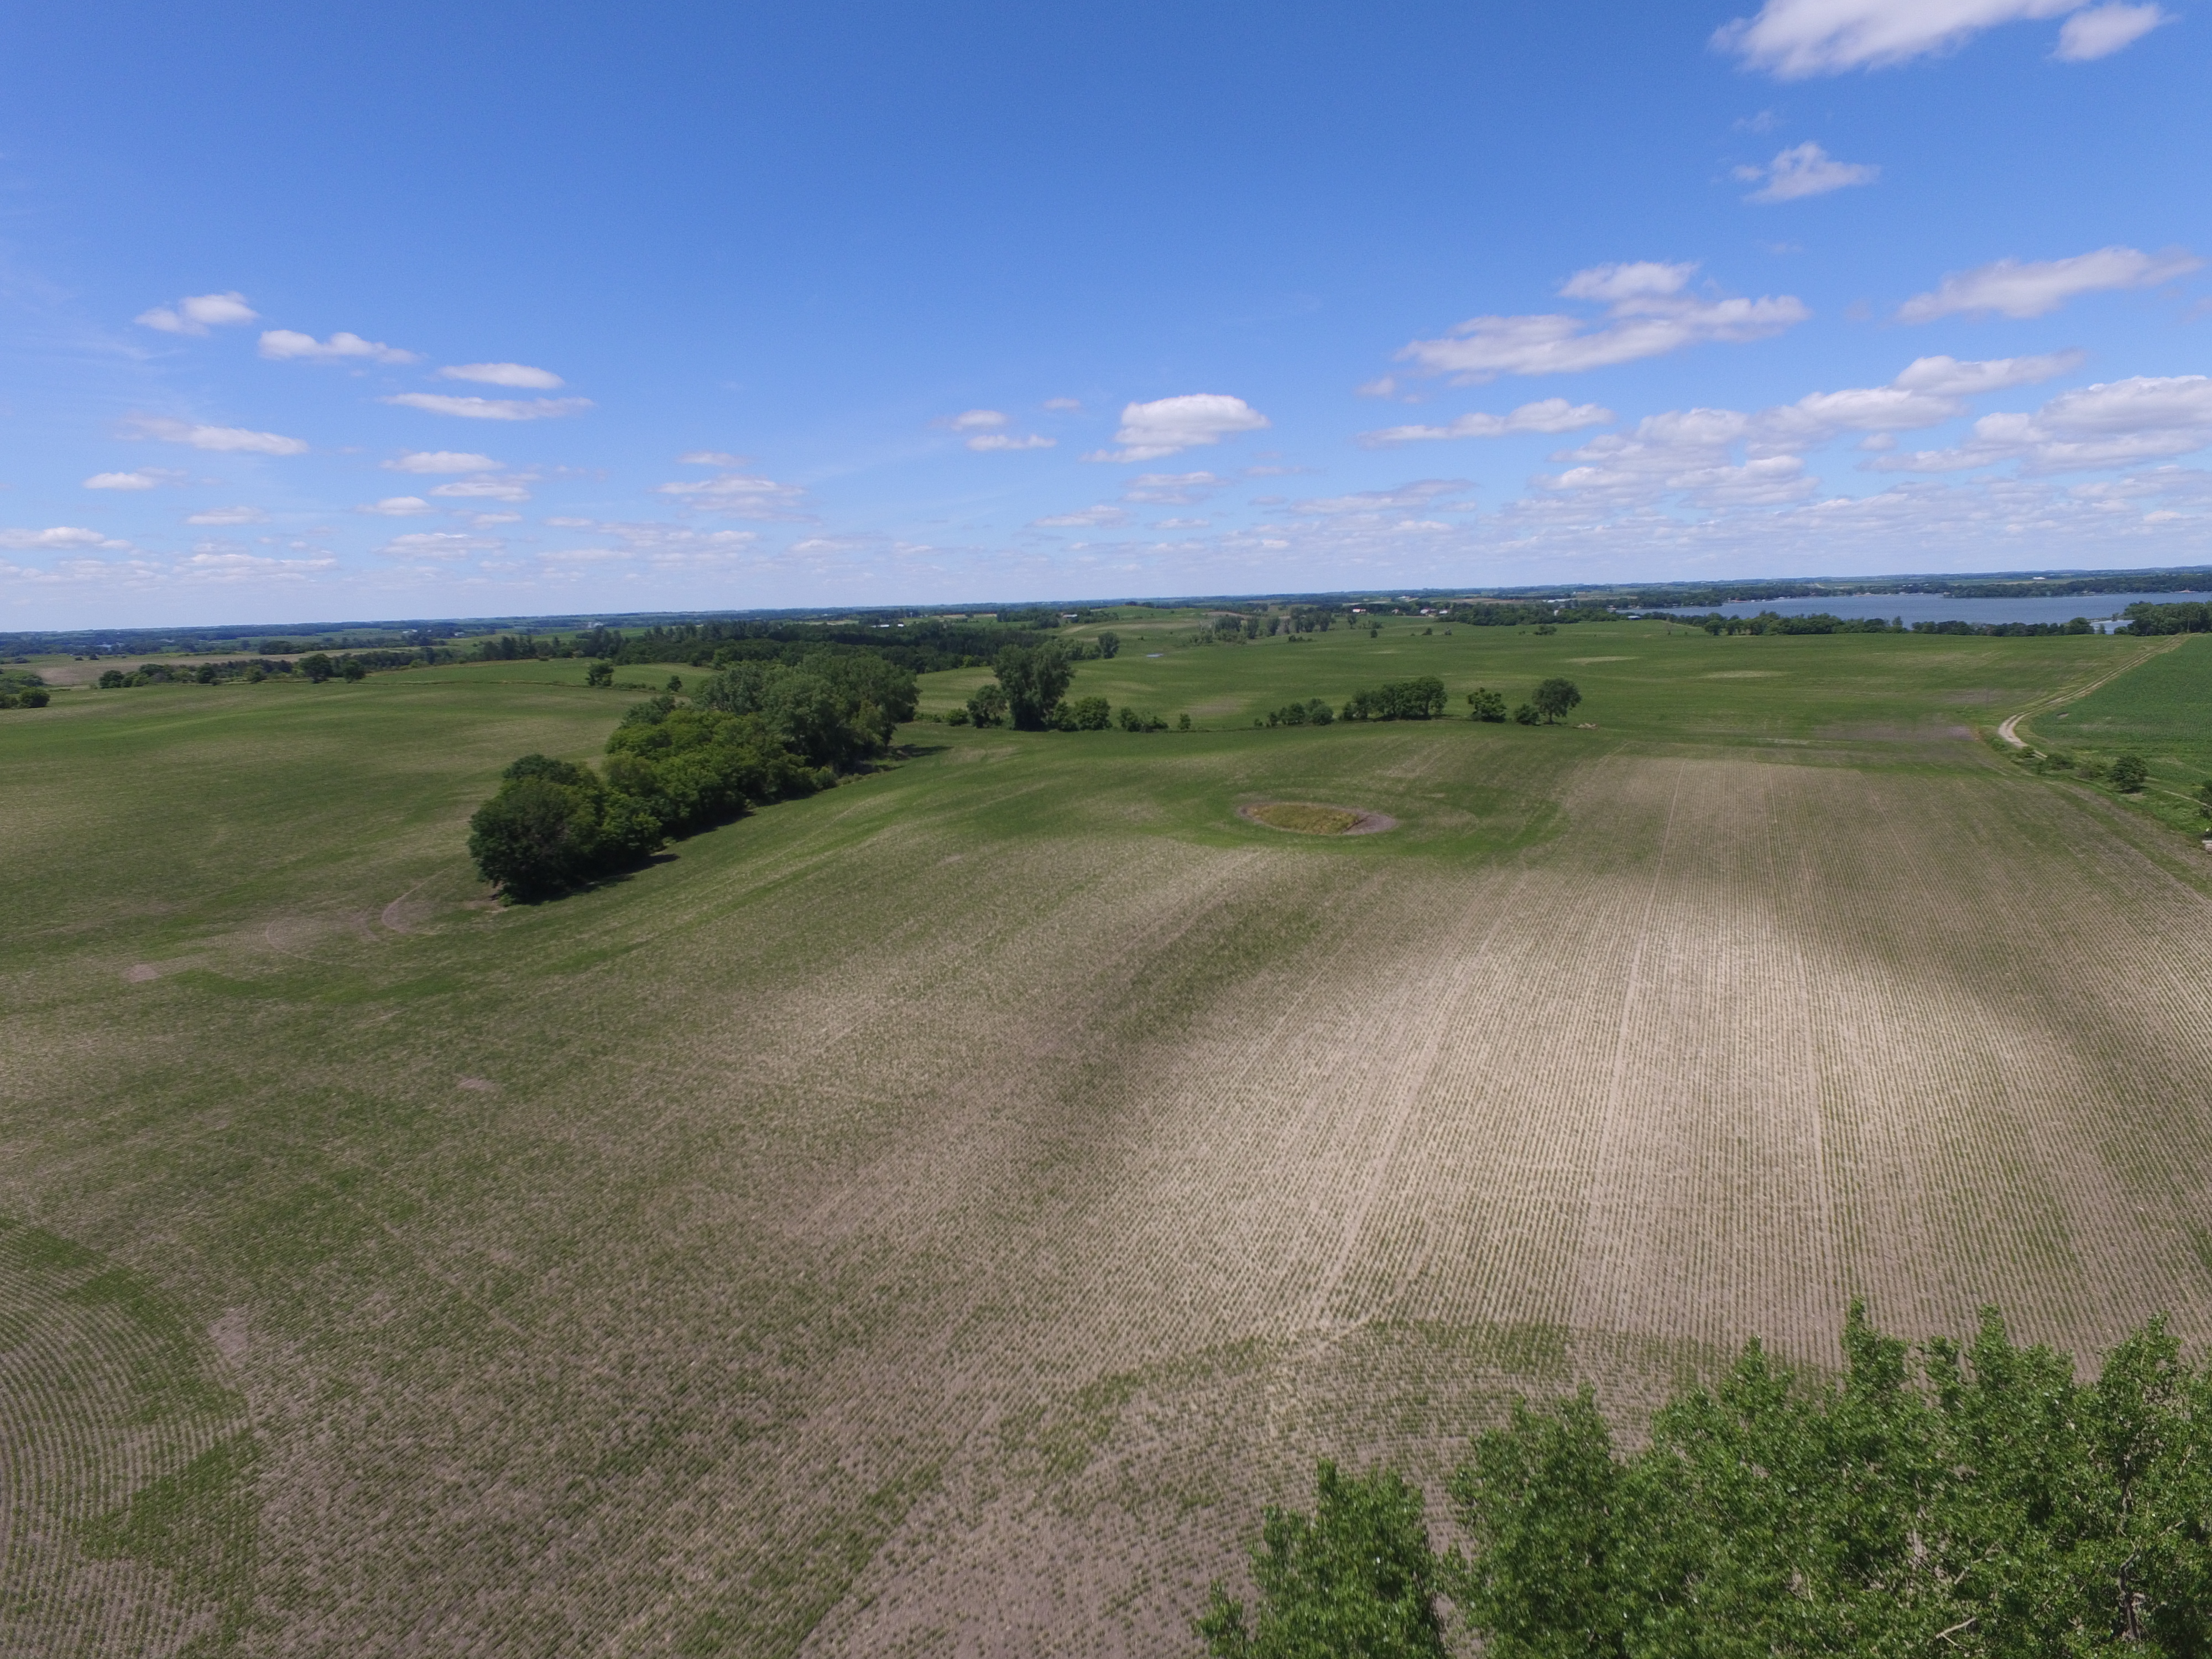
Prior to the summer of 2017, I applied for and received a Research Grant from Northwestern University to fund a study of floral resources along the roadsides in Douglas County, MN. As part of my research proposal, I planned to use the drone to take photos along roadsides to quantify the floral resources available for pollinators. The first few days I was working with the drone I was hopeful it would provide useful for answering that research question. I was able to get an overhead view encompassing all of p1, and to see some beautiful views of Douglas County.
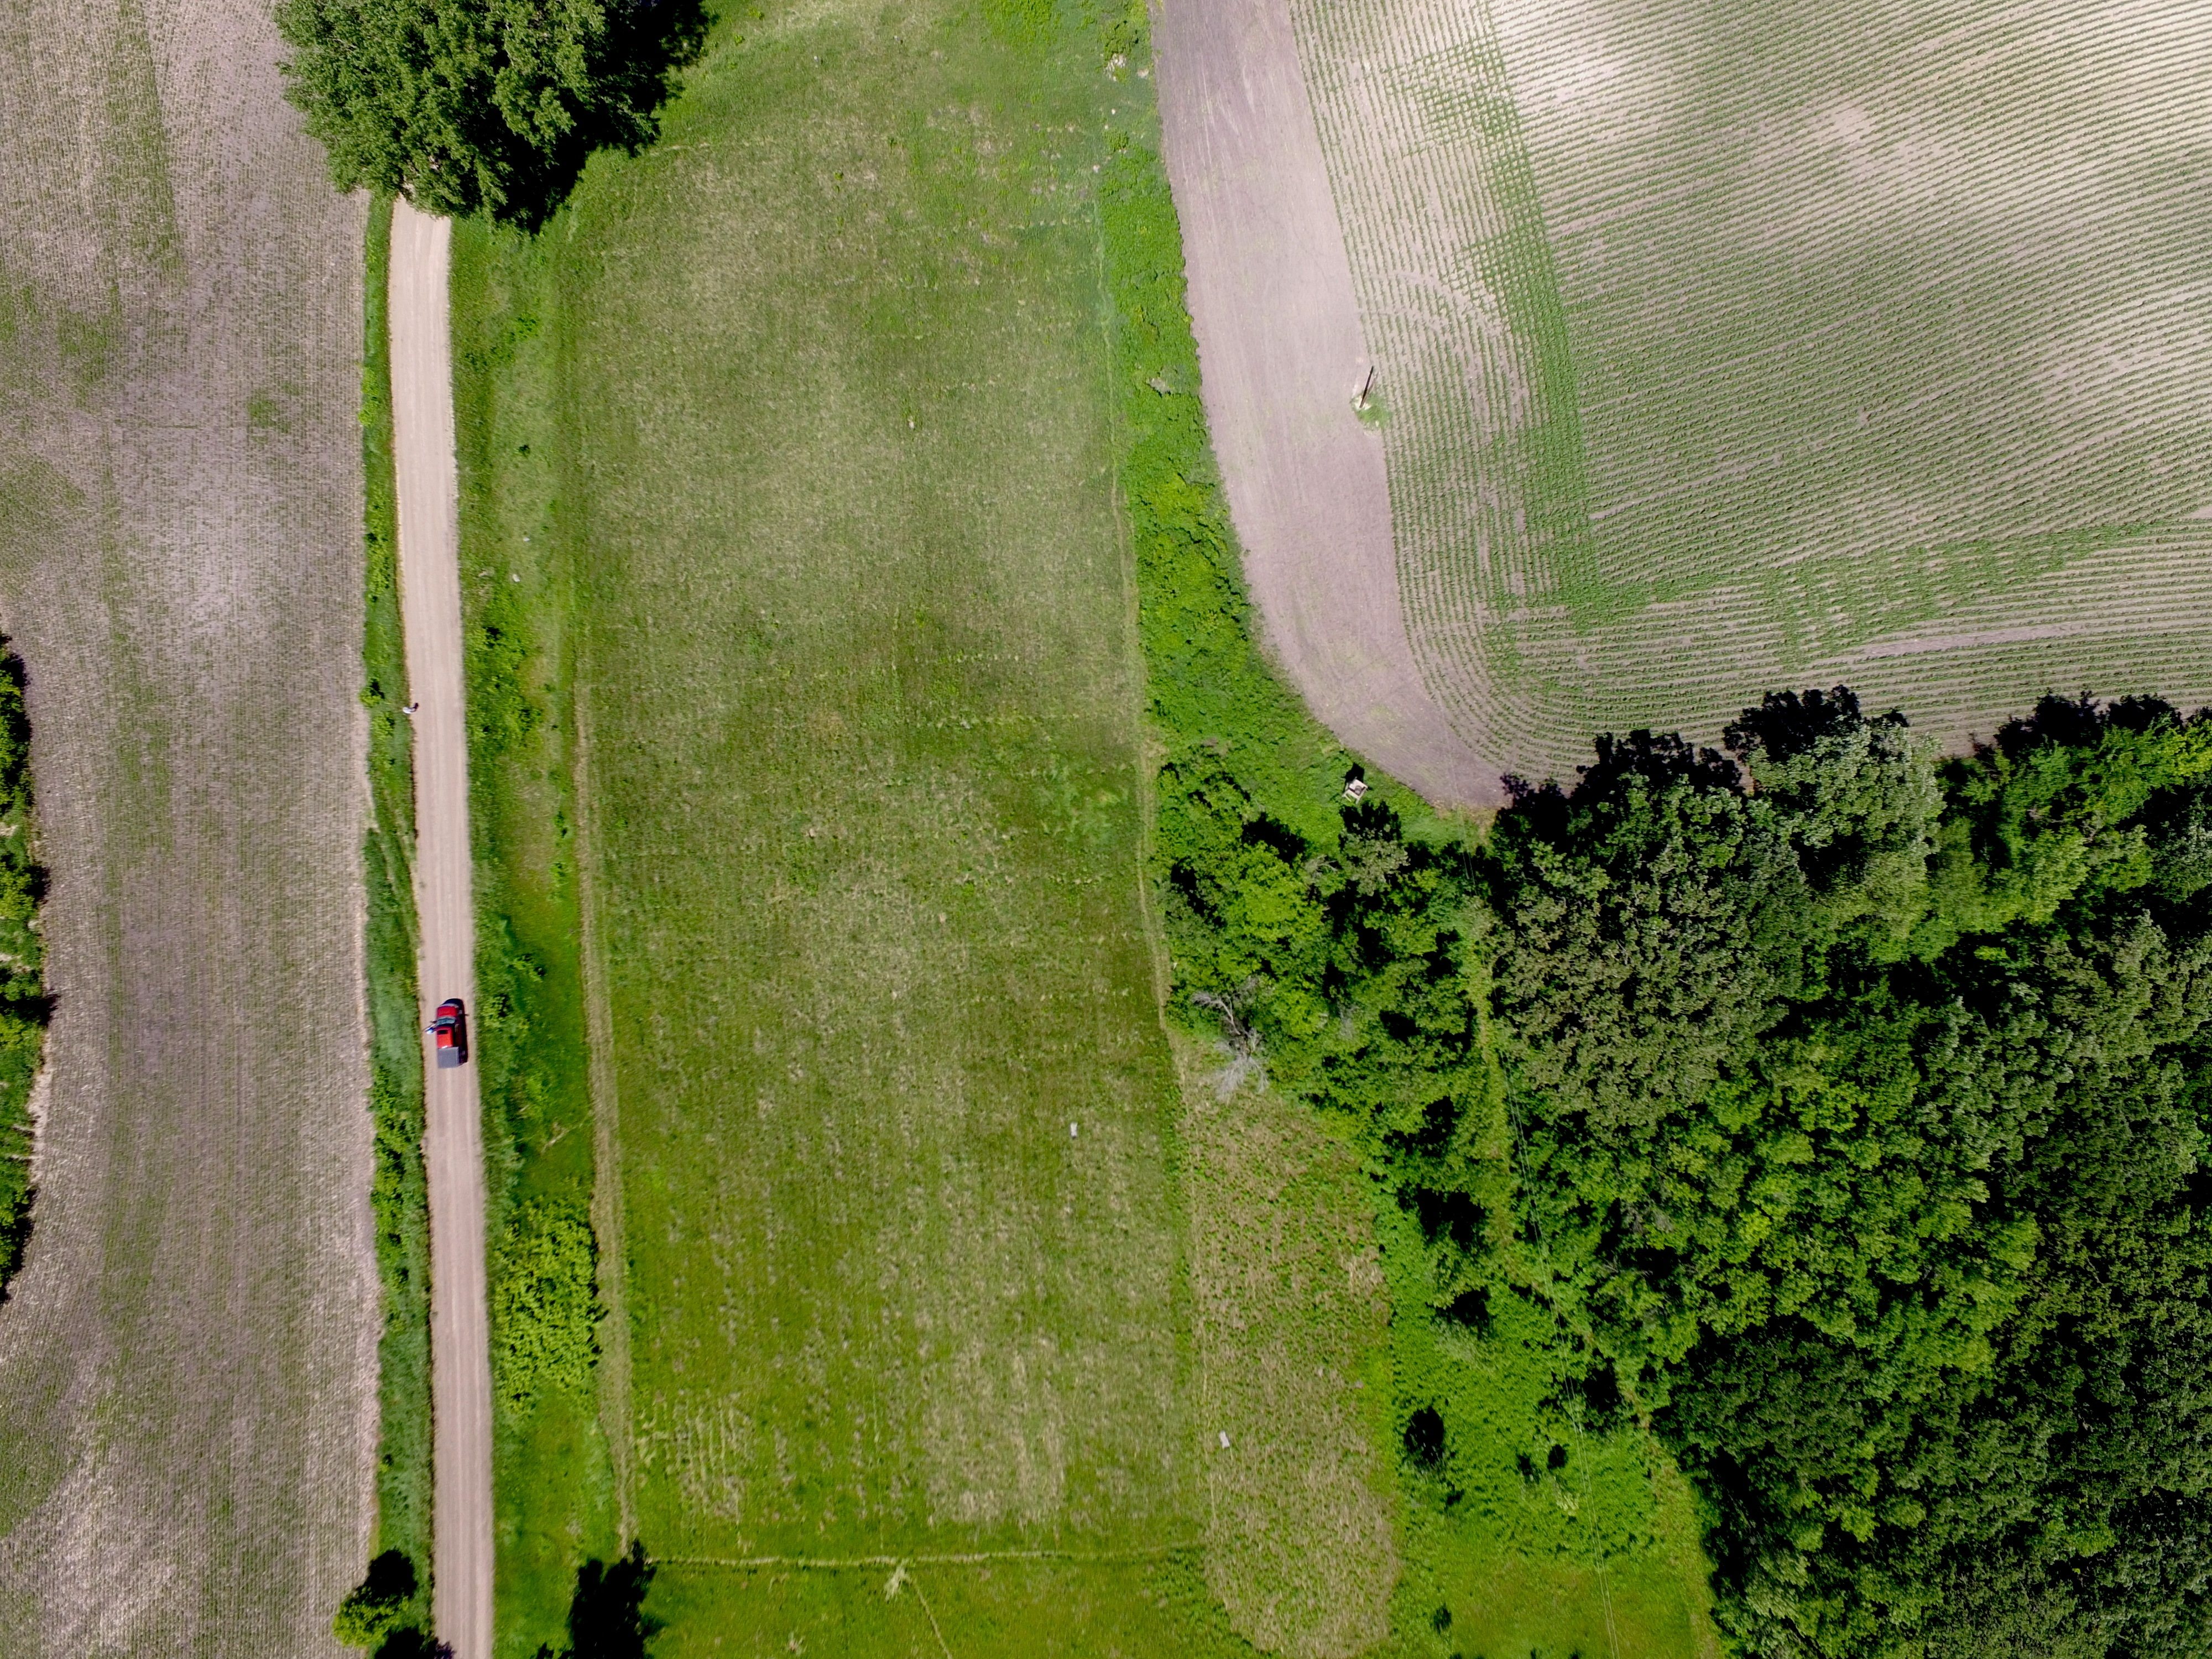
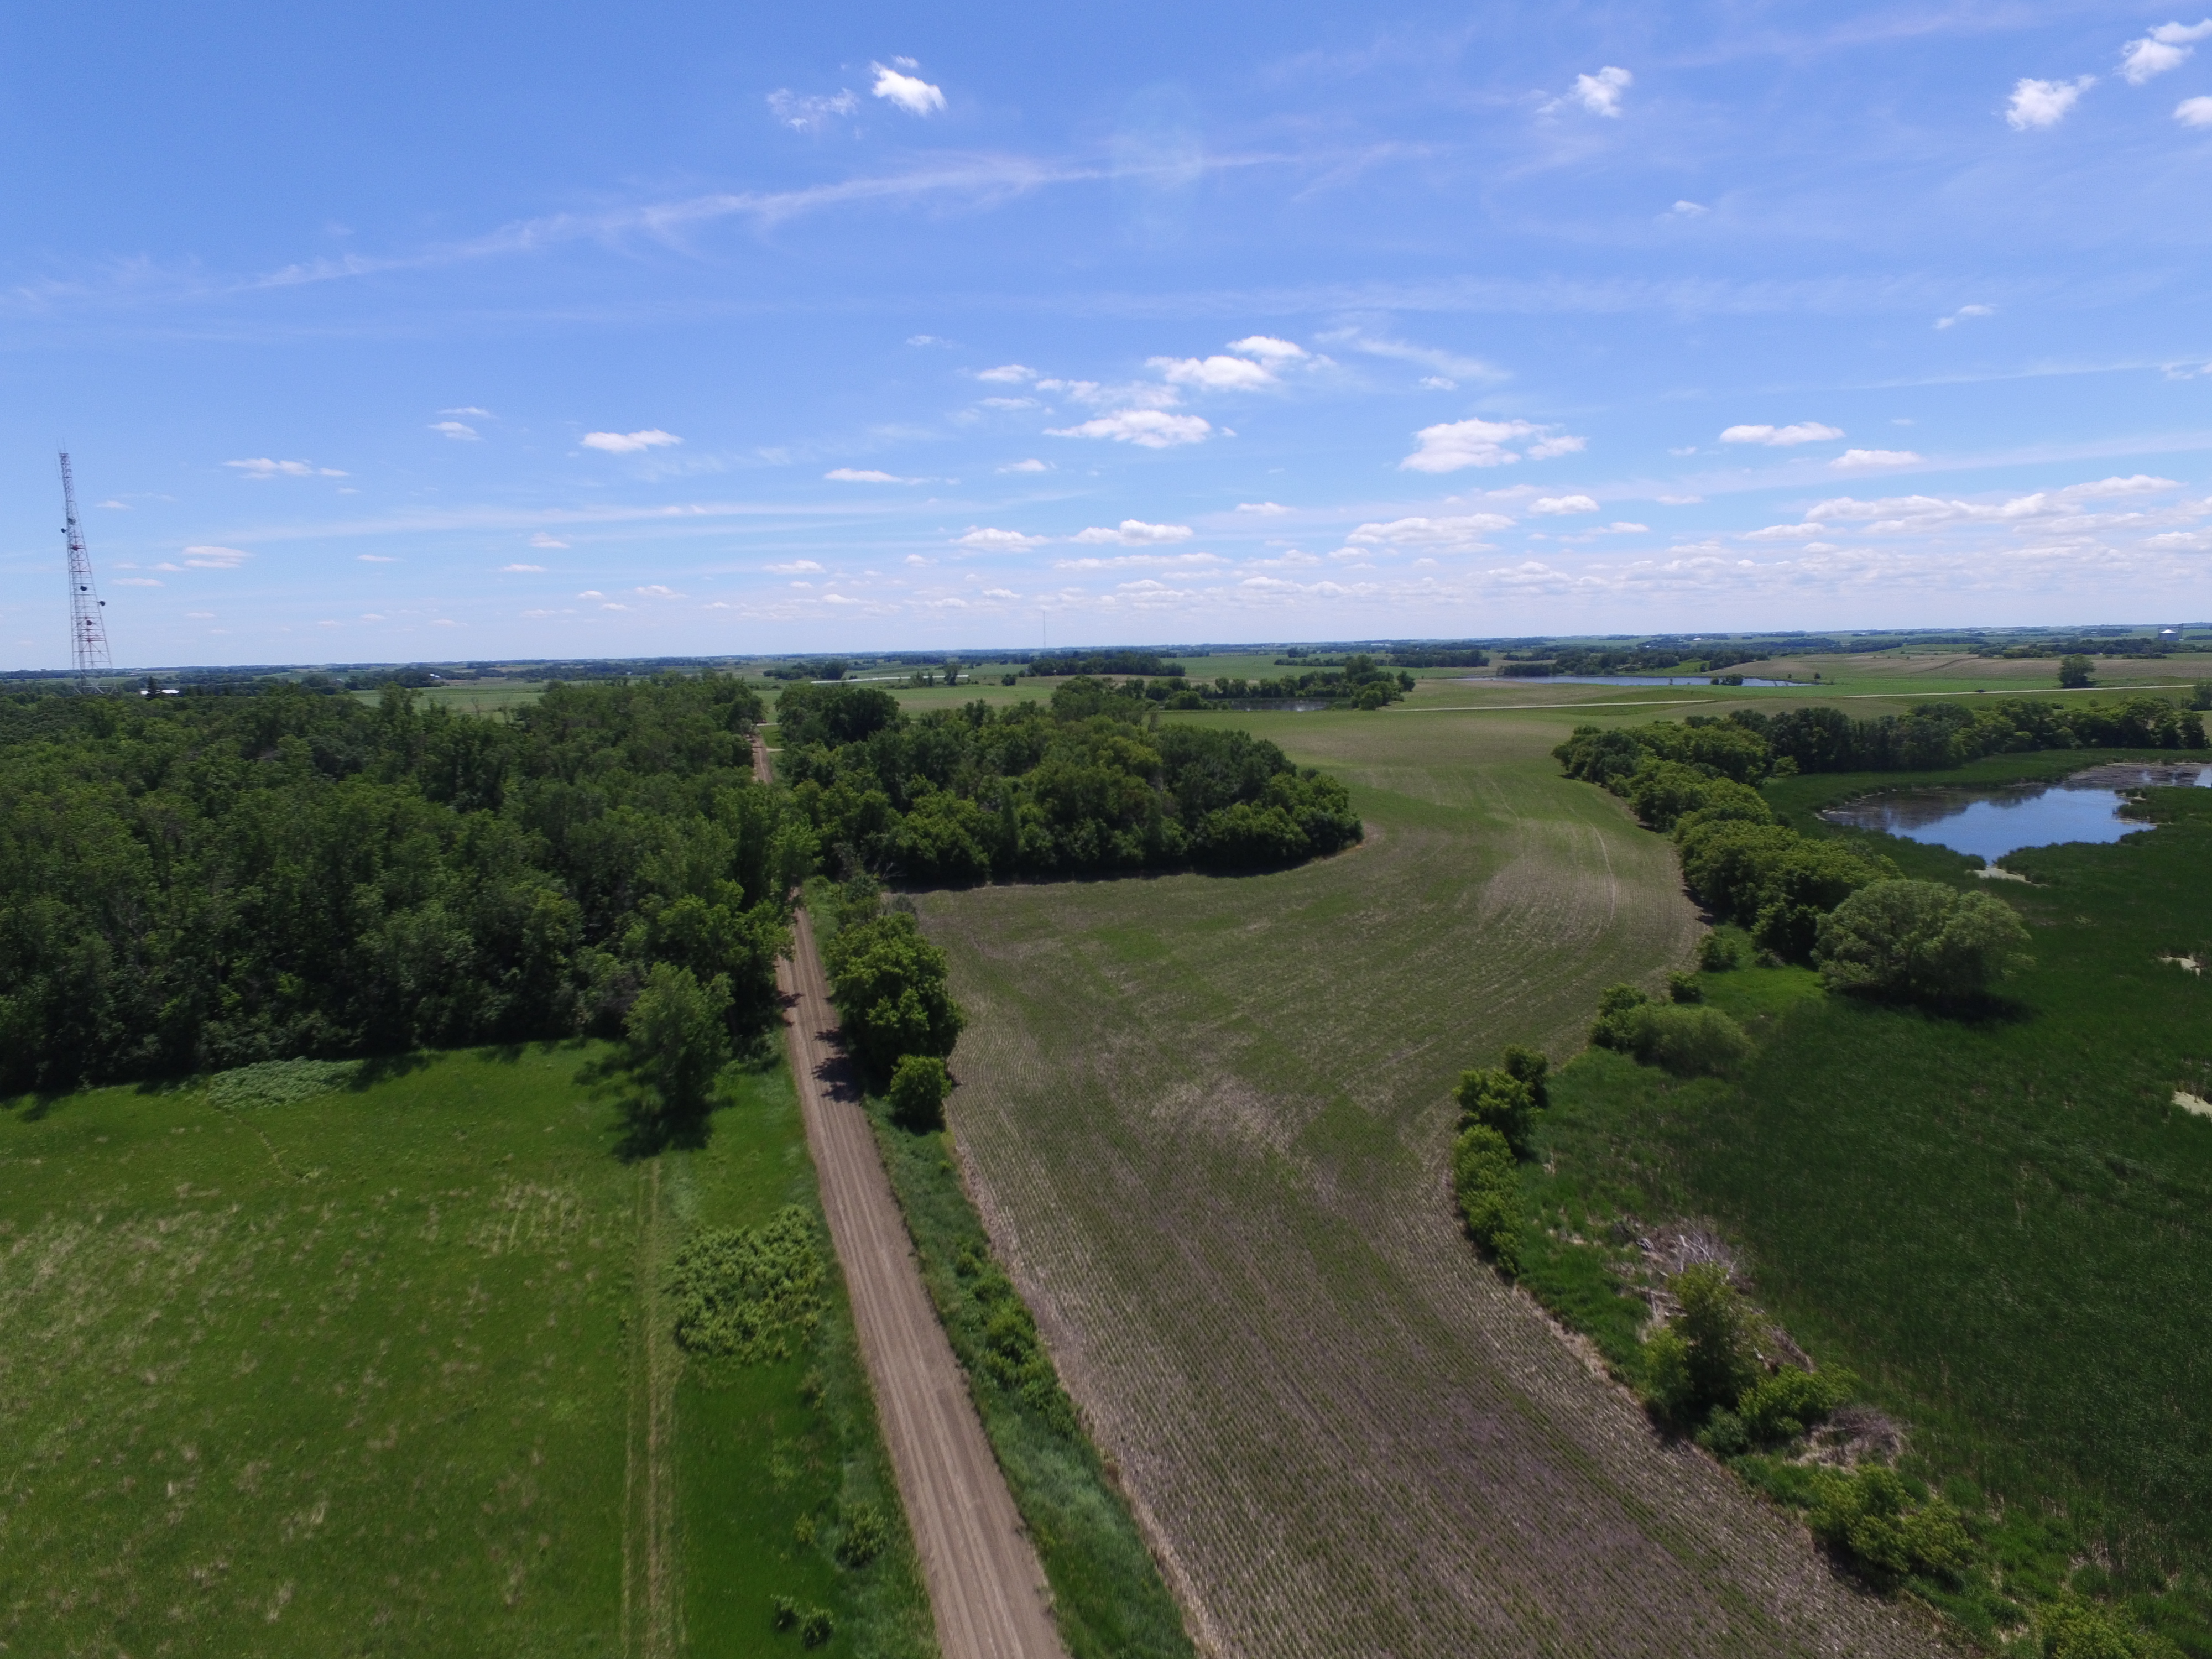
This is what p1 looks like from above today!
Douglas County, views above p1
But, as time went on, and my trials for surveying roadsides began, I realized the images produced by the drone were not going to be high enough resolution to identify different species and get accurate estimates of flower cover for the different species. This proved to be a frustrating realization, but didn’t prevent me from obtaining measures (by hand) of roadside flowering communities each week for the rest of the summer. In summation, I do not recommend the use of the drone for images where high resolution is critical. Although experts in the world of drones had thought my research questions would be adequately answerable with the resolution offered in the drone I purchased, my experience has taught me that for fine scale work- such as identifying plants and their cover- drones must have higher quality resolution capabilities to provide useful metrics. If, however, the goal is to quantify plant cover generally, estimate the percent bare ground, or look at the overall amount of green in the landscape, drone images at this quality would provide useful.
I’m excited to have worked in the Echinacea Project’s lab at the Chicago Botanic Garden for the past few days. While I was here, I worked on the seed set portion of my summer 2017 REU project (which I have now named Barto’s Nice Experiment), and I caught up with many friends from the field season. It’s definitely been a fun week for me in the Chicago area!
At the end of the summer, the team collected my experimental Echinacea heads from the Nice Island remnant in Minnesota after I left. When I came to the garden with Tracie on Thursday of last week, I began dissecting them. I started by separating all rows from each other, but I quickly realized I was only able to accurately distinguish the odd rows (which had painted bracts). To work efficiently, I categorized all achenes into 4 groups based on where they came from in each head: Row 1, Row 3, Row 5, Row 7, or Even Row. Between Thursday, Friday, and the first half of today, I cleaned my 21 experimental heads. Each of the odd rows were put into their own baggie and attached to an x-raying sheet. With the guidance of Tracie, I was able to capture images that show the fullness of all of my odd-row achenes. With this data, I can create a GLM in R like I did with my pollination data from the summer and model which experimental variables (row within the capitulum, style age, and pulse/steady pollination treatment) affected the seed set in my experiment.
For now, I am going to count the full/partially full/empty achenes in my x-rays and get ready to return to Arkansas tomorrow.
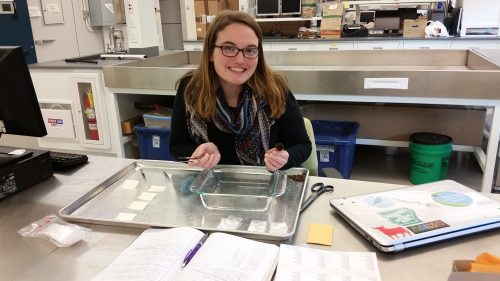
Ashley working in the Echinacea Project lab at the Chicago Botanic Garden.
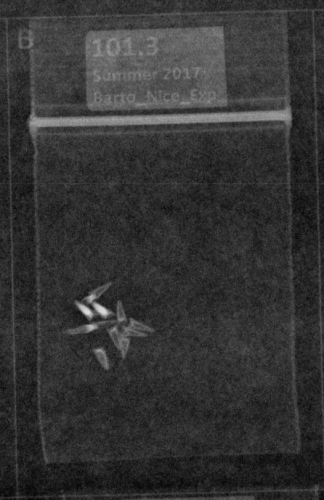
Setting up the achenes for x-raying! Each of the baggies here has one row’s worth of achenes.