|
|
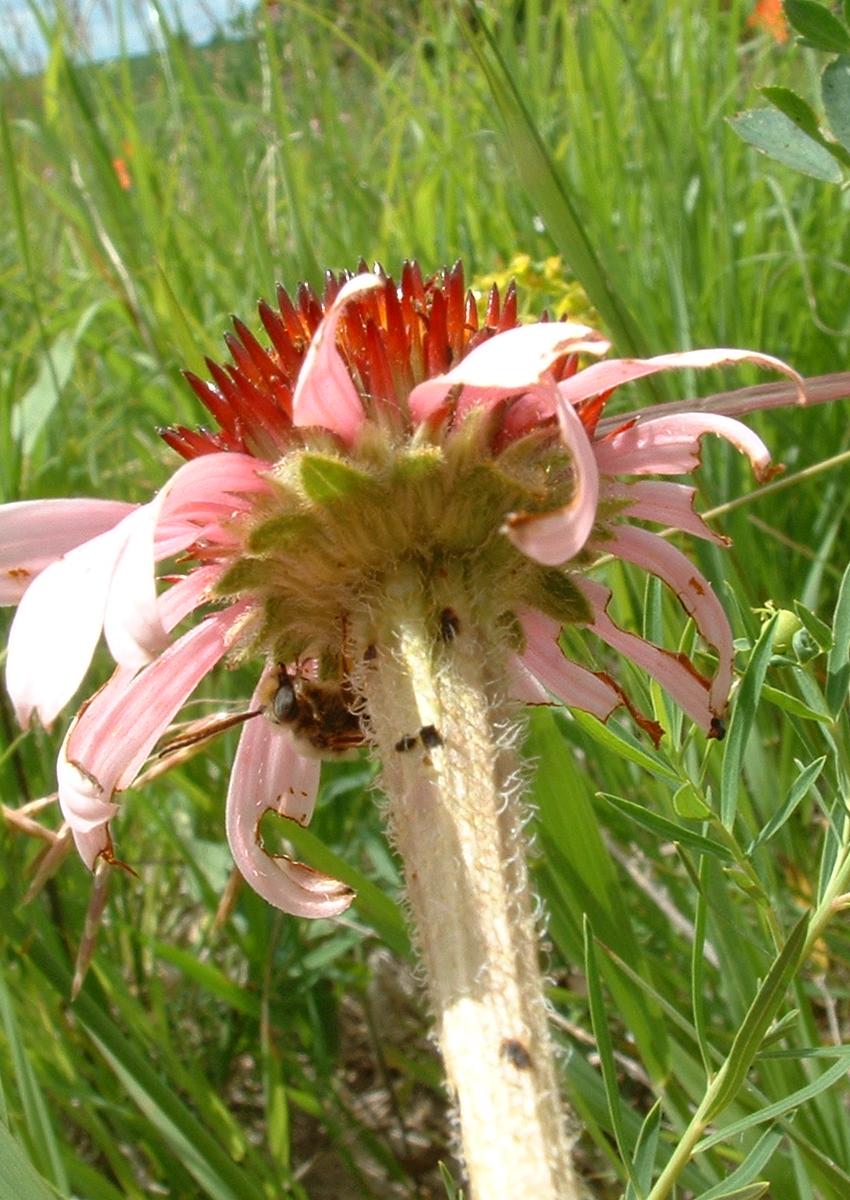
With a contraption built to take accurate pictures of flowering Echinacea heads, I assumed that fluctuating asymmetry (FA) measurements were just around the corner. Boy howdy was I wrong. It turns out, as Stuart has informed me, there are many ways in which to measure FA, each as viable as the next. The most apparent idea, though potentially most flawed, was to simply measure the length of each ray floret and compare that to its complementary floret directly across the disk. Measuring 2 pairs of florets per head seemed simple enough, though it was soon found that there are many problems with such a simple procedure. For example, this idea doesn’t take into account any herbivory/senescence that has occurred, though most methods don’t. Also, any difference in widths between the florets was ignored. This plan obviously had to go. The quick fix solution to this was to measure the width of each floret as well, and compare these numbers separately. This again causes problems, since it doesn’t take into account the varying shapes of individual florets, but rather the similarity of a total area. The florets can have a similar area and yet certainly be very much asymmetric.
The ultimate solution to these problems is to measure asymmetry with an all encompassing measurement rather than one that attempts to isolate single florets. Stuart suggested creating 2 circles of best fit; one around the ray florets and one of the disk itself (either the outer edge or the flowering anthers, both may present their own difficulties). These circles would each have its own center point, the disk circle would represent the “true” center of the head, while the ray center point would be altered by any asymmetry of the florets. The ray floret center point would be calculated based on the area of color, therefore taking into account the area of the floret without making any assumptions as to the shapes of individual florets. The difference between these two points would give a numeric value of asymmetry. It seems to be the best solution so far, but I’m open to any other suggestions. This plan, like the rest, definitely has its own problems.
In non-Echinacea related news, the chiggers continue to molest my legs, but have also (oh, so fortunately) moved onto the rest of my body. I now have a collection of bites that range from that spot between my shoulder blades that I can never reach, to inside my belly button, to the tops of my feet. Sure glad those suckers are small enough so I can’t see them sneak into all of my clothing, yet large enough to cause so much damage. I’ll keep you posted on how my itching develops.
Turns out, our camera wasn’t saving settings properly. That’s lame. I got it to work and have some slightly modified settings from Julie’s post. Here’s the rundown.
Tv mode (shutter priority)
1/1000sec shutter speed
100 ISO
focus on infinity
zoomed all the way out (shortest length, equivalent to 28mm?)
We’ve been shooting in RAW format. The GIMP + ufRAW takes care of previewing and opening the RAW files. A thing to note is that the camera’s white balance is totally off (it has a purple cast to everything) so we set white balance to Daylight mode.
We’ve also marked the string in 10m increments up to 50m, though maybe there should be more. We’ll see.
As far as lining up all the pictures, we’ll be making 1m crosses painted white and keyed with black stripes. This should allow us to have both a sense of how large the space is and the orientation of the image. This way, we ought to be able to piece everything together.
I seem to have been shanghaid into this team, at least in a supporting role. Andy bought some sort of super-batteries, which seem to have a different connector than the Sony Handycam cameras he has. So he calls on me to solder connectors for them. Turns out, our hack job only works on the newer models of Handycam, though we’re working on getting the older ones to not throw up an error.
To get the newer ones working, we plug in the original battery, plug our hacked battery into the external power port, then remove the original battery. Doing it any other way makes the camera throw an error and not turn on fully.
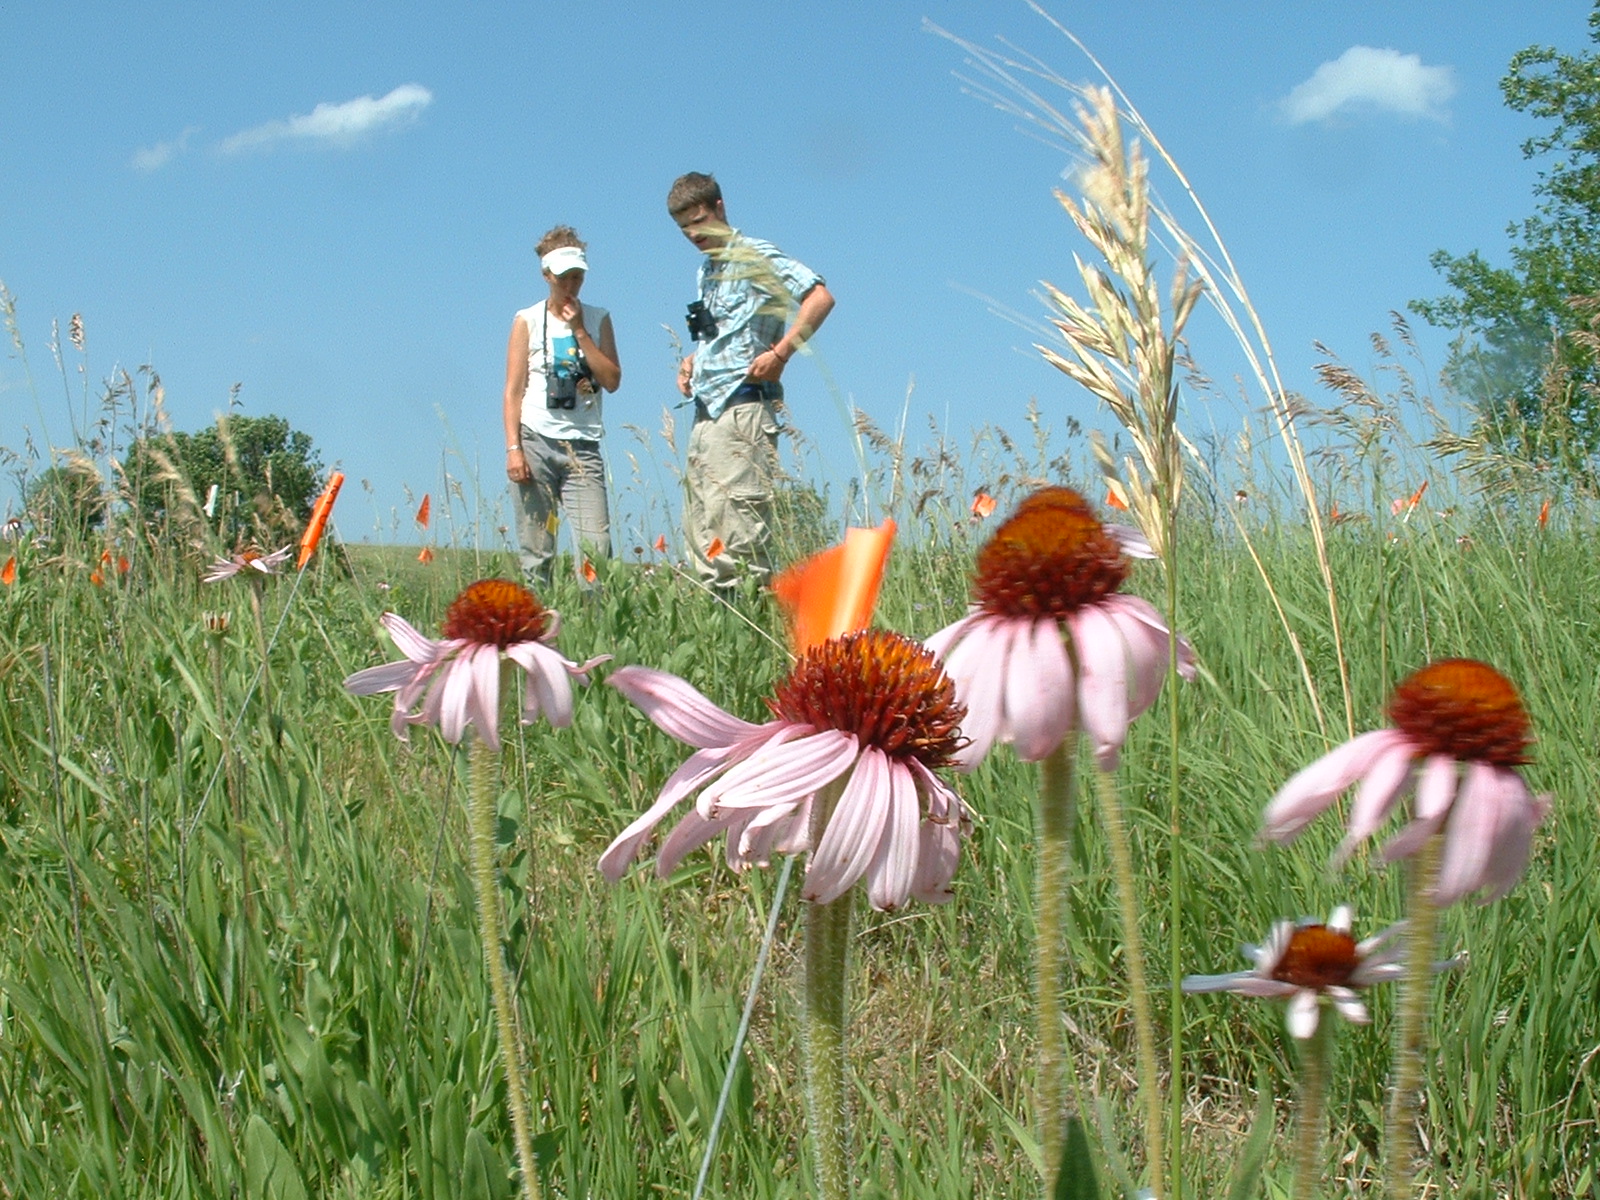
The team formally called “Team Binocular” has now been christened “Bee Team” because of our apparent lack of need for binoculars. We found after some preliminary observations that watching bees with binoculars is pretty much impossible. There is simply too much swaying of brome to be able to track a small darkly covered bee. The wind also picks up too quickly in the morning, making the bees’ flights very erratic and difficult to follow. We tried to follow the bees as they flew off the Echinacea heads, but they would usually catch in the wind and then disappear from our field of view. We also used a step ladder to see if increased height above the garden would help us, but it did not. This stage of the project was a tad disheartening and we began to doubt the feasibility of our project.
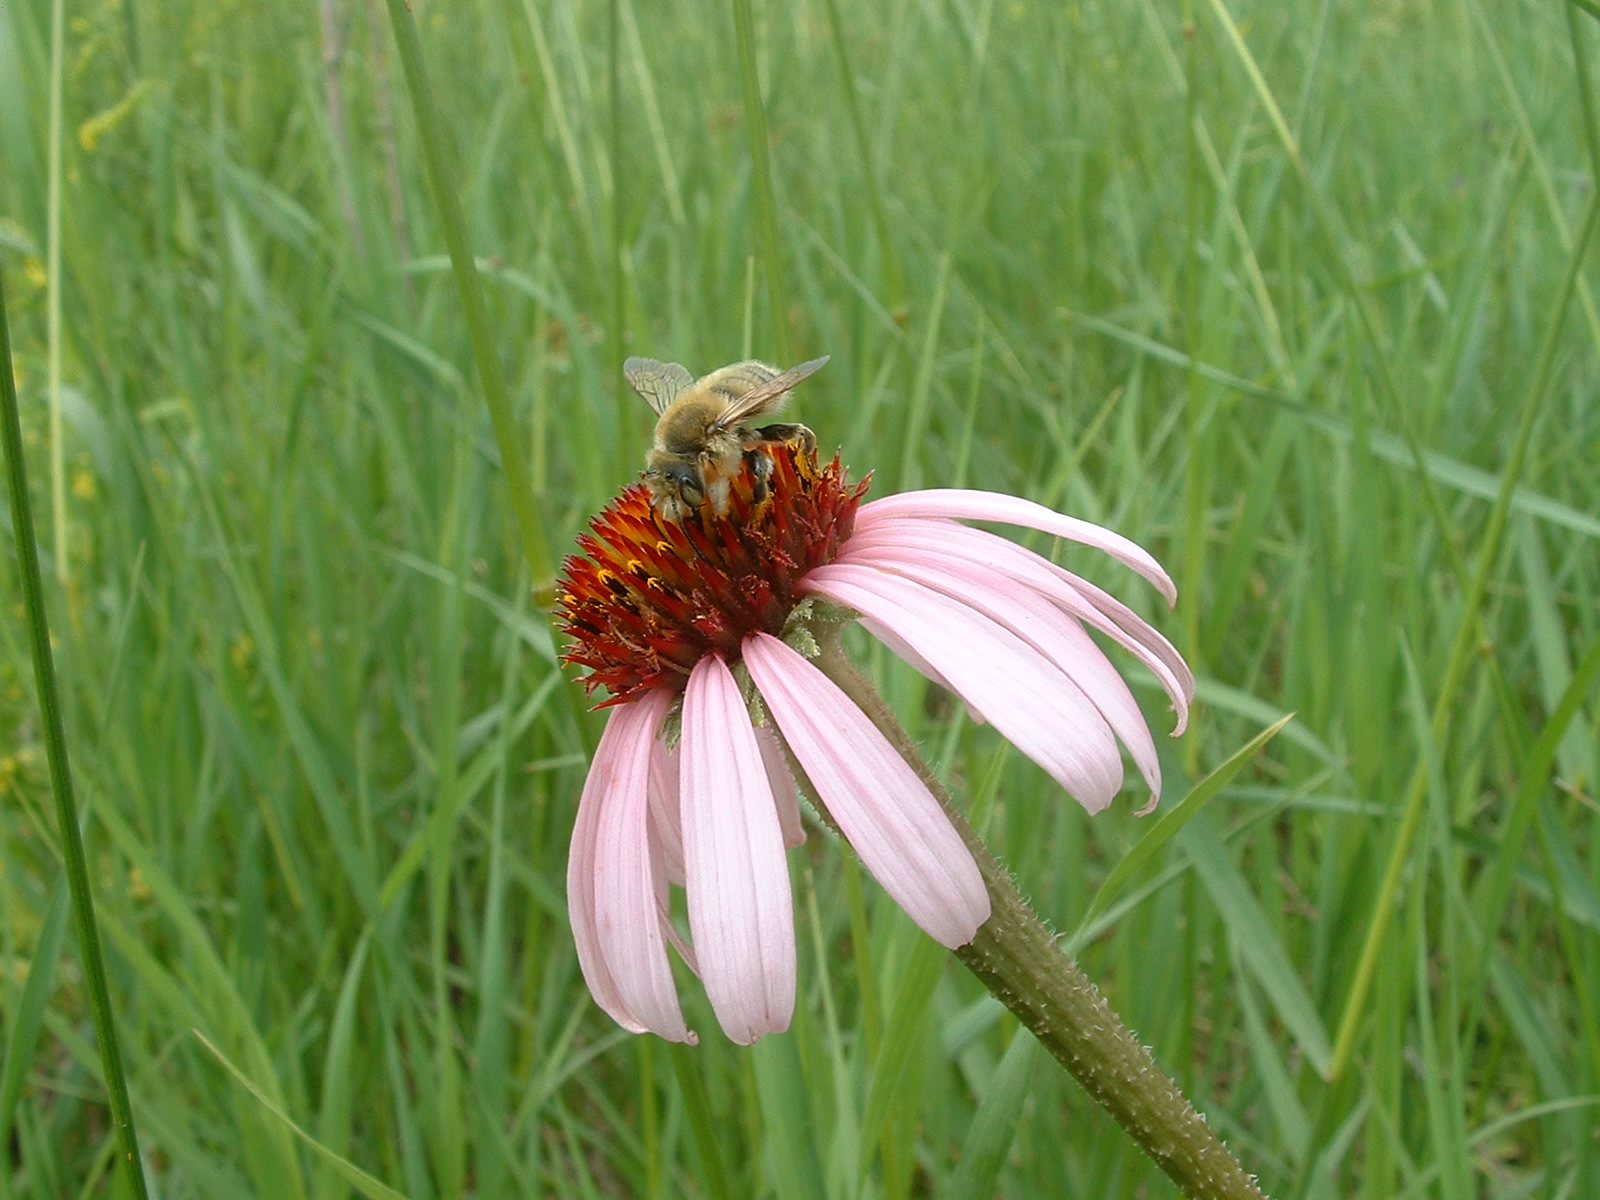
We did make some positive progress however, and found that we could often follow the bees with the naked eye. Many times we could actually follow the bee with our eyes as it flew to the next flower, although these flights were typically very short, often just to one of the closest flowers a few meters away or to another flower head on the same plant. The uncertainty of whether that bee is actually the same one led us to devise strategies for distinguishing this fact. People mark honeybees, so we figured that marking our bees the same way with a bit of paint on the thorax would be a feasible option. To determine the feasibility, I “pet” the bee with a bit of brome grass to see if we could mark the bees while they were on the flower heads. In most cases, as long as you moved slowly, the bees were not in the least bit disturbed and continued to explore the flower heads. We put small paint dots on several small non-metallic halictids that we figured we were not going to track due to the difficulty in identifying them on the fly. What was amazing was that we saw some of these bees again as we walked around the common garden not only about 5 minutes after we had marked them, but also almost an hour later when we returned to the common garden.
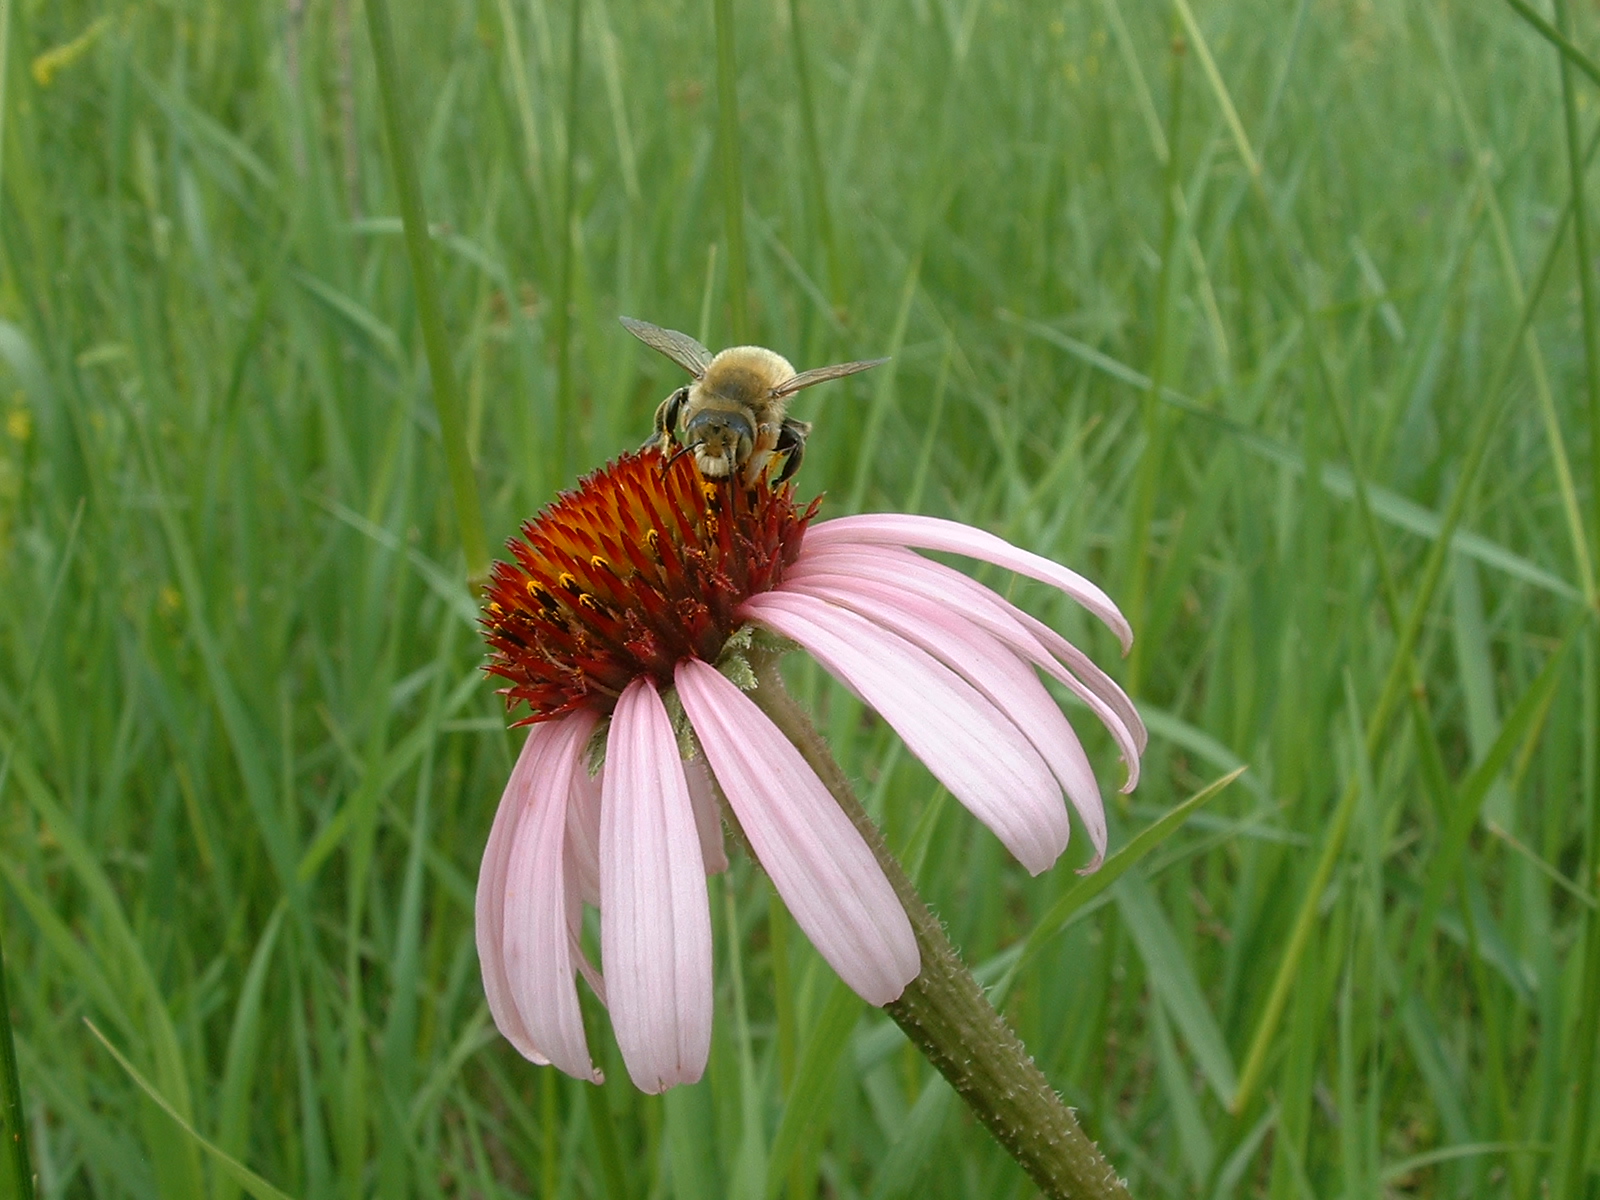
The most common bee species we saw was Agapostemon virescens, which is a Halictid with a metallic green head and thorax. This bee is fairly large and is also readily identifiable. We also saw another bee fairly fre quently, another halictid Halictis rubicundus. While this bee is also large and even easier to track as it flies because it is slower moving, it would also be harder to paint because it is somewhat more skittish and moves quicker and more erratically on the flower heads. Because of this, we have chosen to focus on Agapostemon virescens first and then maybe expand to other species.
Anyways, that is enough observations for now, but the opportunities for this project are exciting and seem very promising. Several things seem possible with this project (according to Stuart), including determination of home ranges, estimation of population size, and flight patterns.
Ian tries out his marking technique as he pets a bee with a brome straw
Tomorrow marks the official kick-off day for the Bee Team. We plan to mark several species of generalist bees found in the common garden with paint spots on the thorax. Our painted bees will hopefully provide data that will answer questions about their population size in the common garden, home ranges of individual bees, and flight path distances between echinacea heads. Before we begin marking our bees tomorrow, we need to:
-find and/or make nails with rounded ends with which to paint the bees (nails are the recommended tool, according to Ian’s online research, as they transfer thin, even circles) and
-make a pendragon form for the visors with which to collect data (this form should include date, time, bee species, paint color, plant on which the bee was originally observed, and a place for notes)
Equipment needed:
paint bandoliers
nails/other paint applicators
visors
list of random numbers
Tomorrow’s protocol:
1. Generate a list of random number 10-56. Distribute evenly divided lists of these numbers to the 2 groups of 2 people participating. Walk the rows of the common garden in the perscribed order with one person on each side of the row, scanning the row for Agapostemon virescens
2. When a bee is sighted, paint a circle circle on its thorax. After painting radio/yell to the other group and relay the color used, so as to avoid doubling up on colors.
3. Record data for each painted bee into the pendragon form on the visor
Depending on the success of our painting efforts in the morning, we will maybe begin to collect data for home range and population size estimates.
Hello all,
So this is my very first blog entry so it will be lacking all the neat links to pictures et al in that are in other people’s entries but it will talk about Echinacea.
Since this is my first blog I should probably spend a little time introducing myself. My name is Jennifer I am a in an inter-disciplinary PhD program, called LEAP, at the University of Illinois at Chicago in conjunction with the Chicago Botanic Garden. LEAP stands for Landscape Ecological and Anthropogenic Processes, it is an NSF funded IGERT program aimed at increasing biodiversity in human altered landscapes. For a much better description of LEAP see http://www.uic.edu/depts/bios/leap/. As for the Echinacea Project I have been involved with the project first as an intern back in 2003-2004 then as a graduate student (since summer 2005). My research mainly focuses on understanding how flowering phenology (when a plant flowers) shapes seed set, pollen movement, and ultimately genetic structure in a population. For more see my website at http://www2.uic.edu/~ison/.
To understand how flowering phenology shapes population structure we use a variety of methods. First we collect phenology data in the common garden. The current protocol has us counting anthers shedding pollen every other day. We then collect the seed heads in the fall and individually weigh a subset of the seeds to get an estimate of seed set. Why individually weigh seeds? Well it is the only non-destructive method of determining if an achene (the technical term for fruits in the Asteraceae) actually has a viable embryo. We know that 97% or seeds weighing greater than 2 mg will germinate and 91% of less weighing less than 2 mg will not germinate. As of this spring we have individually weighed (with the help of an amazing volunteer named Art) weighed 30,211 seeds. This June Art has embarked on weighing another 3,000 seeds from the 2006 flowering plants. So far we know that late flowering plants set much less seed than early or peak flowering plants. To get at the hereditability of flowering phenology we planted a second common garden (yes there is another common garden) on a site called Hegg Lake owned by the DNR. The site was planted with just about 4,000 seedlings in May 2006 and the plants will hopefully flower before I finish my PhD.
Finally, to understand how flowering phenology influences pollen movement we are using molecular genetic techniques, specifically microsatellites markers. Microsatellites are a molecular genetic marker that consist of repeating non-coding regions in the genome (eg GATGATGATGAT). Since they are repeating non-coding regions they mutate relatively rapidly so there are different number of repeats for the same microsatellite in a population–alleles. With these microsatellites we will be able to, eventually, take a seed from a known maternal plant and find out who the dad is. I developed microsatellites specifically for Echinacea last fall at the Field Museum of Natural History in Chicago. I now need to determine of these microsatellites I found do they actually have enough alleles to conduct paternity analysis. While everyone else has been up in Minnesota flying kites I have been spending time in the genetics lab trying to get the microsatellites to work. After spending too long figuring out the optimal number of cycles and temperature in the PCR, plus how much, if any, Mg to add I finally have been having success with about 5 microsatellites.
Today I ran four out of the five primers on 16 plants (8 from the preserve and 8 from Steven’s approach) and had multiple alleles!!! I had between 4 to 6 alleles just in these 16 plants. It was very exciting after spending so long playing with PCR conditions. It was very rewarding to run samples that actually worked and even better that all the microsatellites were at least moderately variable. My goal is to get 8 primers with all with around 6 alleles, which should be enough to do figure out who the dad is. For my next blog entry I’ll see if I can figure out how to add pictures and I’ll insert some images of my microsatellite alleles.
I think that is more than enough for my first entry. I will hopefully have more exciting news regarding the microsatellites before I come up to Minnesota (which is on July 15th).
Night!
Jennifer
Notes to self:
Equipment for MN
-2 meter sticks
-camera
-data logger (?)–talk to JF
Finish up at CBG
-put seeds into freezer–talk to AS?
-data entry for Theresa
-get tissue samples into fresh silica gel
-molecular work for John and Eric
Here is a draft for the video protocol. I’d love any useful comments you may have; it is definitely a work in progress, so if you read something and it isn’t clear, please let me know and I will change it. Thanks, A.M.
Protocol for recording pollinators:
v.1.0 (Jun 27 2007)
Equipment:
List of heads to video
A few (~5) pin flags
Five 3 x 5 in. cards and a sharpie
Set of camcorders and battery packs
A radio
1. Get a list of heads that need to recorded from Andy the evening prior to the actual recording date. Each person will be responsible for 3-4 heads for that recording day.
2. Get to the farmhouse at 8am sharp so that you can start recording for sure by 9am.
3. Make a list of ‘cue cards’ for each head that you are to record. This involves writing:
plant location (row and position), color of twist tie and date on a 3 x 5 in. card. This is the first thing you will ‘film’ when going out to the CG, so that we can match up videos to the correct file.
4. Go to each head on the list and make sure that it is still flowering. If not, then add another plant (we’ll supply > 5 heads per list), and make a note that the originally selected head is not flowering. If the plant IS flowering, then place a flag next to it so that you can find it easily. Go to the next head on the list.
5. Next, get the correct camcorder and battery (labeled A-J), put it on a tripod and put it in position over the inflorescence (head). The ideal distance is about 1 ft. away from the head with the camera zoom at about ½ max. zoom. You should be able to see the entire head; try to imagine identifying bees using your recorded image and adjust accordingly. Take a quick video of your ‘cue card’ for each head and then turn off the camera.
Set up all of your cameras first, before starting to record for pollinators. We want to start them all at the same time, so you will need to coordinate with other members of TEAM VIDEO to start synchronously (using your radios).
Make sure that there are no big branches, stems, twigs, etc. that could possibly wave in front of the camera, thus obscuring the inflorescence.
6. At more or less the same time, go to each camera and press the red ‘record’ button. Then, skedaddle away so that you don’t influence the pollinators!
7. At 4pm, go and stop each camera. Disconnect the batteries and return the camcorders and batteries to Andy. He’ll upload the video to a PC and re-charge the batteries for the next round of filming!
Dear flogophiles:
I’m trying to devise ways of measuring FA (see previous post) on our plants. Ideally, we would want measurements on several different organs or parts because if, for example, inbred plants are more developmentally unstable, it would be more convincing if they were more asymmetric in both leaves and inflorescences.
Colin is designing (and hopefully testing) the picture-taking rig for flowering heads. But, I think that it can also be used to take pics of leaves. The trick is getting the leaf to lie flat on the backing of the rig. I was thinking of buying a hand-held scanner to scan leaves in the field, but that takes 4-8 seconds per leaf, and it seems easier and quicker to just snap a picture. Also, I am not sure where measurement error would come from if you scanned the actual leaf.
My biggest concern is getting the inflorescence to lie flat on the rig backing. It is important to get the ray florets nice and flat against the backing or else you could be mis-measuring things pretty easily. I almost think it may be easier to actual measure the ray florets using calipers in the field — it would certainly be more accurate but would also take a bit longer, and you couldn’t really measure ALL the ray florets per head — it would take WAY too long.
If the rig doesn’t work, we could have three people go out with calipers, one after another, measuring the same heads and leaves per plant. You could only measure perhaps 4 ray florets per head, but this is probably OK. This could probably be done in one day! If we could get a pendragon form for this measurement, it would be great, too. So, then you would have the measurements, as well as error that could be assigned to individual observers.
One more thing: We can measure asymmetry in the actual inflorescence by measuring the length of the ray florets, but we could also measure asymmetry WITHIN each ray floret, by measuring the L-R sides. This is what has to be done for the leaves becuase they are naturally asymmetric about the stem of the plant anyway due to differences in leaf age.
OK, my thoughts for now. Things are very exciting here, I hope to get my batteries in the next 2 days so that we can get the cameras up and running by Sunday. Science is happening!
Andy McCall
|
|
