|
|
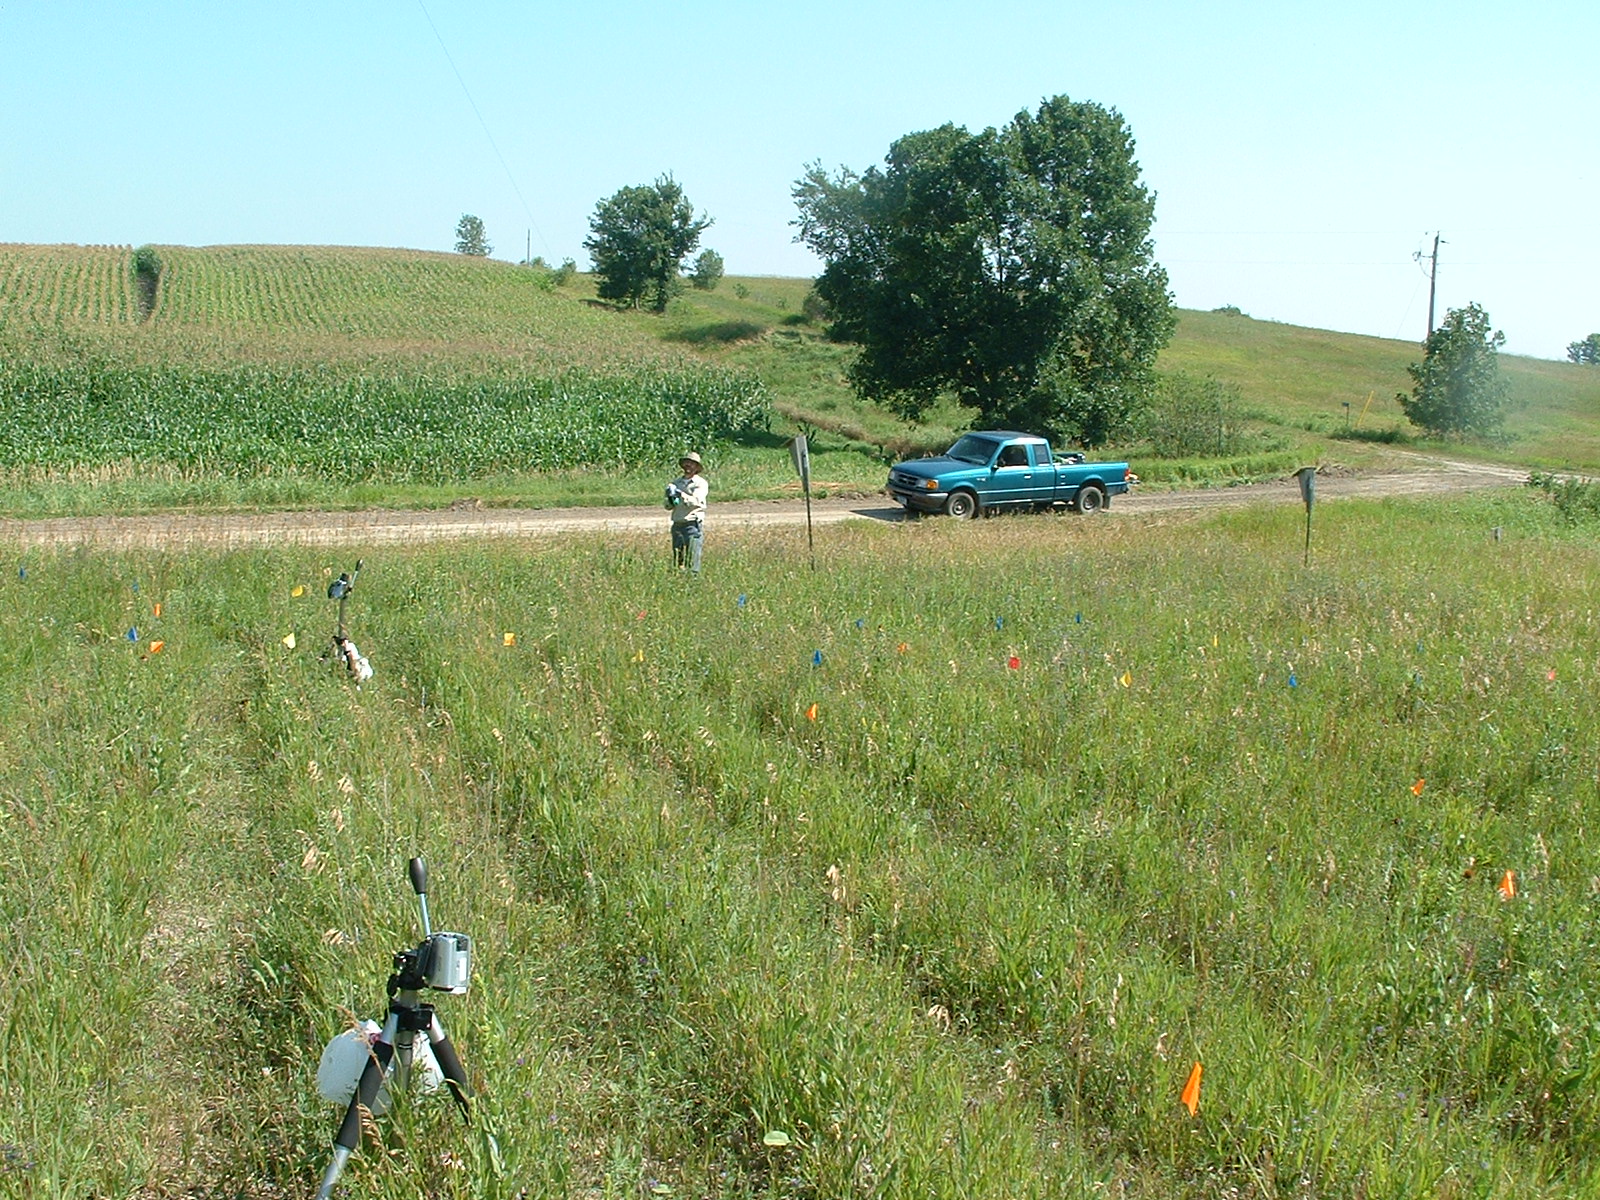
A protocol for Team Video is in the early stages, and there are many aspects to consider. While it started slow, we have found a relatively quick and efficient system for placing cameras, taking down and storing cameras, and uploading videos. Unfortunately, many additional challenges await.
Watching the 2+ terabytes of footage will be a long and arduous task, and it is therefore key to plan well in these early stages. I believe the most important questions to ask at this phase are:
What data are we looking to collect?
With so much footage we have captured a lot of different things that we could potentially measure. We can see thrips on nearly every head we’ve recorded. We also have seen many ants, though typically of only two main species. Previous hypotheses about the roles of these ants have been posted, and the videos of the flowering heads would be a great resource for anyone wanting to find out more about them. As of now (though I’m not entirely sure as I haven’t thoroughly consulted with the rest of Team Video) I believe we are only going to record information about the insects that visit the heads and not their permanent residents.
What is the most effective/efficient way to collect these data?
This project cannot be done quickly or easily. Every day that we record in the Common Garden we get about 7-9 hours of footage per camera. With ten cameras rolling that is 70-90 hours of footage to watch per day. If we record for 5 days in a week (not uncommon) we then have 350-450 hours. That’s a freakin’ lot of video! Efficiency is key, but as a wise man once said “We’re looking to increase efficiency without losing accuracy”.
It is at these questions that I hit a wall, and would appreciate the input of my fellow bloggers/fans of the blog. As of now we have been using a video player that has the capacity to fast forward at speeds up to 32x, where should the line be drawn? At some point well below the 32x speeds, we might start missing things. Some bees only remain on the flower for a second or two before leaving, and the watcher of these videos may not catch these visits. However, there is really no way to watch these videos at normal speeds and expect to finish before the end of the decade (let alone the end of the summer). Also, a question directed at fellow Echinacea team members; are there data that you would like to be gathered from these movies that I haven’t mentioned? The ball has been passed into your court…
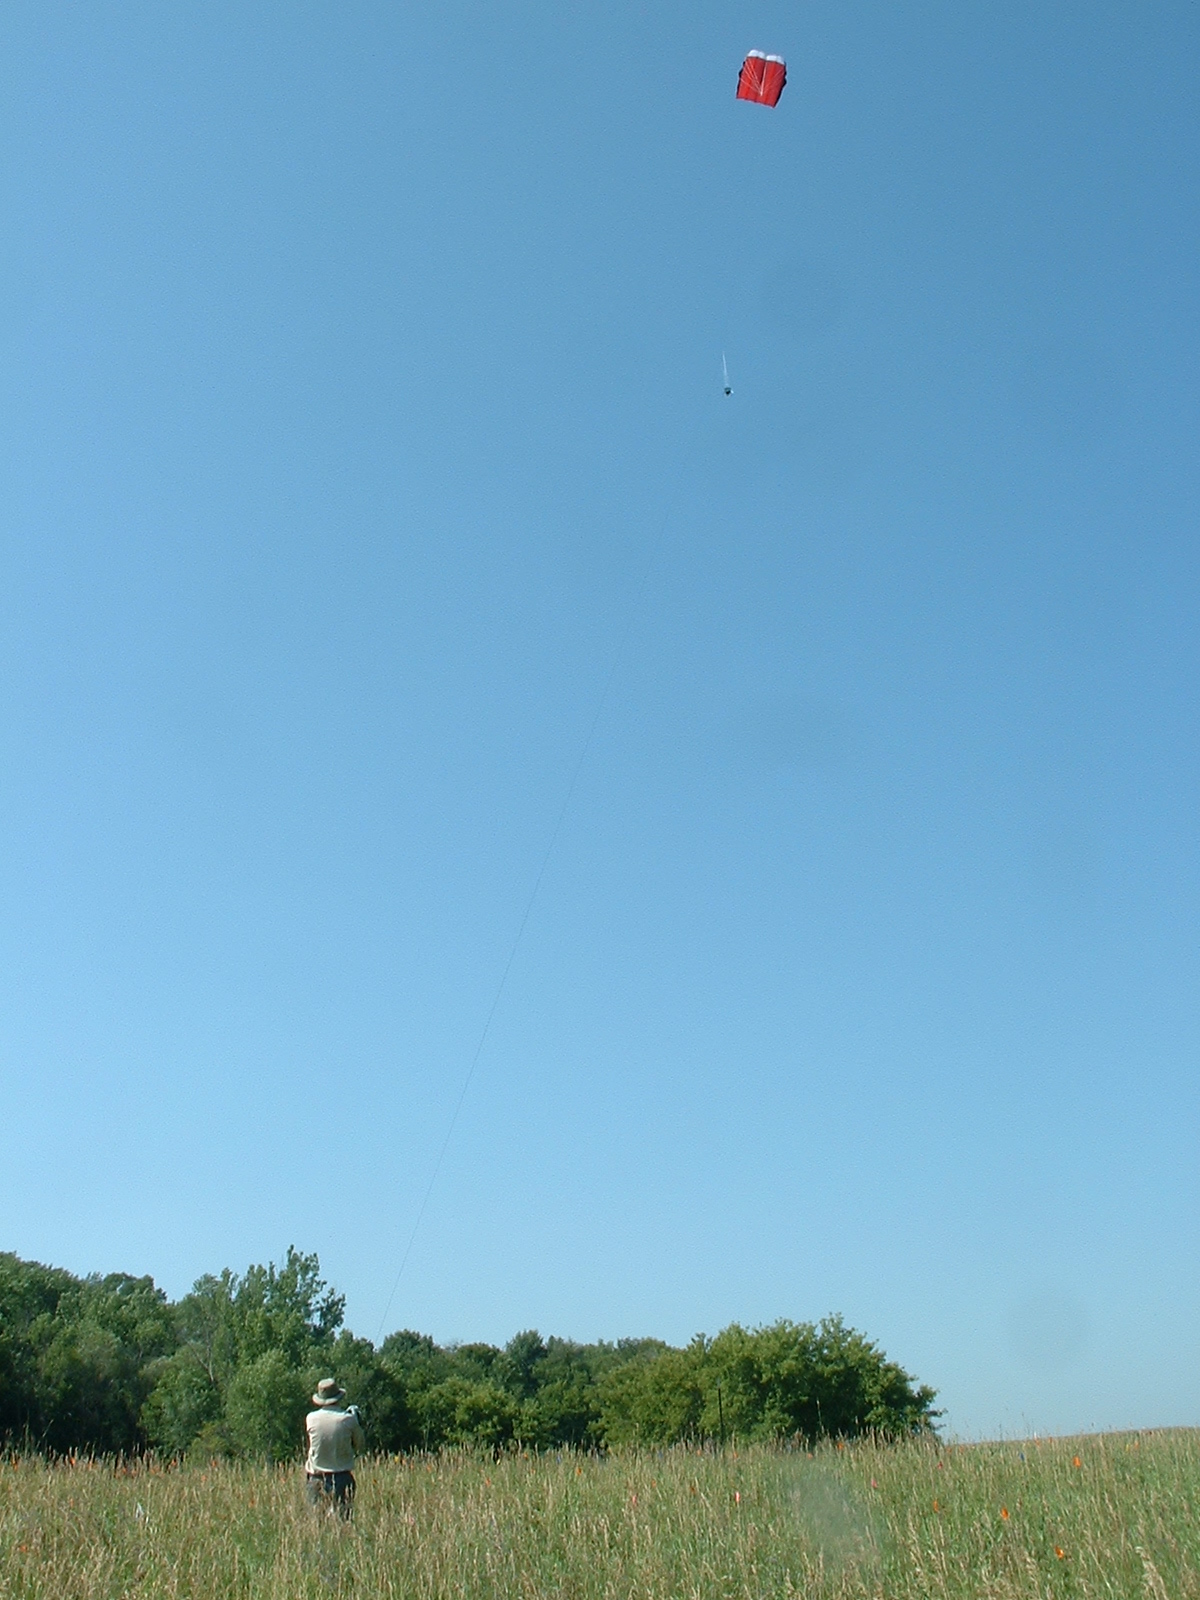
Kite Aerial Photography is not going well. Friday the 13th was a particularly bad day.
MORNING: In the morning Josh, Julie & I drove to NNWLF. We set out ground markers and got the kite up. After we got the camera up we realized that the remote control wasn’t going to gain us much with the canon S70 because it take about 10 seconds between shots in the RAW mode. The interval on the timer is about 15 seconds. Then the camera battery ran out ARG. So, we went back to lunch.
AFTERNOON: Armed with fresh batteries we went back to NWLF and set out the ground markers, got the camera up, and took a lot of shots. Or so we thought. When we returned I found that there were no photos on the card. We’re not sure what happened. Perhaps the LED didn’t trigger the sensor. The problem was we didn’t check. ARG.
EVENING: Julie & Josh painted the kite line at 10 meter interval, so we could gauge the height of the camera. When the paint dried, I went out the roll up the string and found it was in four pieces. Some animal had chew through the line in several places. ARG.
Well, we are learning a lot. We have a long way to go before we are a well-oiled KAP machine.
Of course there was a fine finish to the day. I was working on the computer and got distracted for a few minutes. Then I heard thunder in the distance and the power went off for a few seconds. I lost the first version of this lament. I then pulled the plug on all computers and went to bed.
Our initial protocol for painting bees called for painting bees as they were collecting pollen on the flower heads using a small paintbrush. Before starting painting, we had created “paint bandoliers” that consisted of microfuge tubes filled with different colors of paint and then taped in a line with duct tape to keep them together. We ordered the colors according to the rainbow to make it easier to keep track of the colors. Each color was given a three letter abbreviation. Painting the bees with paint brushes was fairly easy, but the shape and thickness of the dot had the possibility of being very variable. After researching bee painting, in particular queen honeybee marking, it appeared that the ideal dot that would last the longest amount of time is circular and uniformly thin. To obtain this ideal dot, it was suggested that a piece of wire whose diameter was the size of the desired dot be used.
We made new painting implements based on this information. We cut the wire on flags into about 15 cm sections, sanded one end flat, and then made handles for them from sticks and tape. We bent the sanded end about 45 degrees roughly 2.5 cm from the end so that we would be able to more easily paint the bees. At this point we were only marking Agapostemon virescens. It proved to be harder to paint them with the new tools as they were collecting pollen from the flowers. We had problems both getting a good dot on their thorax and also avoiding painting any other part of the bees, which would then decrease their survivability. We eventually planned on painting Melissodes. If we started painting them as well as A. virescens, we anticipated more problems with painting them on the flower heads because it appeared that they spent less time on the flower heads and moved faster and more jerkily while on the heads than A. virescens.
After a few poor painting jobs, we decided to chill the bees. The new protocol which proved effective was to catch 2-3 bees as we walked the random rows and then place them in labeled vials. These vials were placed in small lunchbox coolers that had ice packs in them. At first we used both glass and plastic vials, but we found that the glass vials worked better because the glass got cold while the plastic did not. We initially had 1 ice pack in each cooler and this worked fine for a little while, but once the ice pack was no longer very cold, we had problems with bees simply flying away before they could be painted or moving around too much for an easy paint job. To remedy this problem we started using two ice packs per cooler, which helped.
I found that the best way to continue to keep the bees cold was to paint the bees while they were still sitting on the ice pack. I left the ice pack in the cooler and placed a plastic bag on top of it. I did this so that the bee would not get wet from the condensation on the ice. This method worked rather well and the bees were usually very sedated and easy to paint. Working with the bees in the cooler also shielded them from the sun, keeping them cooler. One difficulty was making sure that the bees did not simply roll over on their backs in their stupor and smear the paint spot. Painting the bee on ice worked very well, but it also caused the ice packs to not last quite as long. It would be a good idea to have several other ice packs on hand in a larger cooler for when the first ones lost their coldness.
After painting a bee, we gently removed it from the cooler while it was on the plastic bag and allowed it to warm up in the sun, at which point it flew away. We released all of the bees within a few meters of where they were captured.
Pictures of equipment and painting will be posted once Andes has internet
The frequency of bee sightings has slowed down in the past couple of days, but in the mean time we have been typing up our updated protocols, and begun looking at the data that we’ve collected. Read on for detailed protocols, the musings of this year’s Bee Team, and tips for next year’s Bee Team.
Bee Tracking
After we had painted a sufficiently large number of bees, we transitioned to tracking their flight paths between Echinacea heads. Our goal with this project was to obtain data that would allow us to determine average flight path distance of the pollinators between heads and therefore get a better idea of gene flow within the garden, and also to see if we could estimate the home range size for individual bees.
Our protocol for tracking bees didn’t undergo too many changes from the initial version. The biggest challenge that we ran into was keeping up with the bees both visually and in terms of taking data. We updated the visor form several times to increase the efficiency of the data taker. The current form seems to work well, although we’ve considered the idea of taking data on paper. It would also streamline data processing if the visor/paper form could assign and group each flight series by an ID number.
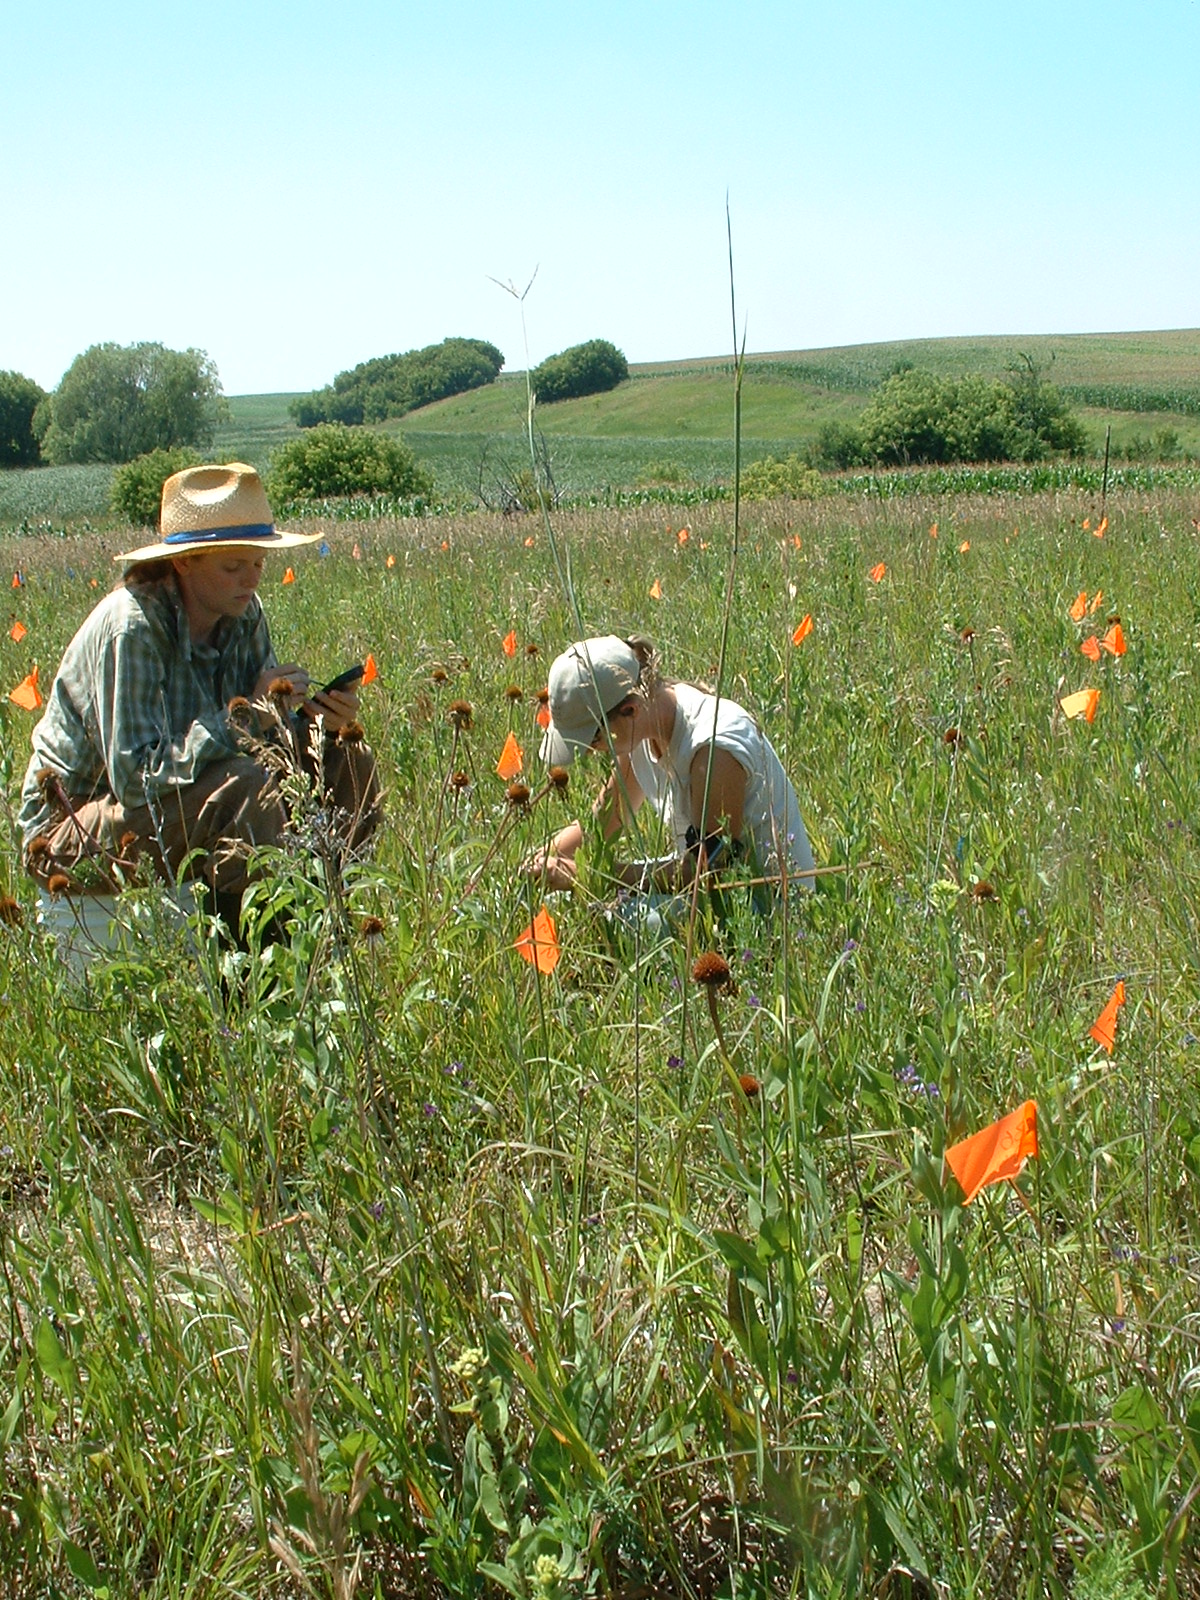
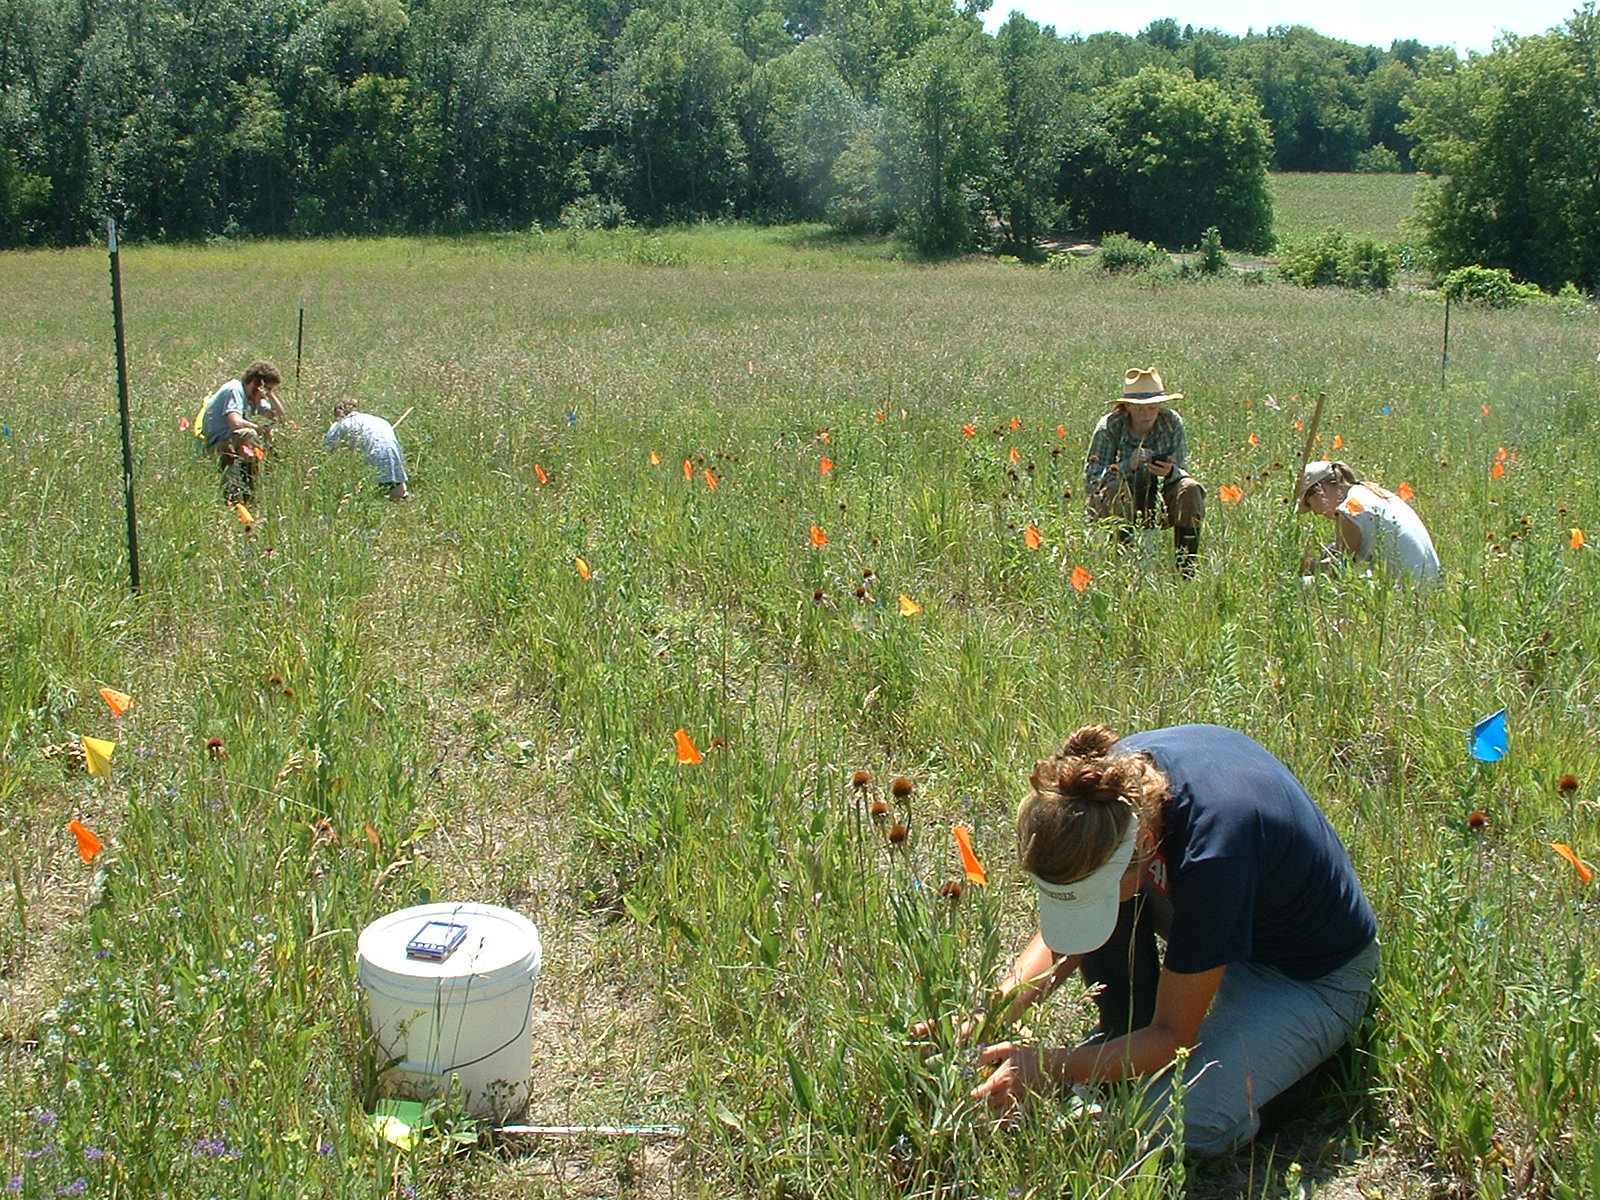
We found that it was most effective to work in groups of at least three, and up to five. One person would be data taking on the visor, and the others would be visually following the bee. It was best for the trackers to stay back a couple of meters from the bee so as not to scare it, and for the trackers to be spread in a circle around the bee, so that it could be tracked in any direction. When the bee left the flower, the trackers would call to the data taker that the bee had left the head, so that they could prepare a new data point in the visor, and would then call out the new plant coordinates and twist-tie color. If the bee visited multiple heads on one plant, the second, third, etc. twist-tie colors were recorded in the notes instead of calling up a new form every time. If the bee was lost for more than ten seconds, we marked lost track, and then would resume with a new flight ID for the next bee, even if it was the same bee that we had previously been tracking.
Because we got all the details of this protocol worked out after the peak flowering, there weren’t many bees still in the garden when we were searching for them. As a result, we tended to concentrate our searching for bees in the ’96 garden where the flowering plant density was the highest. This made the most efficient use of our time, since we weren’t randomly walking rows with few or no flowering plants, but resulted in a data set that is concentrated in one place. Therefore, our data, especially when it comes to home range estimates, may be inaccurate, as we concentrated our time in the one area.
Miscellaneous Info
We the members of the Bee Team (formerly Team Binocular) have done our best to track, mark, and record the position of bees in the common garden for the last several weeks. Our first suggestion is that you start early. This year we got a late start compared to the Echinacea flowering. We also had to figure out all the protocol from scratch as well so in the future this project can get organized shortly before flowering starts to be ready when flowering starts. Pollen set and bee activity are closely related and are both tied to weather.
After trial and error, we found that the best time for finding bees in the common garden was right around 7:30. Agapostemon virescens tended to be out earlier in the morning while the Melissodes were out later. We hoped that by getting out early we would be able to find A. virescens to track, but because of the late start of our project, we were unable to find any. Cold weather and windy weather both diminished the number of bees visiting flower heads. Wind also made it difficult to track bees because when the bees took off from the flower head they were caught by the wind and blown away.
Here’s a rundown of our equipment and various settings that we’re using.
Kites:
Sutton Flowform 16
G-kites Dopero
Peter Lynn Pilot 50
Other kite bits:
Horizontal Brooxes AutoKAP Kit
A plastic winding halo
200 and 250 lb test string
Cameras and accessories:
Canon S70
Canon EOS 400D / Digital Rebel XTi
Canon 50mm f/1.8 prime lens, aka the Nifty Fifty
GentLED infrared LEDs for setting off the camera by remote
Tower Hobbies RC FM transmitter and receiver
Software:
the GIMP (Free image manipulation)
UFRAW (includes a GIMP plugin for reading RAW images)
General camera settings:
Manual focus, set to infinity
Tv mode (shutter priority) set to 1/800 or 1/1000
RAW mode (RAW+640×480 on the S70, RAW on the XTi)
ISO 100 (200 or 400 if it’s not sunny, though noise can sneak in at ISO higher than 400)
Bracketed down 1/3 stop
Zoomed out as much as possible (50mm on the XTi [doesn’t zoom anyway, as it’s a prime lens), ~28mm on the S70)
Remote-driven mode
Other bits:
Wooden ground markers (details soon, including images)
Paint
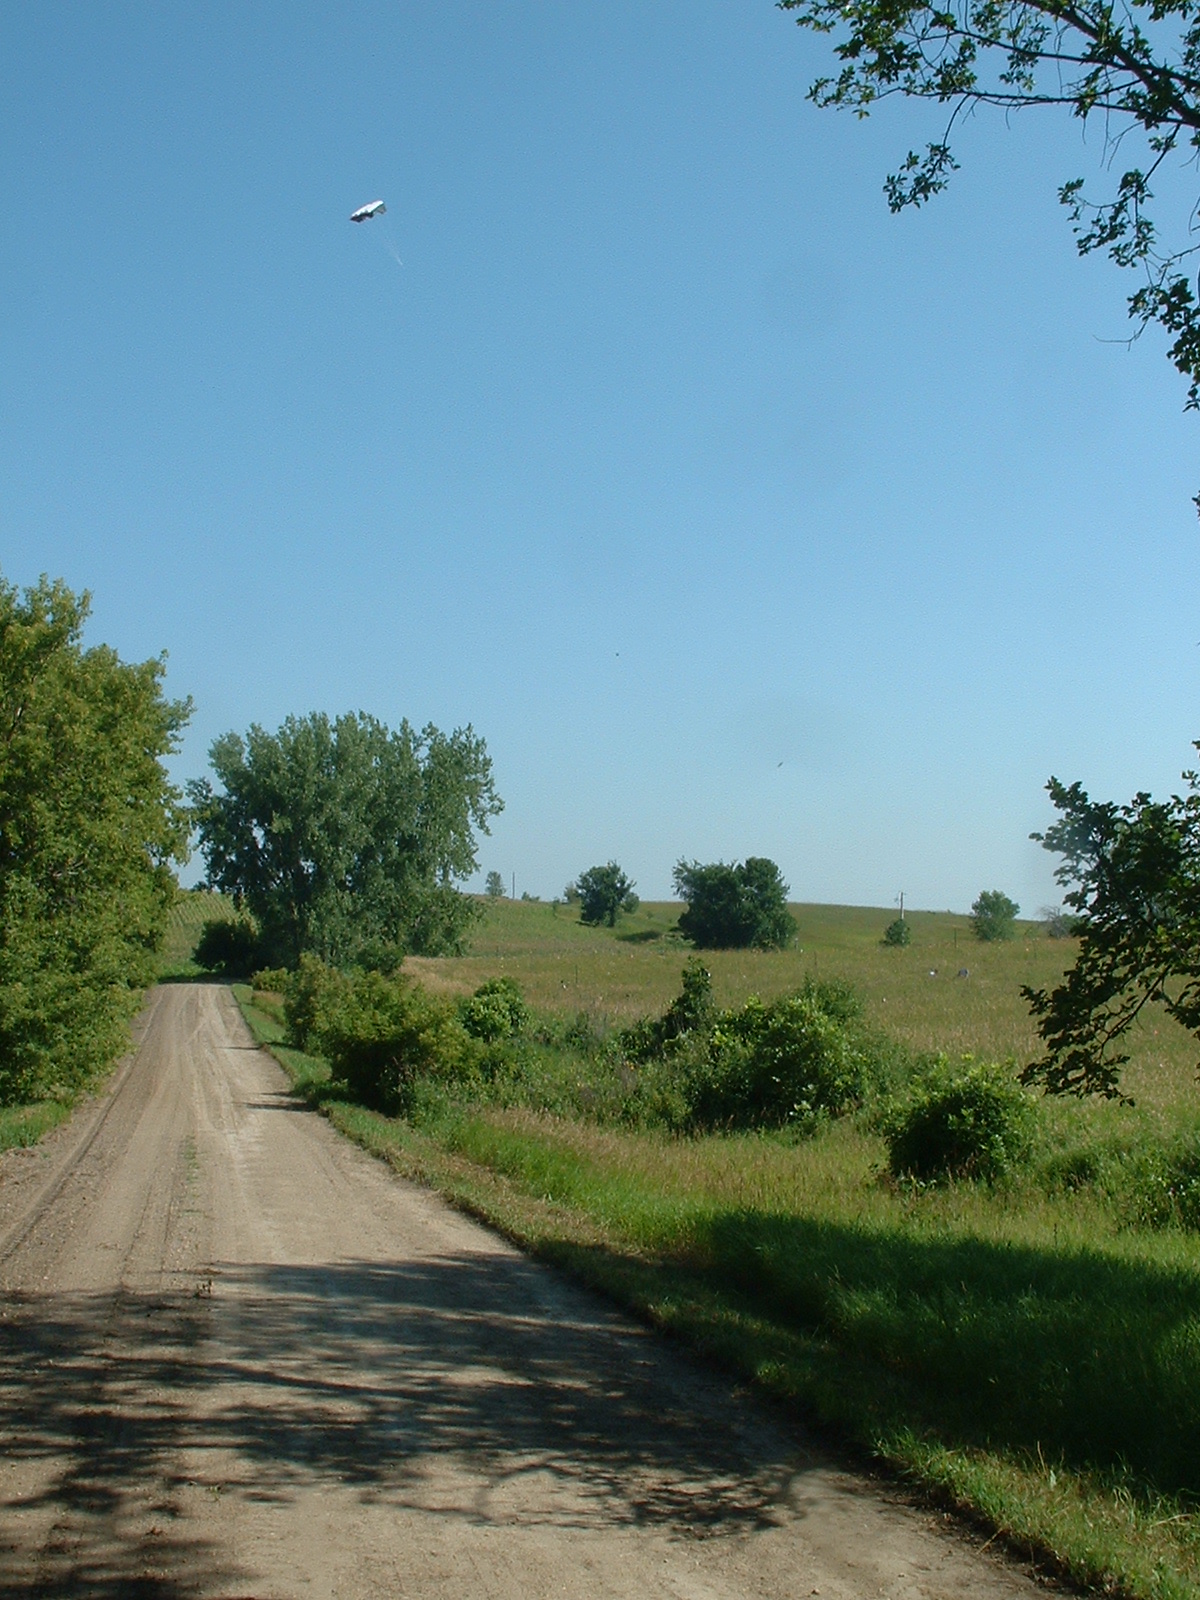
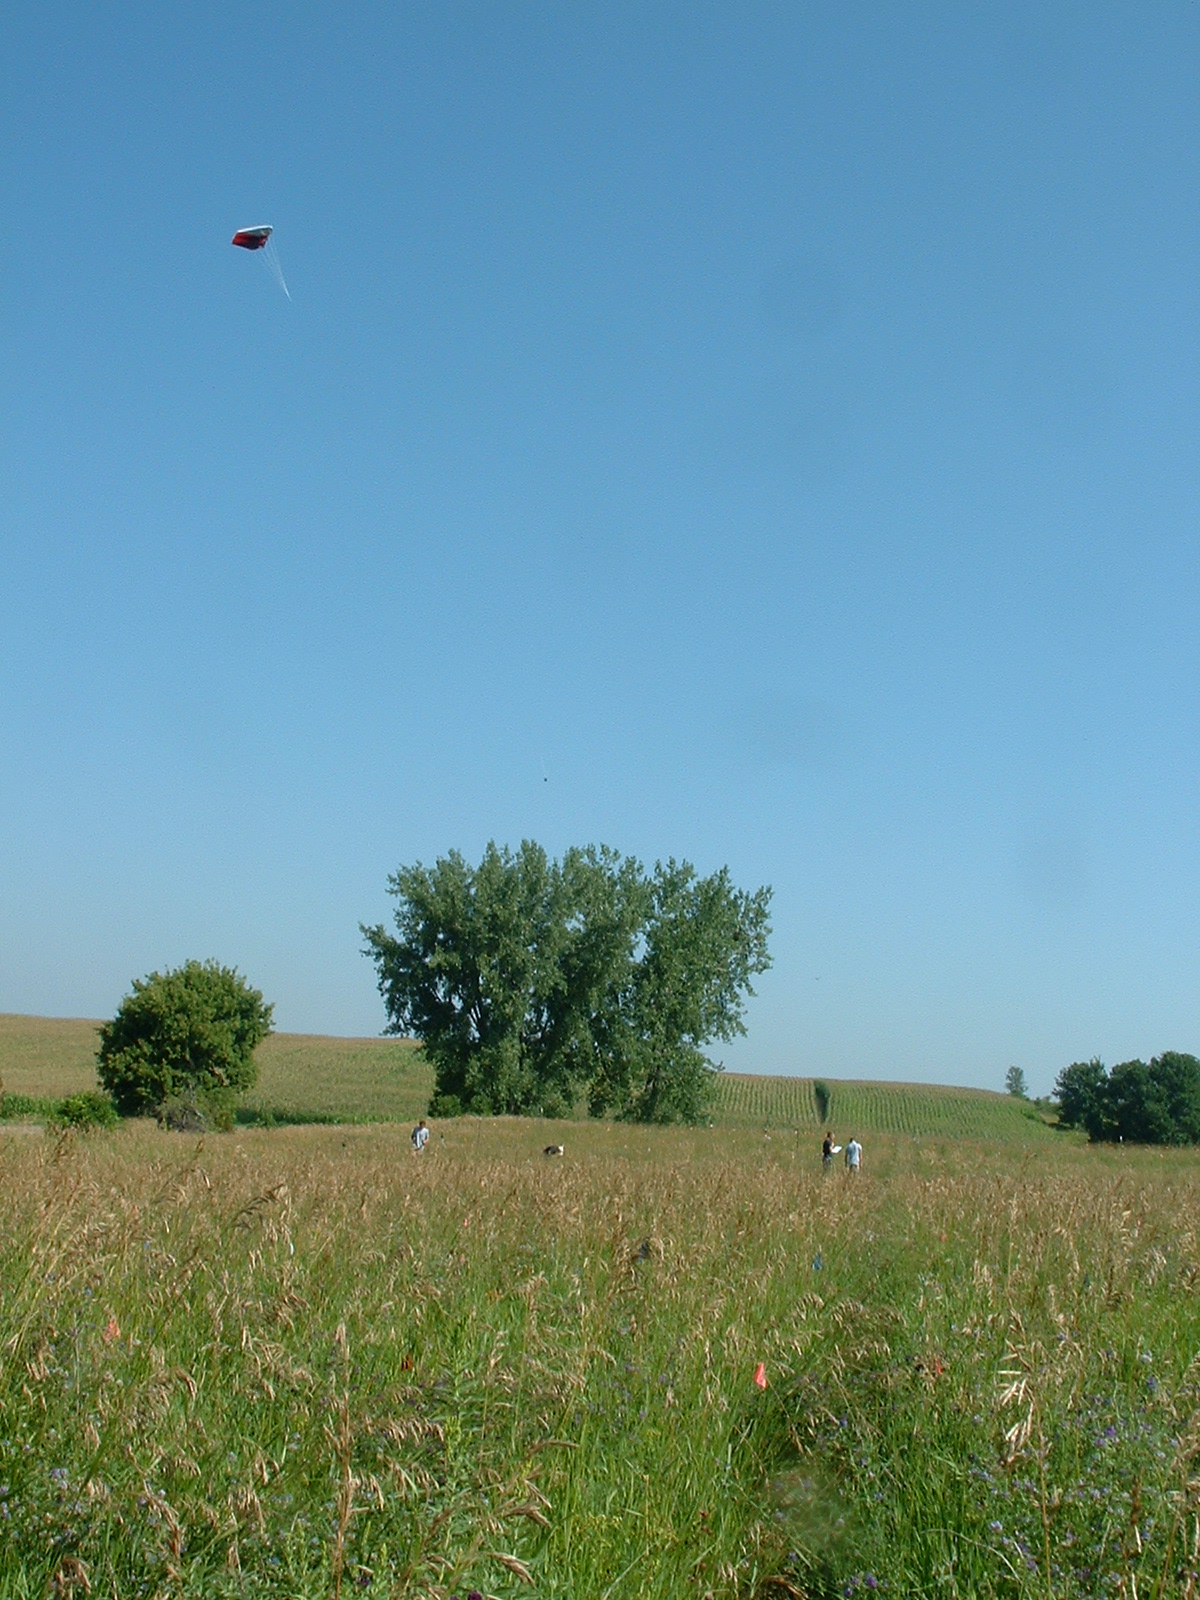
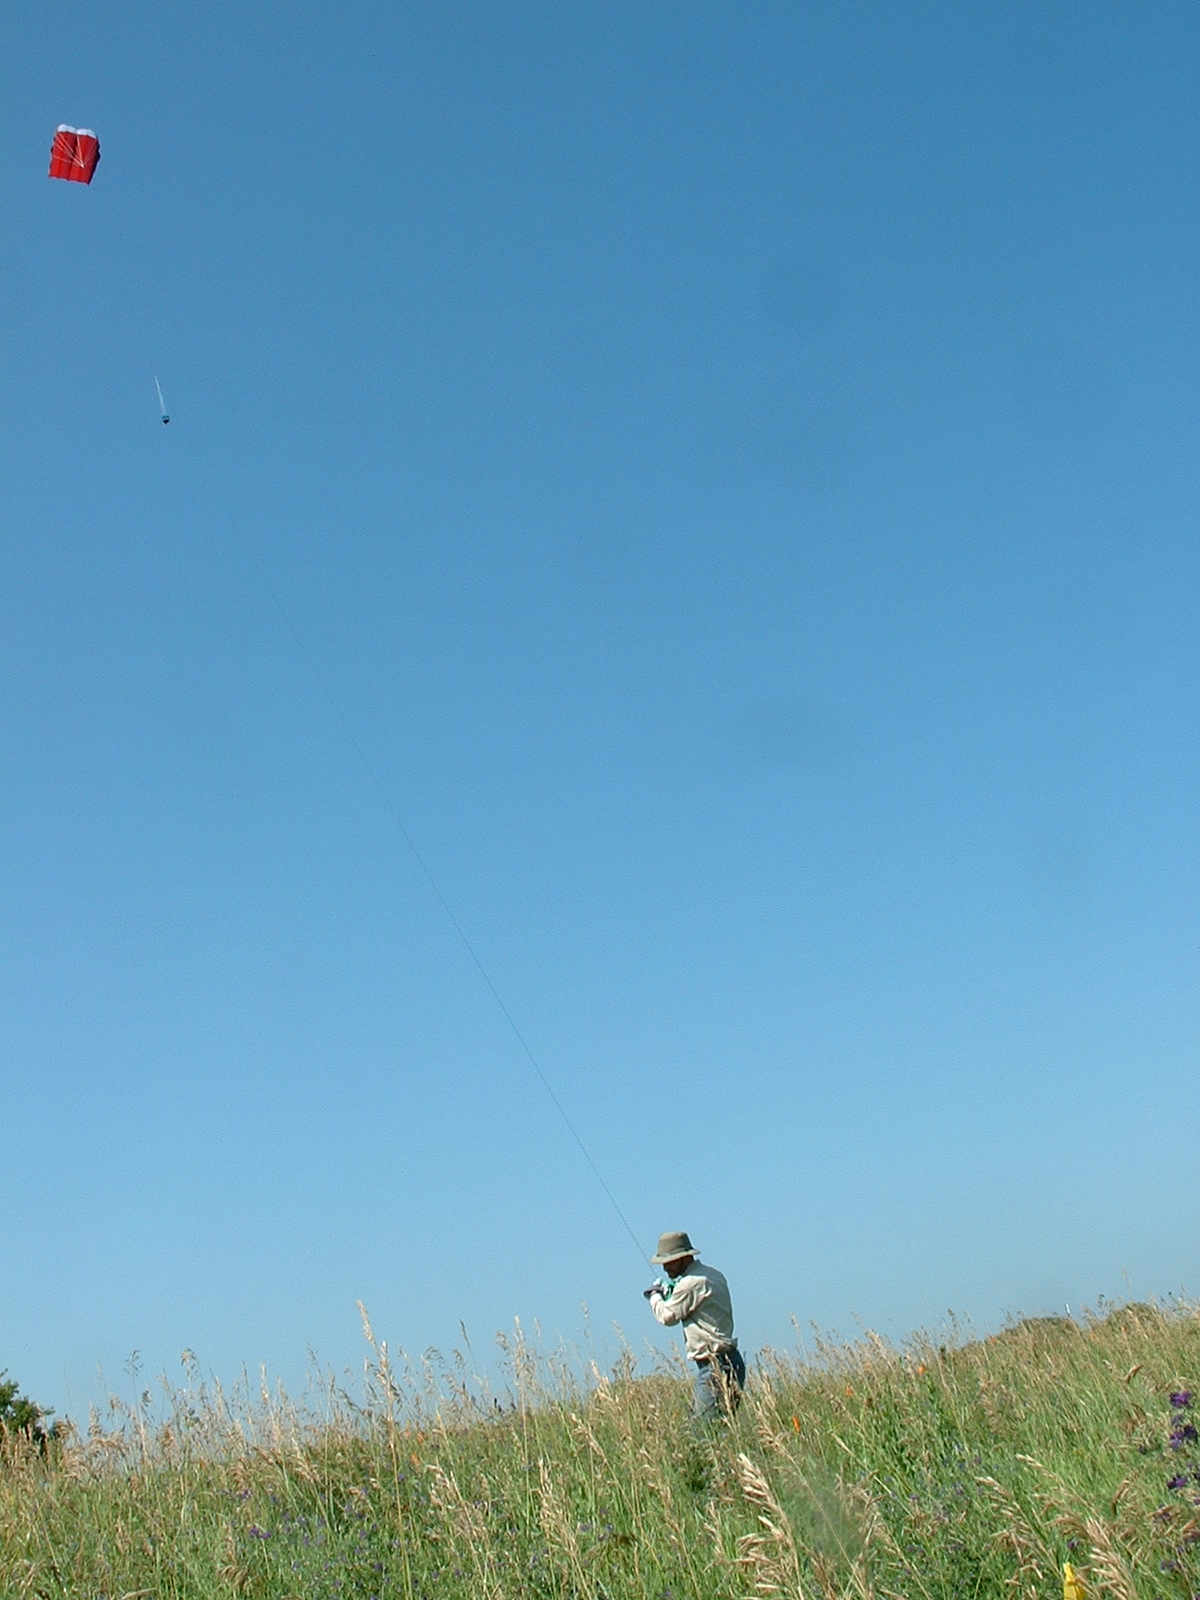
It was Friday the 13th, the kind of day the superstitious worry about and the kind that I figure is just another day. The wind was pretty good, enough to pick up our Flowform 16 kite with our camera rig. We went out to North by Northwest of Landfill and set out our ground markers [images when our internet gets back up]. With a pretty good wind from the west, we got the kite up and the camera rig above the roadside population. We took two runs along the road, once south and once north (higher and lower). Overall, it was a good run.
Until…
Until we plugged the camera into the computer. No images. Hrm.
We were using a new setup that day. Stuart had bought a radio-control set that we hooked up to the camera. It seemed to work just fine at the farmhouse… but not at the site. At this point, Julie and I were painting the kite string (so we could tell how much line was let out). Testing the RC stuff again, it SHOULD have worked fine. We’re not sure why it didn’t.
Cut to the next day. We left the string out to dry when we left in the evening and between our departure and Stuart’s taking the line in a few hours later, some cheeky rodent decided that our artificial string would be a tasty snack and gnawed through it in a few places. Friday the 13th strikes again.
And now today. The 200-lb test line has been painted and is currently drying. I’ve worked out one of the problems with our camera rig (before, the camera would take a picture all the time: all that was needed was putting it on a different control stick. [images for clarity later]). I can now control both the Canon S70 and the new Canon Digital Rebel XTi (with The Nifty Fifty, a 50mm prime lens. It’s a touch long, but our benefit in megapixels and in general quality should be worth it) with the press of a control stick.
|
|


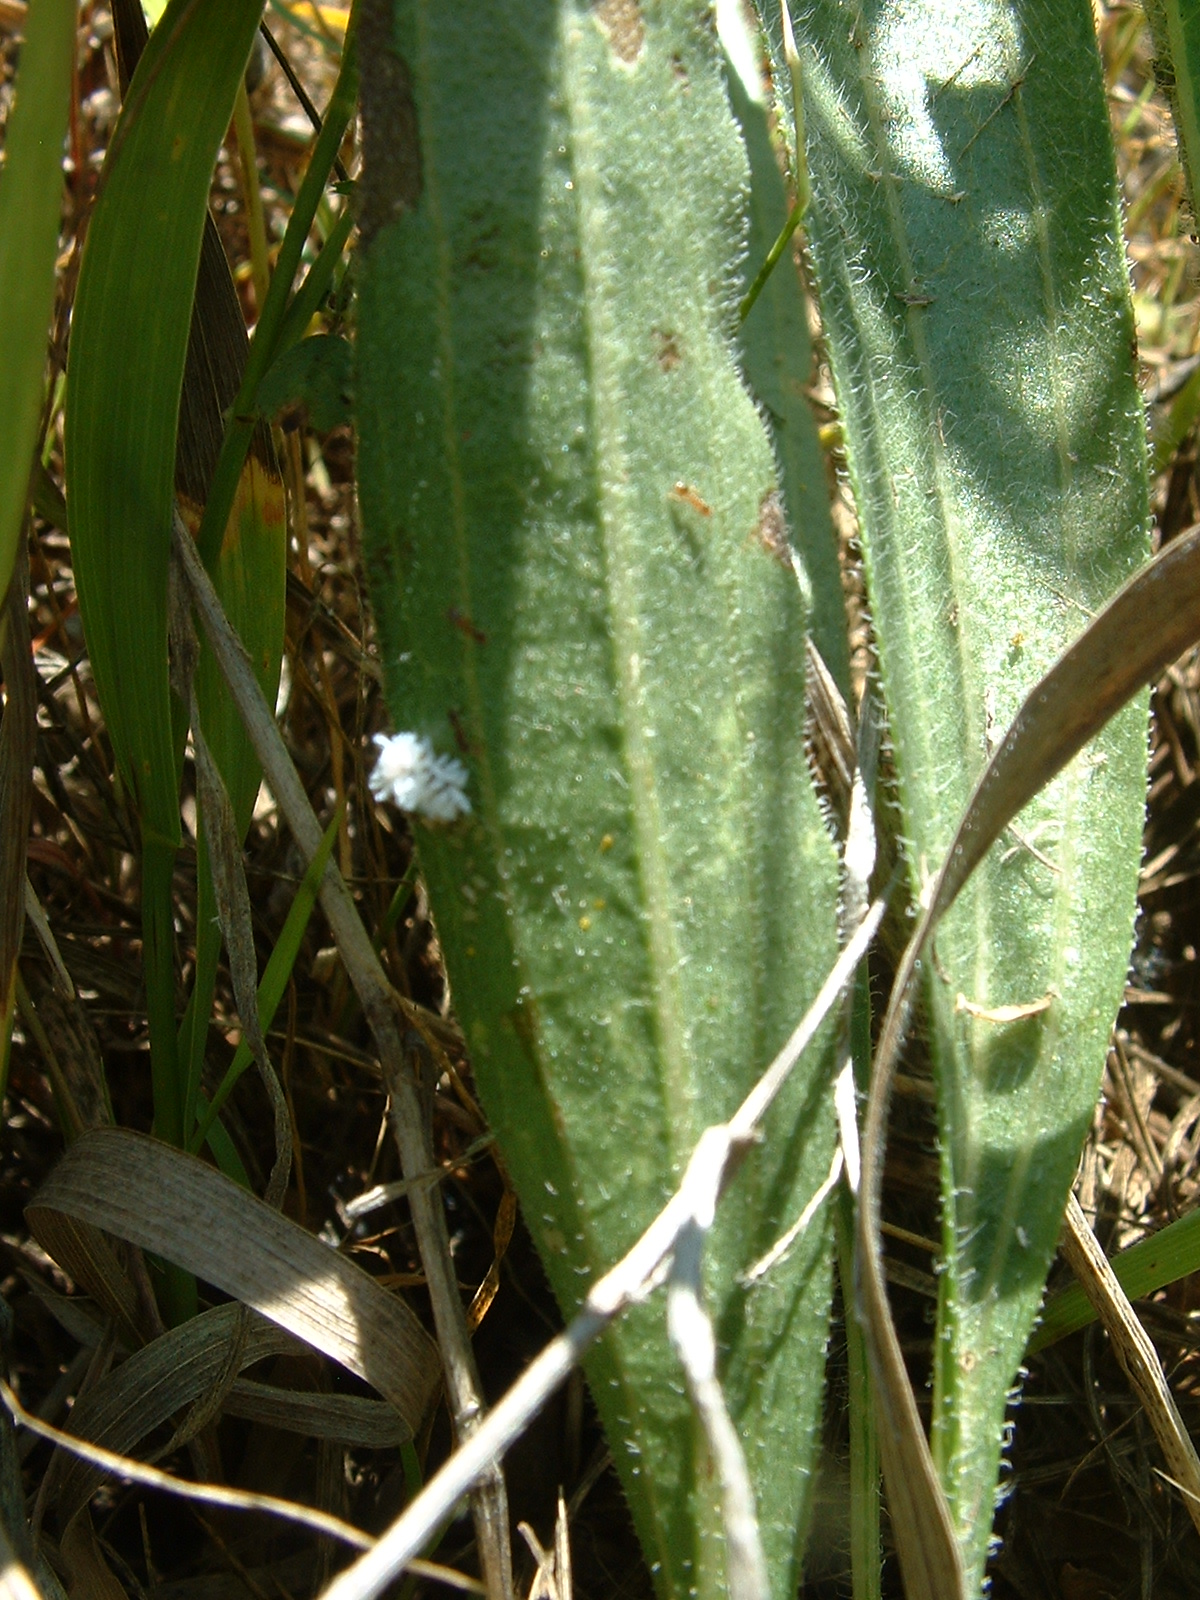
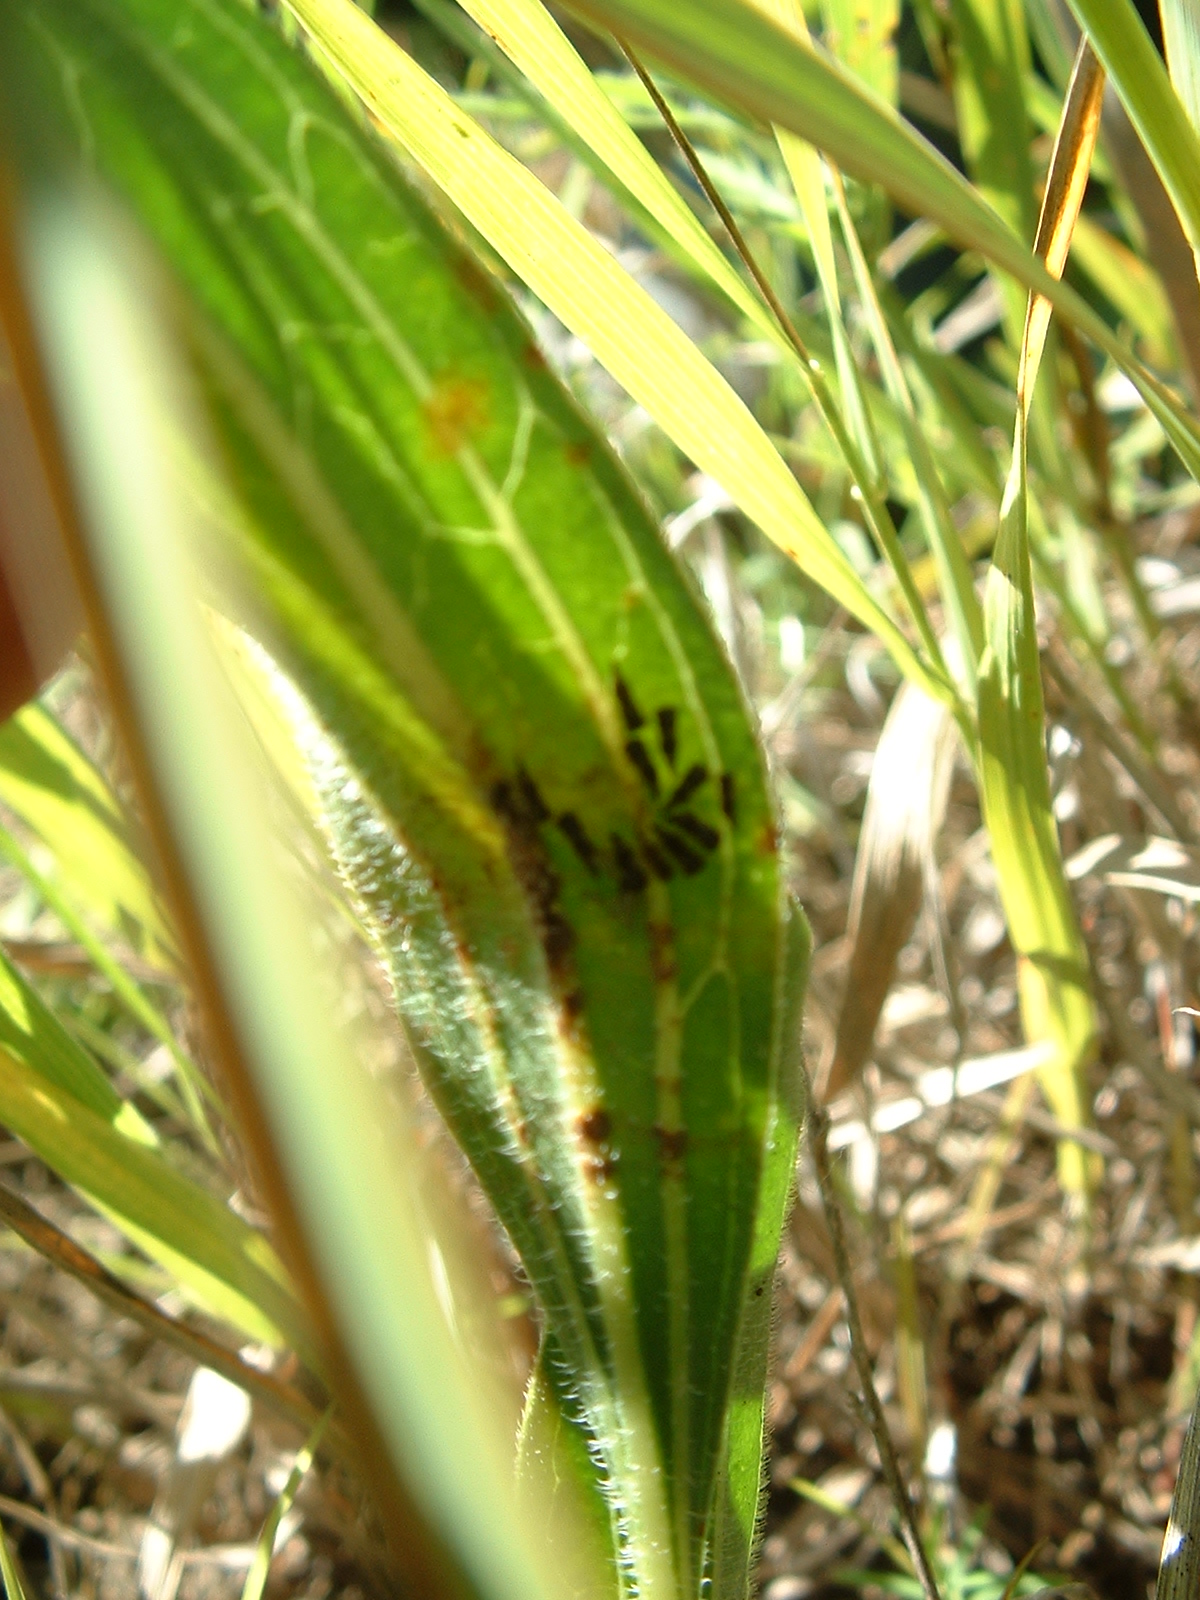
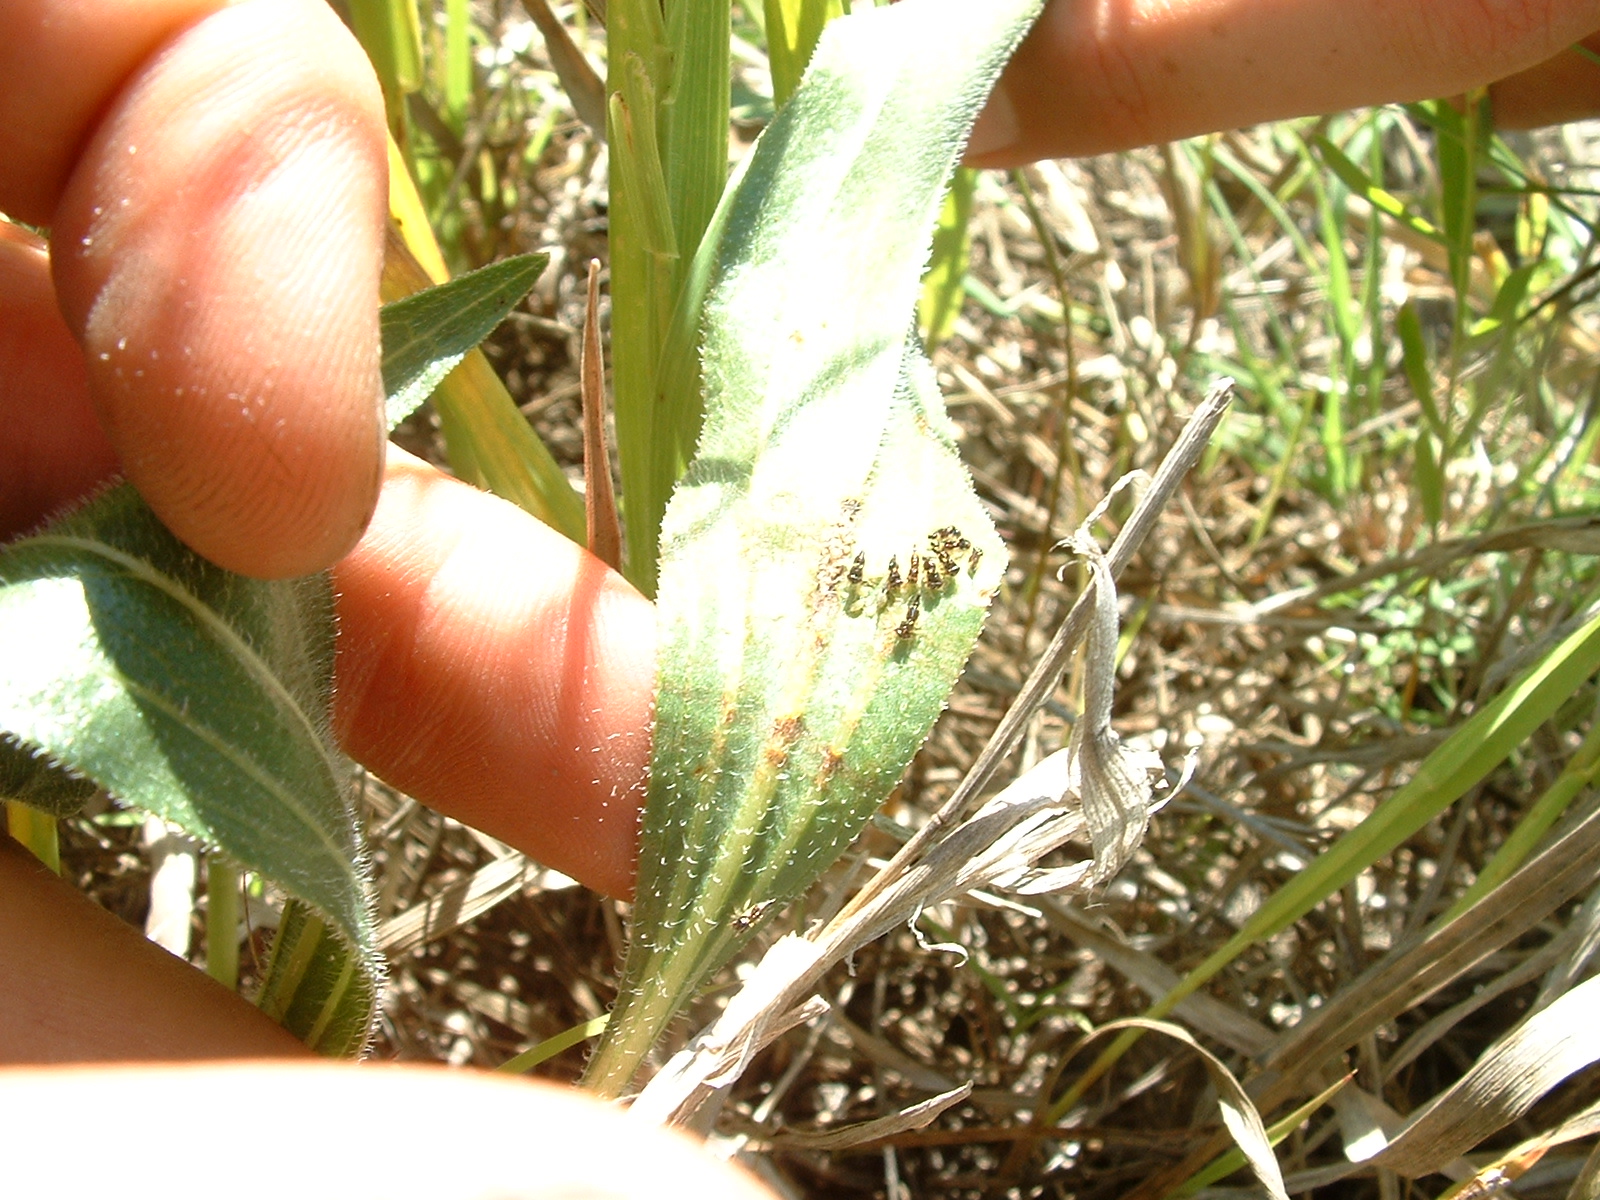
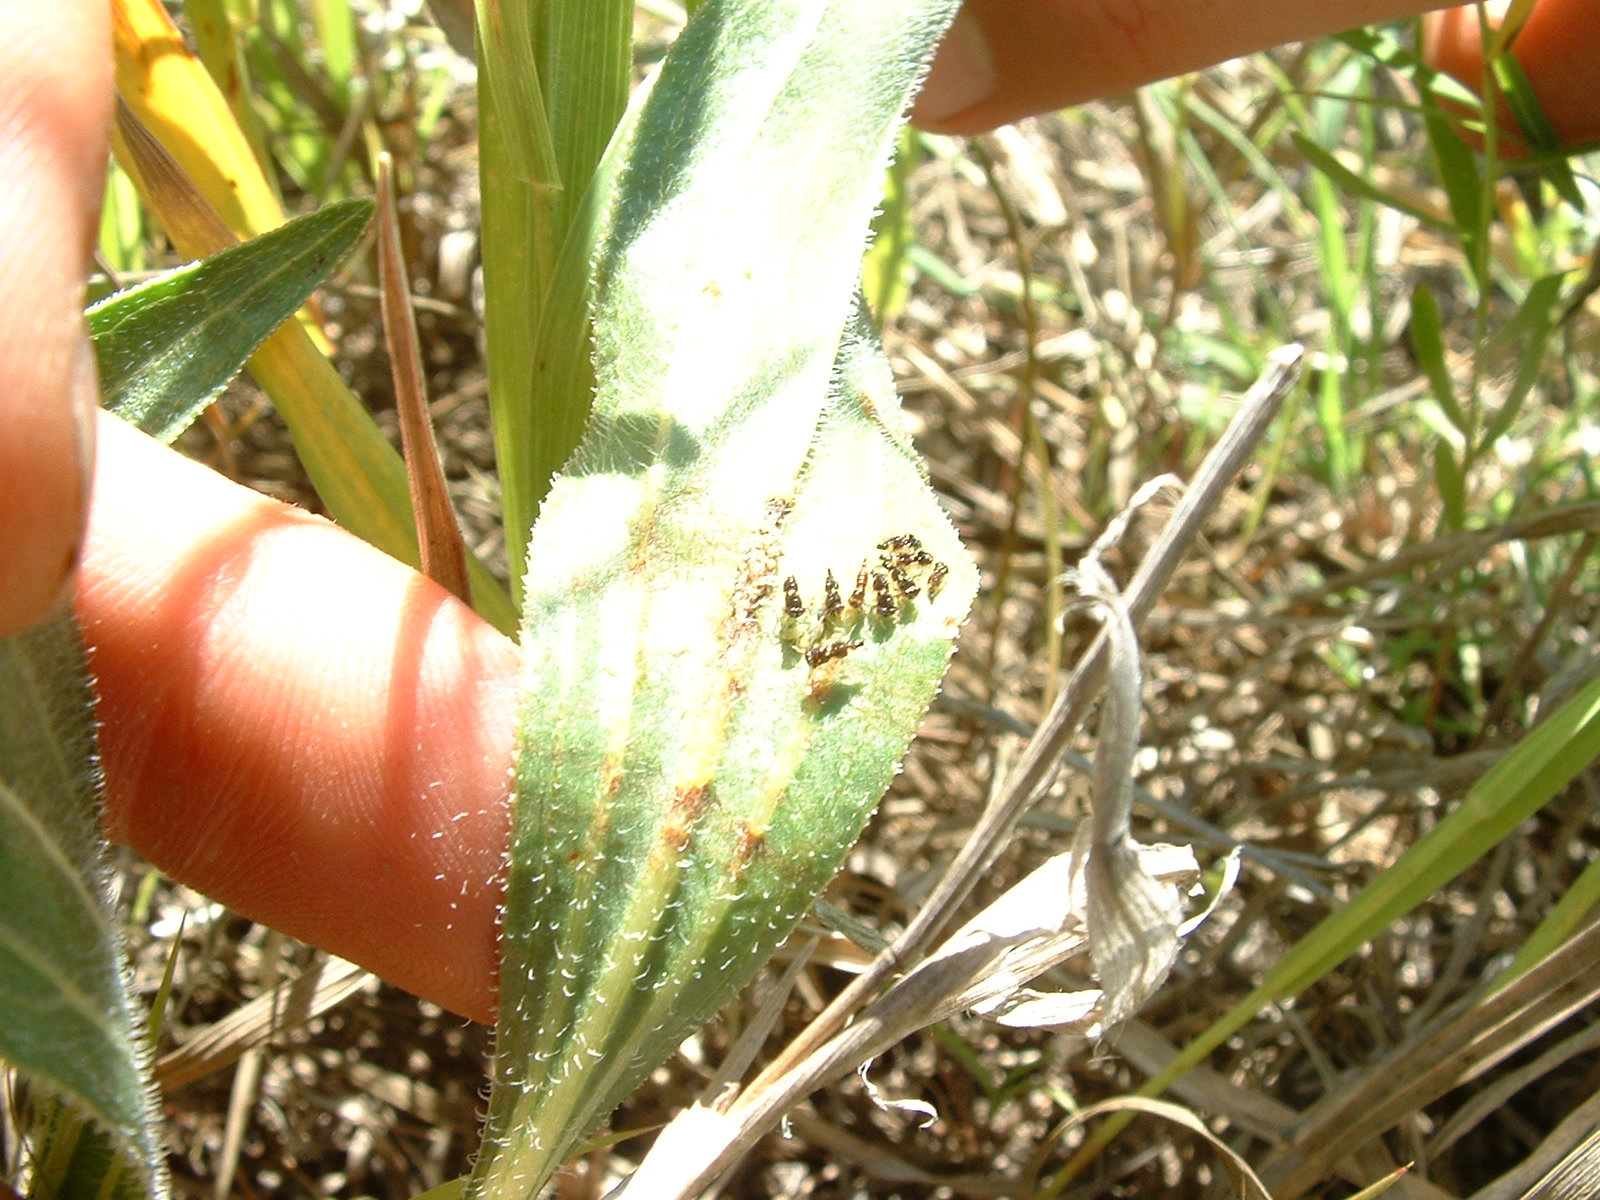
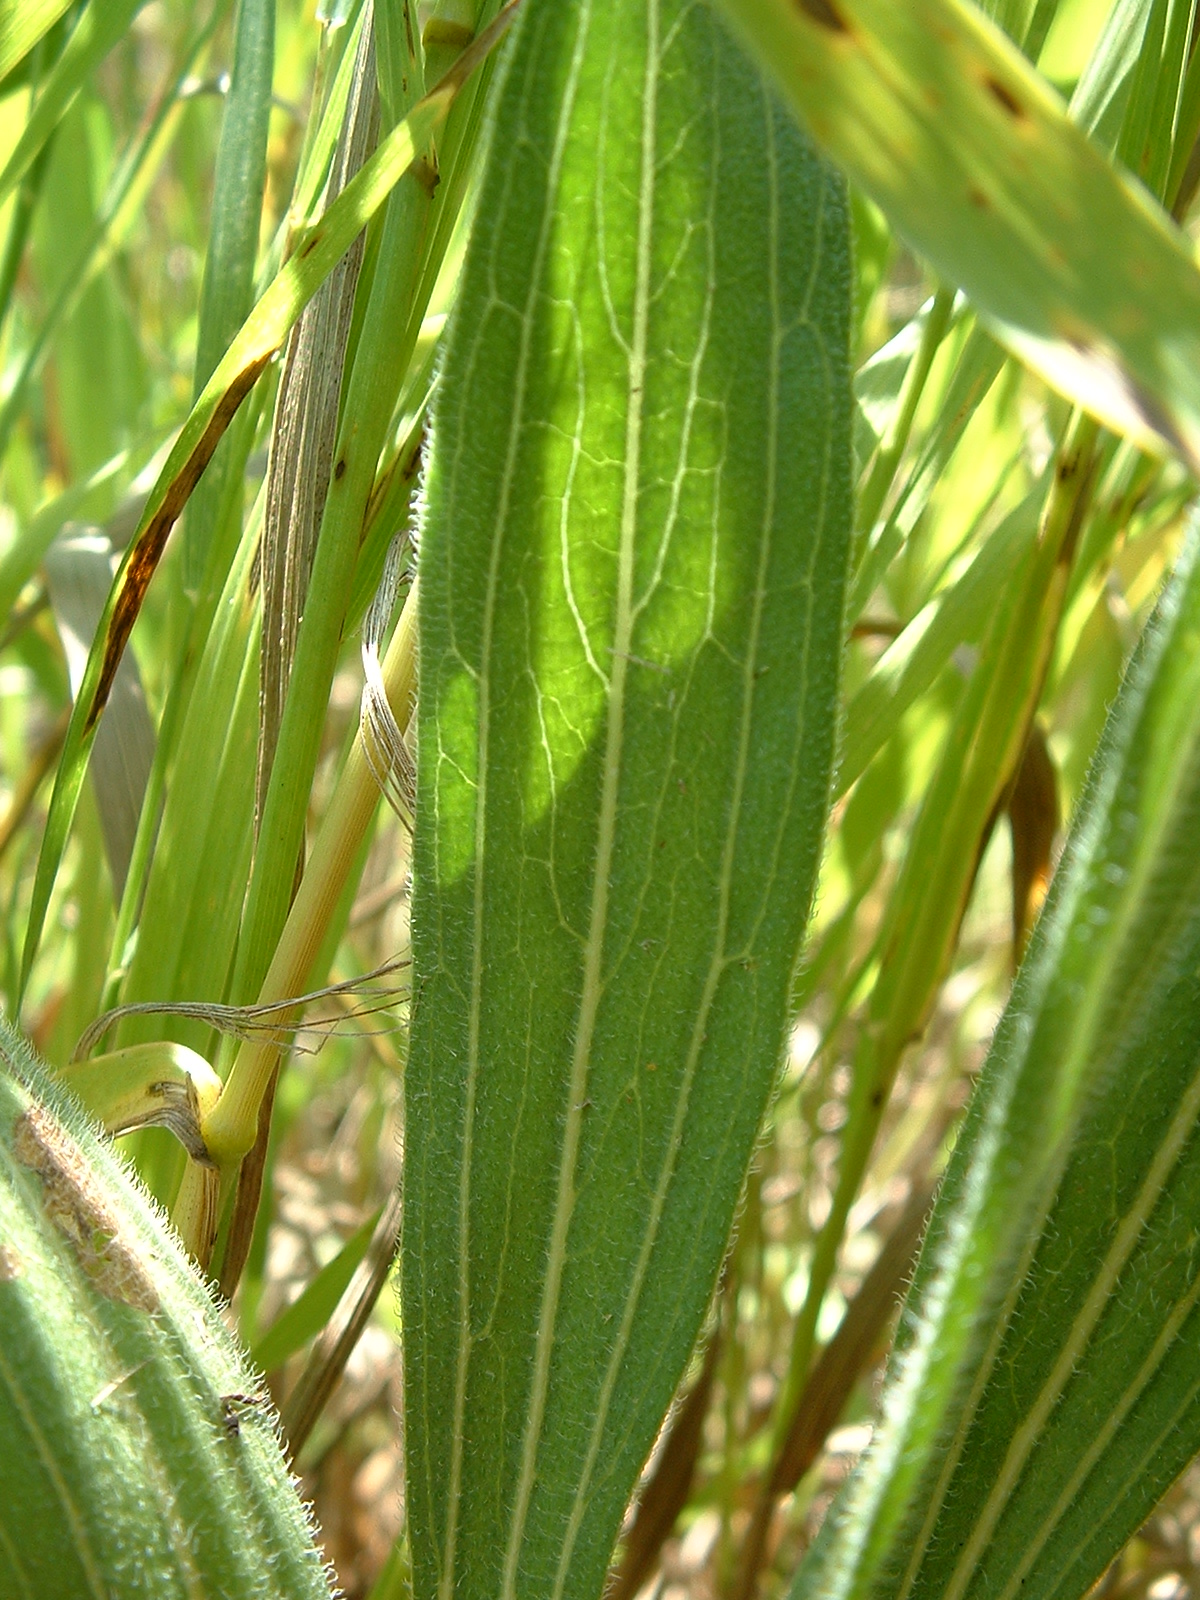
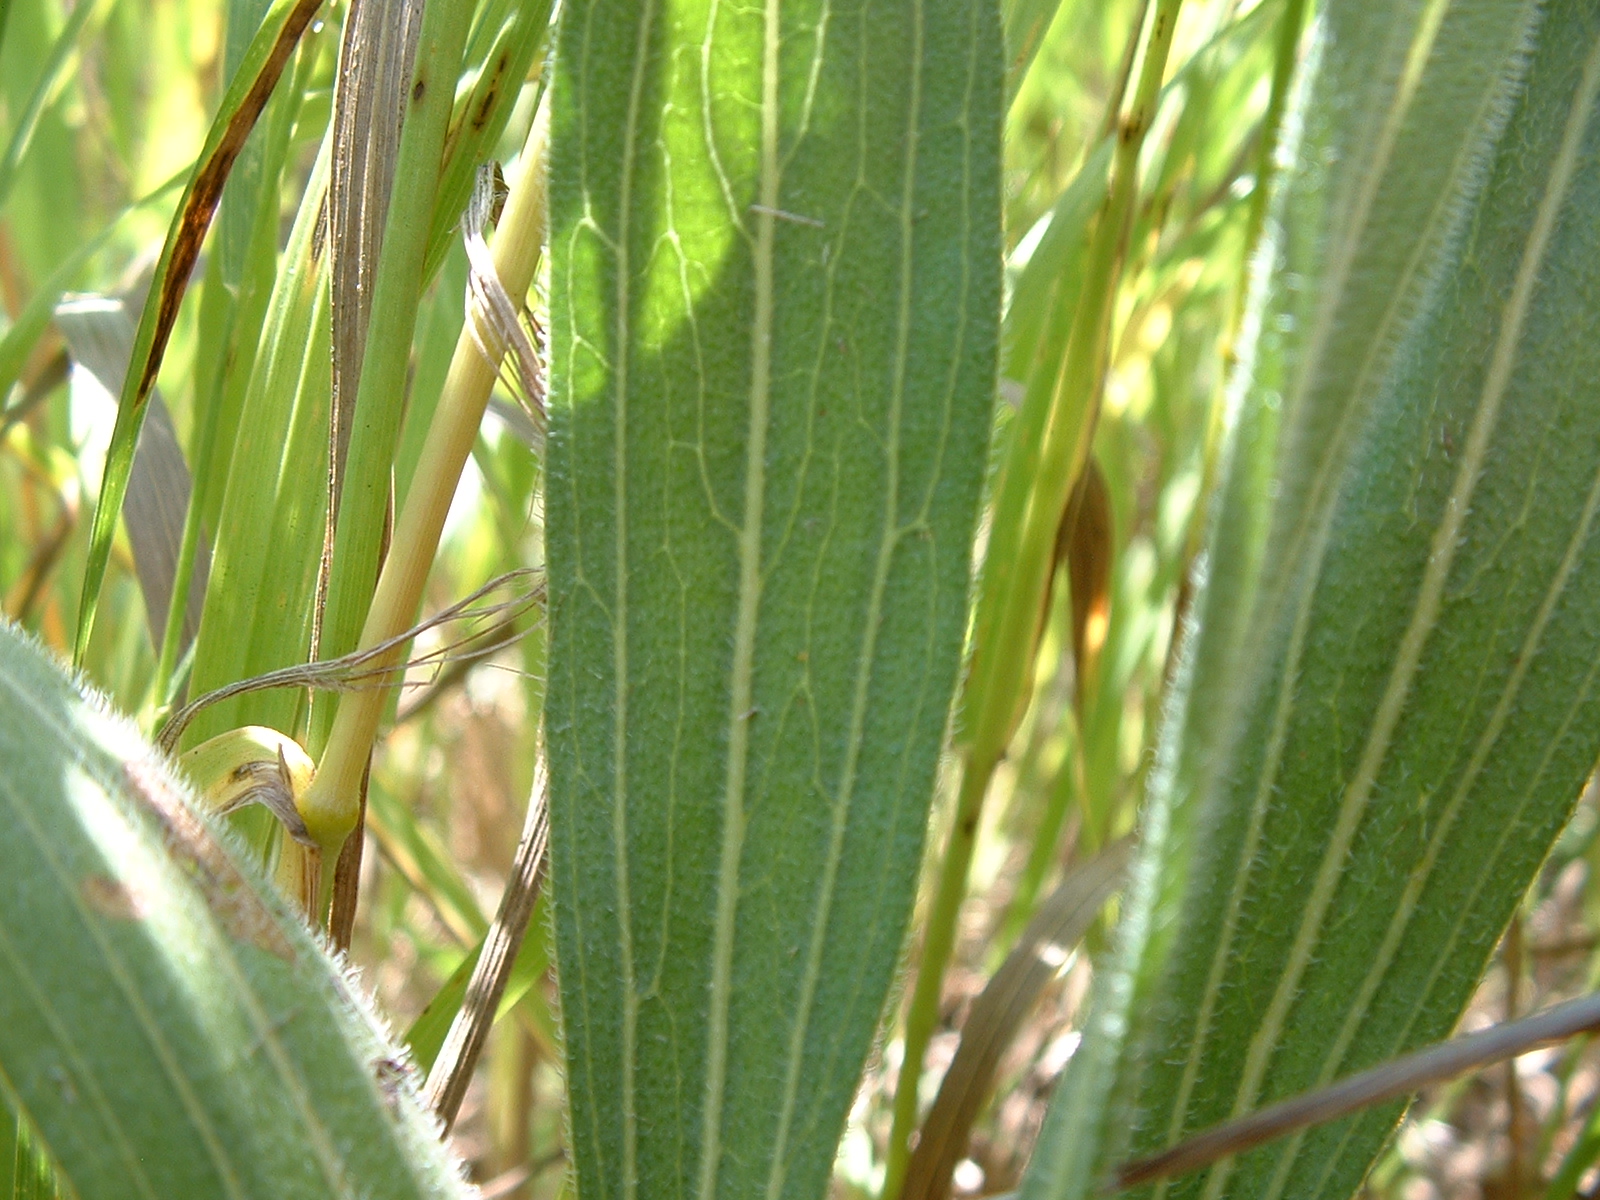
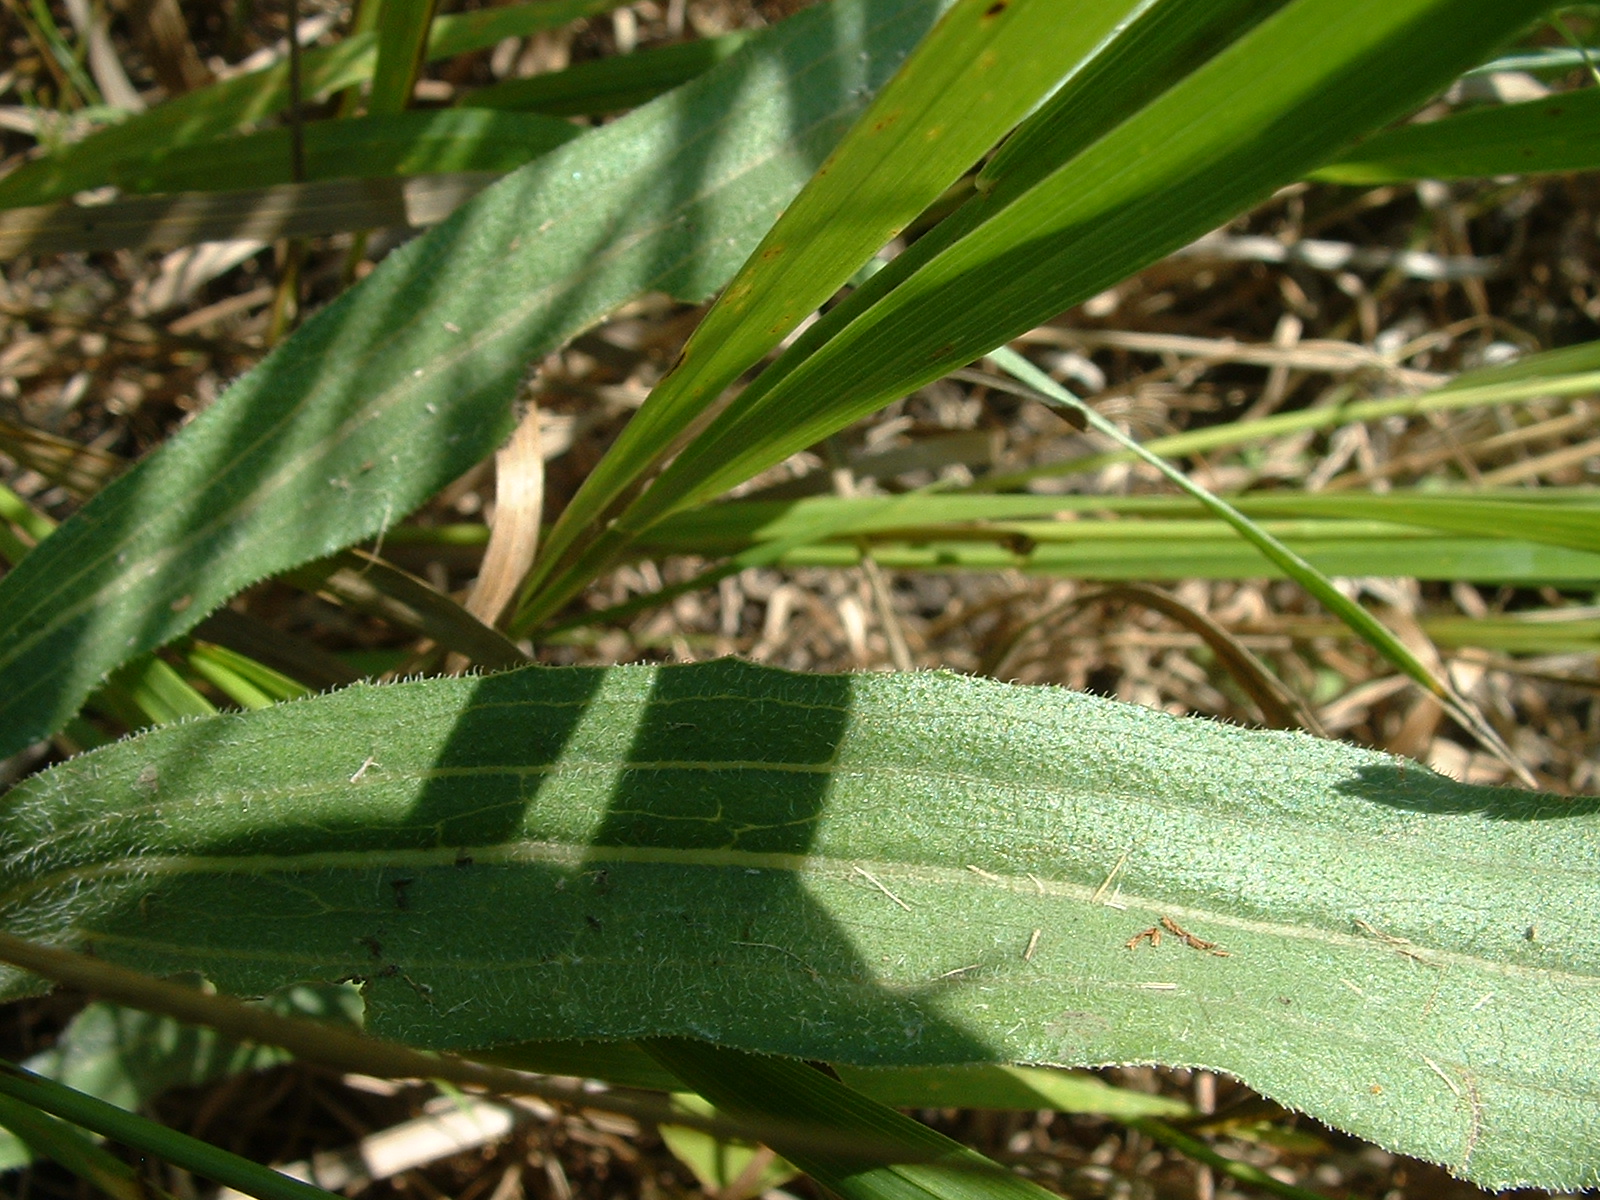
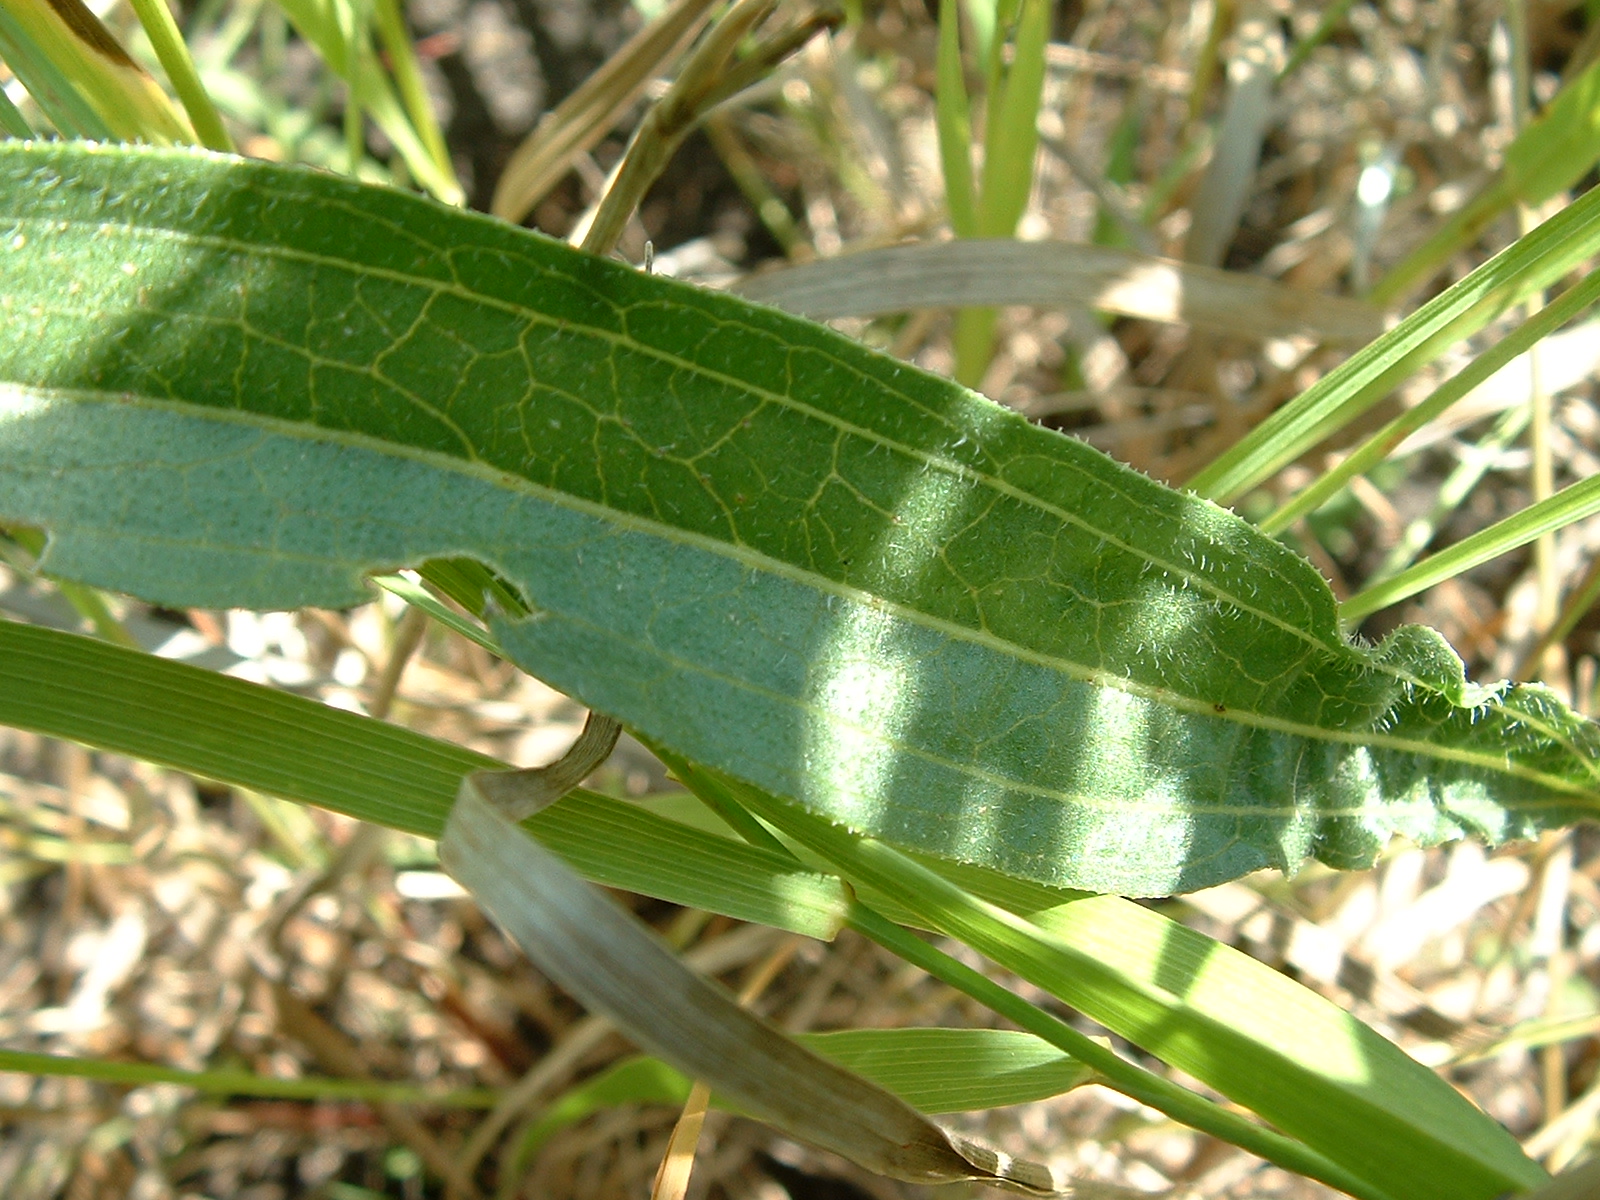
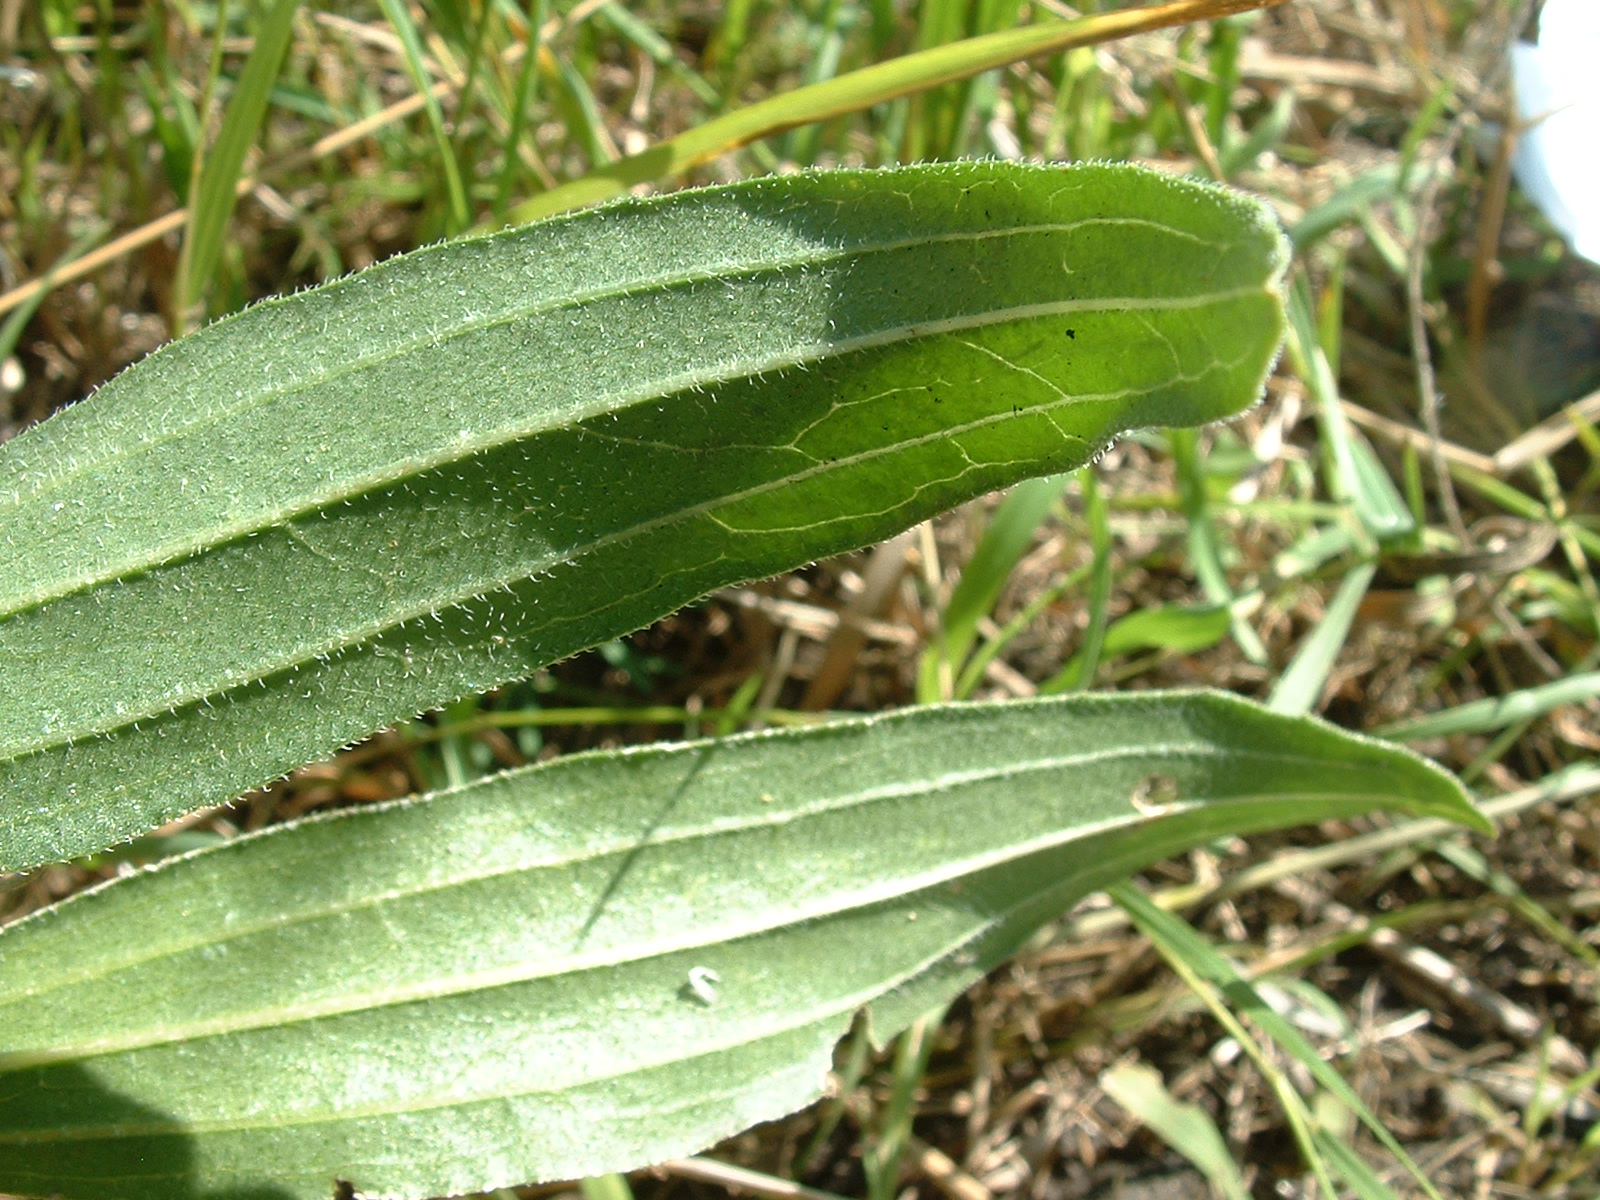
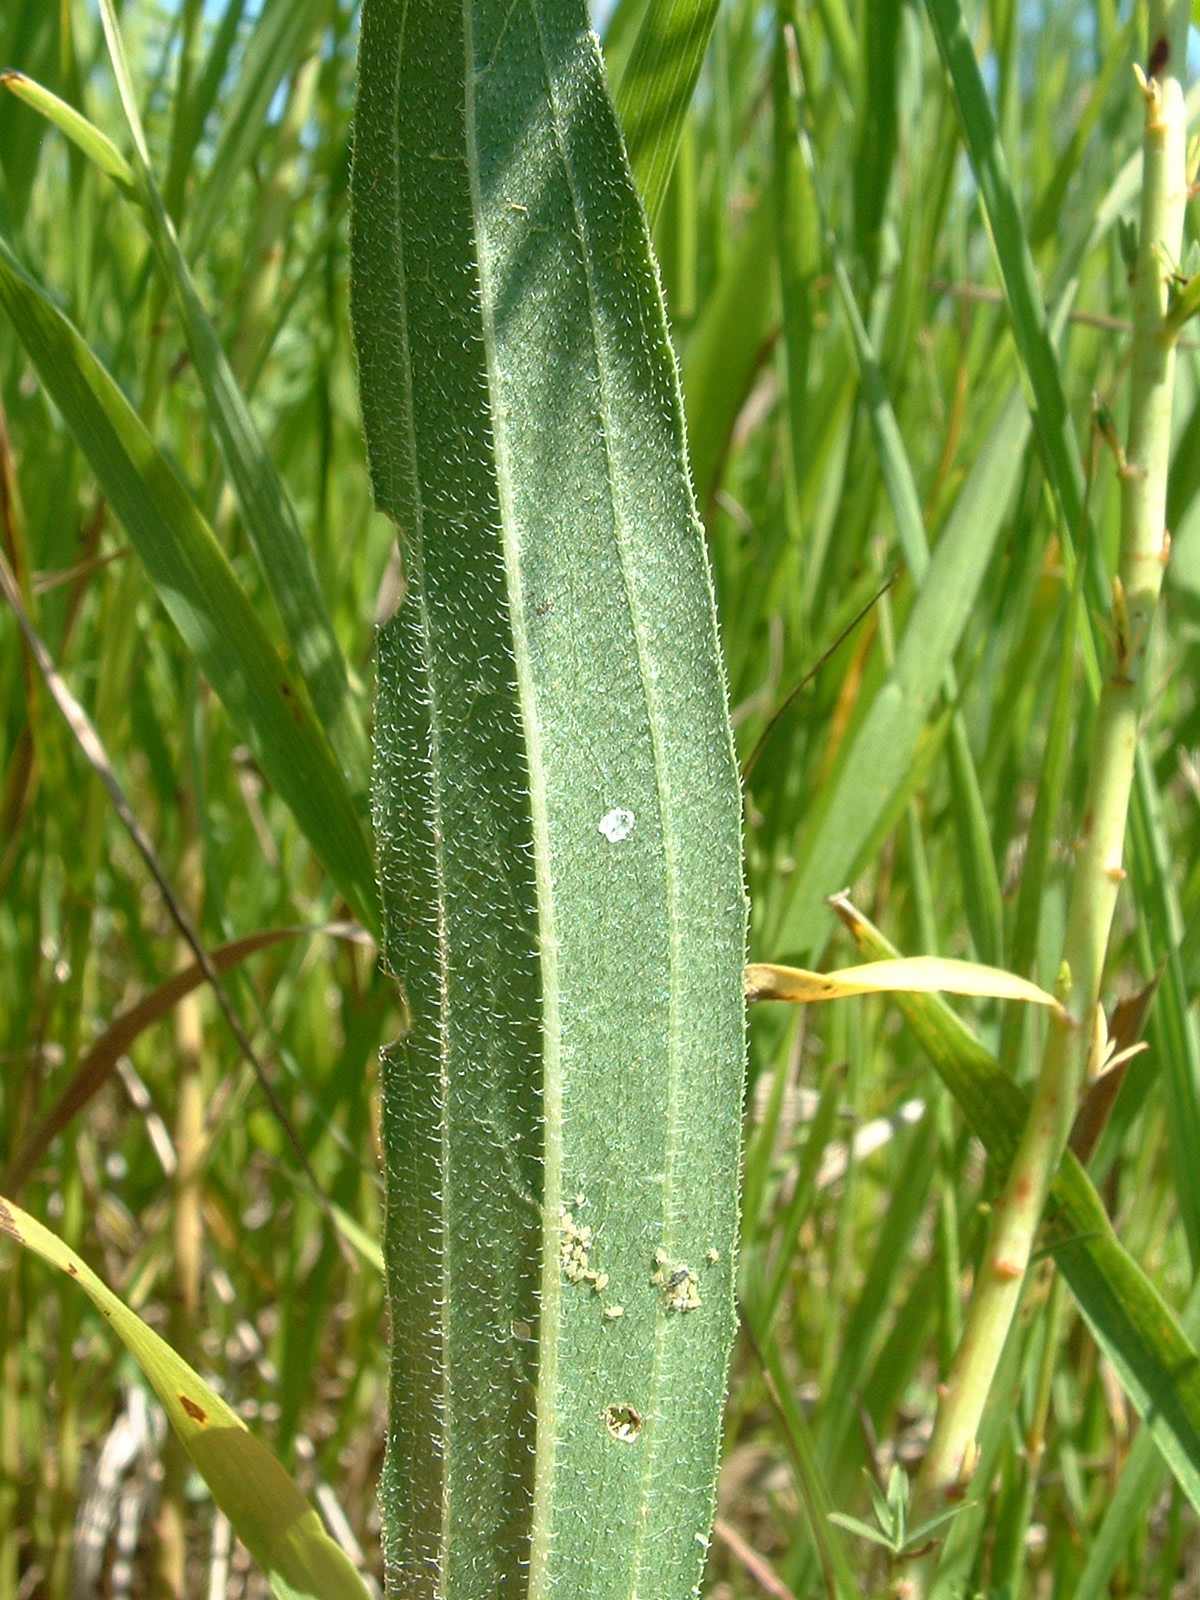 this last one also has aphids as well as nibbles and holes