|
|
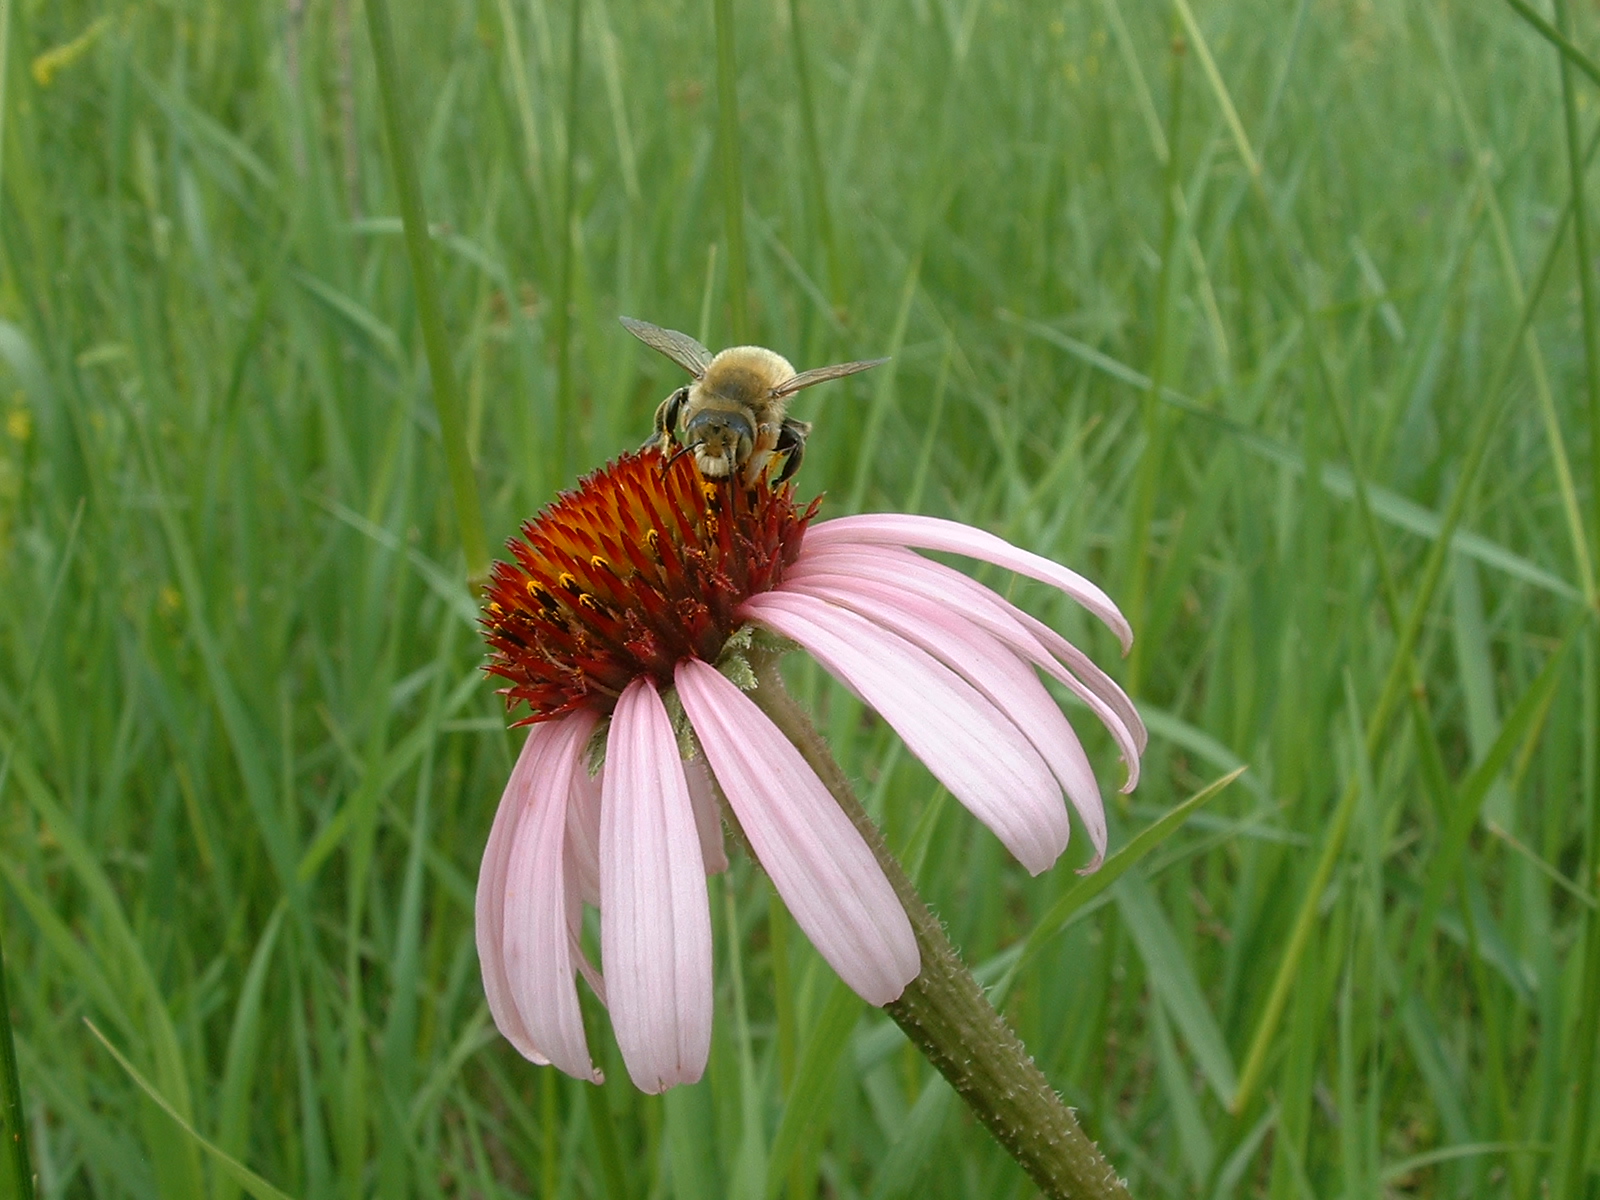
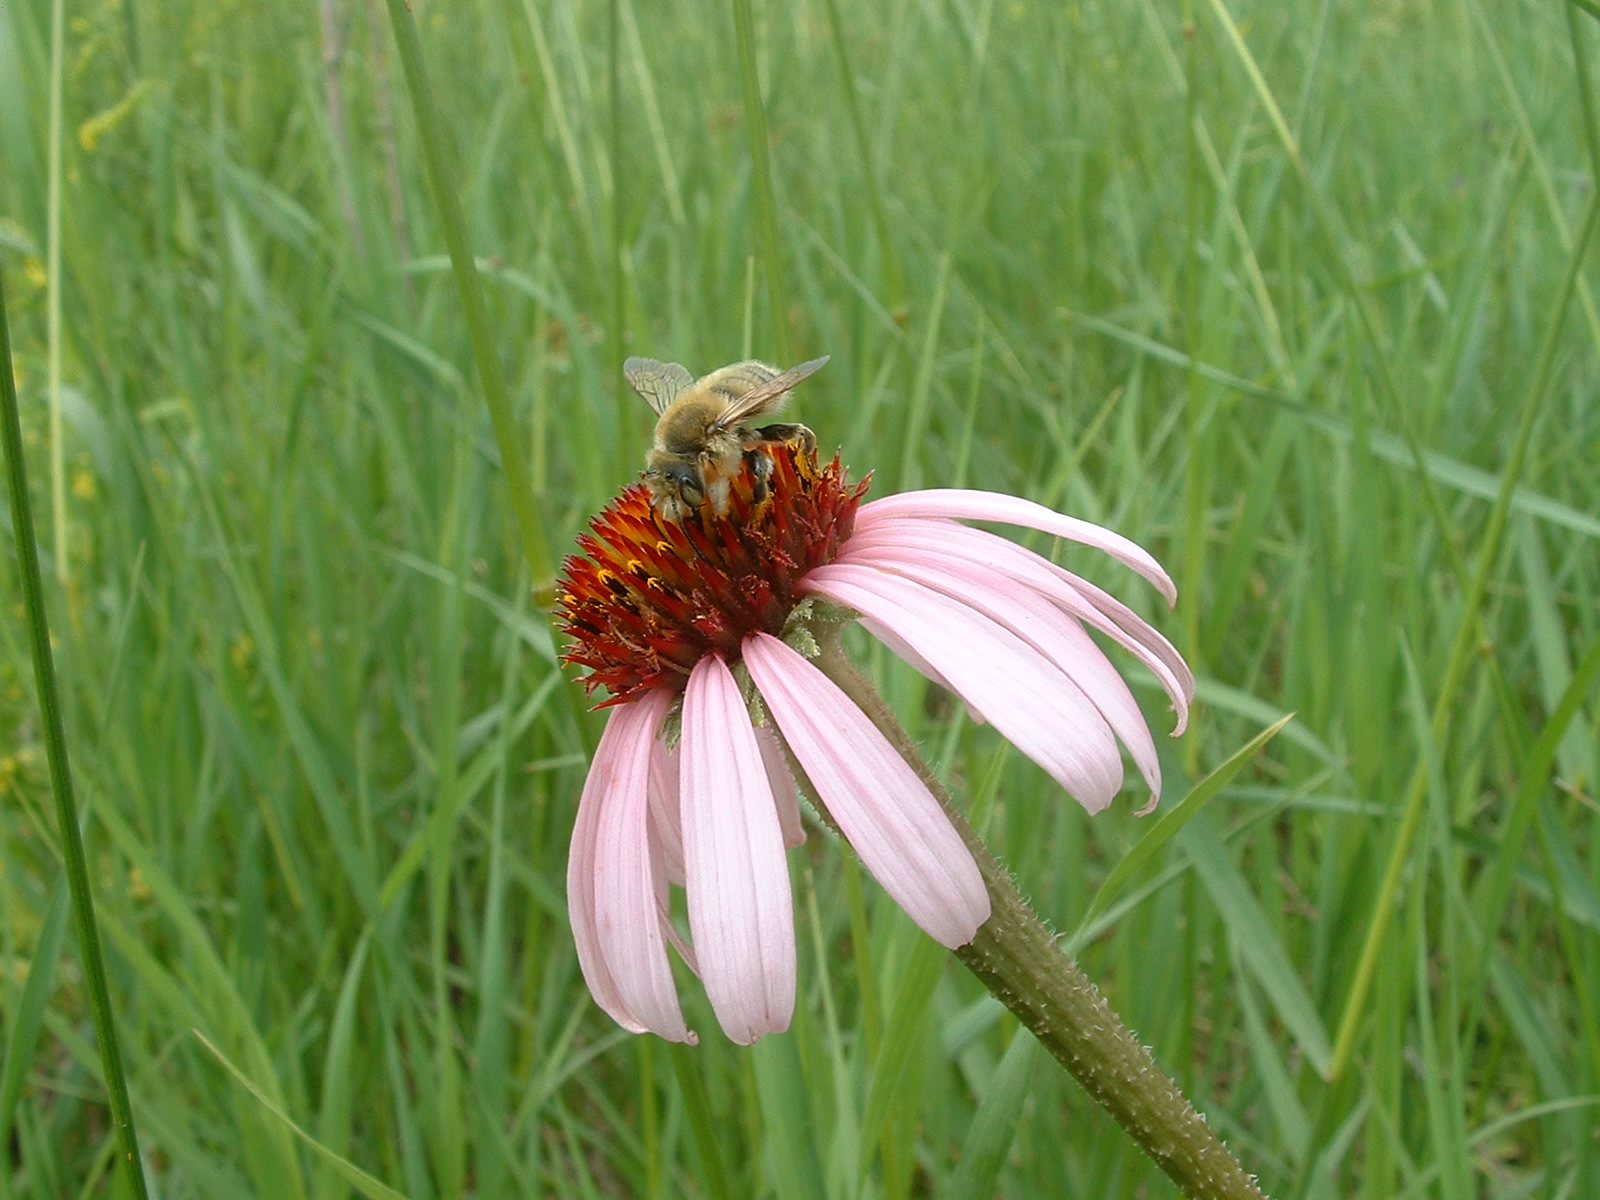
Tomorrow marks the official kick-off day for the Bee Team. We plan to mark several species of generalist bees found in the common garden with paint spots on the thorax. Our painted bees will hopefully provide data that will answer questions about their population size in the common garden, home ranges of individual bees, and flight path distances between echinacea heads. Before we begin marking our bees tomorrow, we need to:
-find and/or make nails with rounded ends with which to paint the bees (nails are the recommended tool, according to Ian’s online research, as they transfer thin, even circles) and
-make a pendragon form for the visors with which to collect data (this form should include date, time, bee species, paint color, plant on which the bee was originally observed, and a place for notes)
Equipment needed:
paint bandoliers
nails/other paint applicators
visors
list of random numbers
Tomorrow’s protocol:
1. Generate a list of random number 10-56. Distribute evenly divided lists of these numbers to the 2 groups of 2 people participating. Walk the rows of the common garden in the perscribed order with one person on each side of the row, scanning the row for Agapostemon virescens
2. When a bee is sighted, paint a circle circle on its thorax. After painting radio/yell to the other group and relay the color used, so as to avoid doubling up on colors.
3. Record data for each painted bee into the pendragon form on the visor
Depending on the success of our painting efforts in the morning, we will maybe begin to collect data for home range and population size estimates.
Hello all,
So this is my very first blog entry so it will be lacking all the neat links to pictures et al in that are in other people’s entries but it will talk about Echinacea.
Since this is my first blog I should probably spend a little time introducing myself. My name is Jennifer I am a in an inter-disciplinary PhD program, called LEAP, at the University of Illinois at Chicago in conjunction with the Chicago Botanic Garden. LEAP stands for Landscape Ecological and Anthropogenic Processes, it is an NSF funded IGERT program aimed at increasing biodiversity in human altered landscapes. For a much better description of LEAP see http://www.uic.edu/depts/bios/leap/. As for the Echinacea Project I have been involved with the project first as an intern back in 2003-2004 then as a graduate student (since summer 2005). My research mainly focuses on understanding how flowering phenology (when a plant flowers) shapes seed set, pollen movement, and ultimately genetic structure in a population. For more see my website at http://www2.uic.edu/~ison/.
To understand how flowering phenology shapes population structure we use a variety of methods. First we collect phenology data in the common garden. The current protocol has us counting anthers shedding pollen every other day. We then collect the seed heads in the fall and individually weigh a subset of the seeds to get an estimate of seed set. Why individually weigh seeds? Well it is the only non-destructive method of determining if an achene (the technical term for fruits in the Asteraceae) actually has a viable embryo. We know that 97% or seeds weighing greater than 2 mg will germinate and 91% of less weighing less than 2 mg will not germinate. As of this spring we have individually weighed (with the help of an amazing volunteer named Art) weighed 30,211 seeds. This June Art has embarked on weighing another 3,000 seeds from the 2006 flowering plants. So far we know that late flowering plants set much less seed than early or peak flowering plants. To get at the hereditability of flowering phenology we planted a second common garden (yes there is another common garden) on a site called Hegg Lake owned by the DNR. The site was planted with just about 4,000 seedlings in May 2006 and the plants will hopefully flower before I finish my PhD.
Finally, to understand how flowering phenology influences pollen movement we are using molecular genetic techniques, specifically microsatellites markers. Microsatellites are a molecular genetic marker that consist of repeating non-coding regions in the genome (eg GATGATGATGAT). Since they are repeating non-coding regions they mutate relatively rapidly so there are different number of repeats for the same microsatellite in a population–alleles. With these microsatellites we will be able to, eventually, take a seed from a known maternal plant and find out who the dad is. I developed microsatellites specifically for Echinacea last fall at the Field Museum of Natural History in Chicago. I now need to determine of these microsatellites I found do they actually have enough alleles to conduct paternity analysis. While everyone else has been up in Minnesota flying kites I have been spending time in the genetics lab trying to get the microsatellites to work. After spending too long figuring out the optimal number of cycles and temperature in the PCR, plus how much, if any, Mg to add I finally have been having success with about 5 microsatellites.
Today I ran four out of the five primers on 16 plants (8 from the preserve and 8 from Steven’s approach) and had multiple alleles!!! I had between 4 to 6 alleles just in these 16 plants. It was very exciting after spending so long playing with PCR conditions. It was very rewarding to run samples that actually worked and even better that all the microsatellites were at least moderately variable. My goal is to get 8 primers with all with around 6 alleles, which should be enough to do figure out who the dad is. For my next blog entry I’ll see if I can figure out how to add pictures and I’ll insert some images of my microsatellite alleles.
I think that is more than enough for my first entry. I will hopefully have more exciting news regarding the microsatellites before I come up to Minnesota (which is on July 15th).
Night!
Jennifer
Notes to self:
Equipment for MN
-2 meter sticks
-camera
-data logger (?)–talk to JF
Finish up at CBG
-put seeds into freezer–talk to AS?
-data entry for Theresa
-get tissue samples into fresh silica gel
-molecular work for John and Eric
Here is a draft for the video protocol. I’d love any useful comments you may have; it is definitely a work in progress, so if you read something and it isn’t clear, please let me know and I will change it. Thanks, A.M.
Protocol for recording pollinators:
v.1.0 (Jun 27 2007)
Equipment:
List of heads to video
A few (~5) pin flags
Five 3 x 5 in. cards and a sharpie
Set of camcorders and battery packs
A radio
1. Get a list of heads that need to recorded from Andy the evening prior to the actual recording date. Each person will be responsible for 3-4 heads for that recording day.
2. Get to the farmhouse at 8am sharp so that you can start recording for sure by 9am.
3. Make a list of ‘cue cards’ for each head that you are to record. This involves writing:
plant location (row and position), color of twist tie and date on a 3 x 5 in. card. This is the first thing you will ‘film’ when going out to the CG, so that we can match up videos to the correct file.
4. Go to each head on the list and make sure that it is still flowering. If not, then add another plant (we’ll supply > 5 heads per list), and make a note that the originally selected head is not flowering. If the plant IS flowering, then place a flag next to it so that you can find it easily. Go to the next head on the list.
5. Next, get the correct camcorder and battery (labeled A-J), put it on a tripod and put it in position over the inflorescence (head). The ideal distance is about 1 ft. away from the head with the camera zoom at about ½ max. zoom. You should be able to see the entire head; try to imagine identifying bees using your recorded image and adjust accordingly. Take a quick video of your ‘cue card’ for each head and then turn off the camera.
Set up all of your cameras first, before starting to record for pollinators. We want to start them all at the same time, so you will need to coordinate with other members of TEAM VIDEO to start synchronously (using your radios).
Make sure that there are no big branches, stems, twigs, etc. that could possibly wave in front of the camera, thus obscuring the inflorescence.
6. At more or less the same time, go to each camera and press the red ‘record’ button. Then, skedaddle away so that you don’t influence the pollinators!
7. At 4pm, go and stop each camera. Disconnect the batteries and return the camcorders and batteries to Andy. He’ll upload the video to a PC and re-charge the batteries for the next round of filming!
Dear flogophiles:
I’m trying to devise ways of measuring FA (see previous post) on our plants. Ideally, we would want measurements on several different organs or parts because if, for example, inbred plants are more developmentally unstable, it would be more convincing if they were more asymmetric in both leaves and inflorescences.
Colin is designing (and hopefully testing) the picture-taking rig for flowering heads. But, I think that it can also be used to take pics of leaves. The trick is getting the leaf to lie flat on the backing of the rig. I was thinking of buying a hand-held scanner to scan leaves in the field, but that takes 4-8 seconds per leaf, and it seems easier and quicker to just snap a picture. Also, I am not sure where measurement error would come from if you scanned the actual leaf.
My biggest concern is getting the inflorescence to lie flat on the rig backing. It is important to get the ray florets nice and flat against the backing or else you could be mis-measuring things pretty easily. I almost think it may be easier to actual measure the ray florets using calipers in the field — it would certainly be more accurate but would also take a bit longer, and you couldn’t really measure ALL the ray florets per head — it would take WAY too long.
If the rig doesn’t work, we could have three people go out with calipers, one after another, measuring the same heads and leaves per plant. You could only measure perhaps 4 ray florets per head, but this is probably OK. This could probably be done in one day! If we could get a pendragon form for this measurement, it would be great, too. So, then you would have the measurements, as well as error that could be assigned to individual observers.
One more thing: We can measure asymmetry in the actual inflorescence by measuring the length of the ray florets, but we could also measure asymmetry WITHIN each ray floret, by measuring the L-R sides. This is what has to be done for the leaves becuase they are naturally asymmetric about the stem of the plant anyway due to differences in leaf age.
OK, my thoughts for now. Things are very exciting here, I hope to get my batteries in the next 2 days so that we can get the cameras up and running by Sunday. Science is happening!
Andy McCall
Well, another picture-dump type entry tonight. Ian apparently like’s Jameson’s (now unused) mattress. He doesn’t have this beetle in his collection. I probably should’ve put it in my pocket for him. Speaking of beetles, I met a very friendly ladybug.
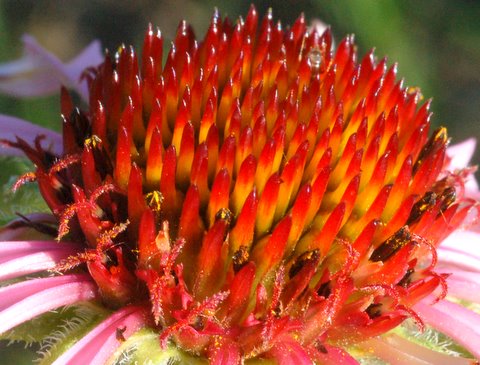
This morning we took phenology data on our Visors. For our non-biology inclined readers, phenology is the study of the timings of various organic systems (reproduction, migration, etc) in relation to the climate. Visors are the Palm-Pilots with which we take data. Open this picture in a new window. Note the single row of stamens (the yellow pollen-bearing male parts) and the three rows of styles (the stigma is on top; it’s the pollen-receptive bit). This is essentially the bulk of our observation for the phenology data.
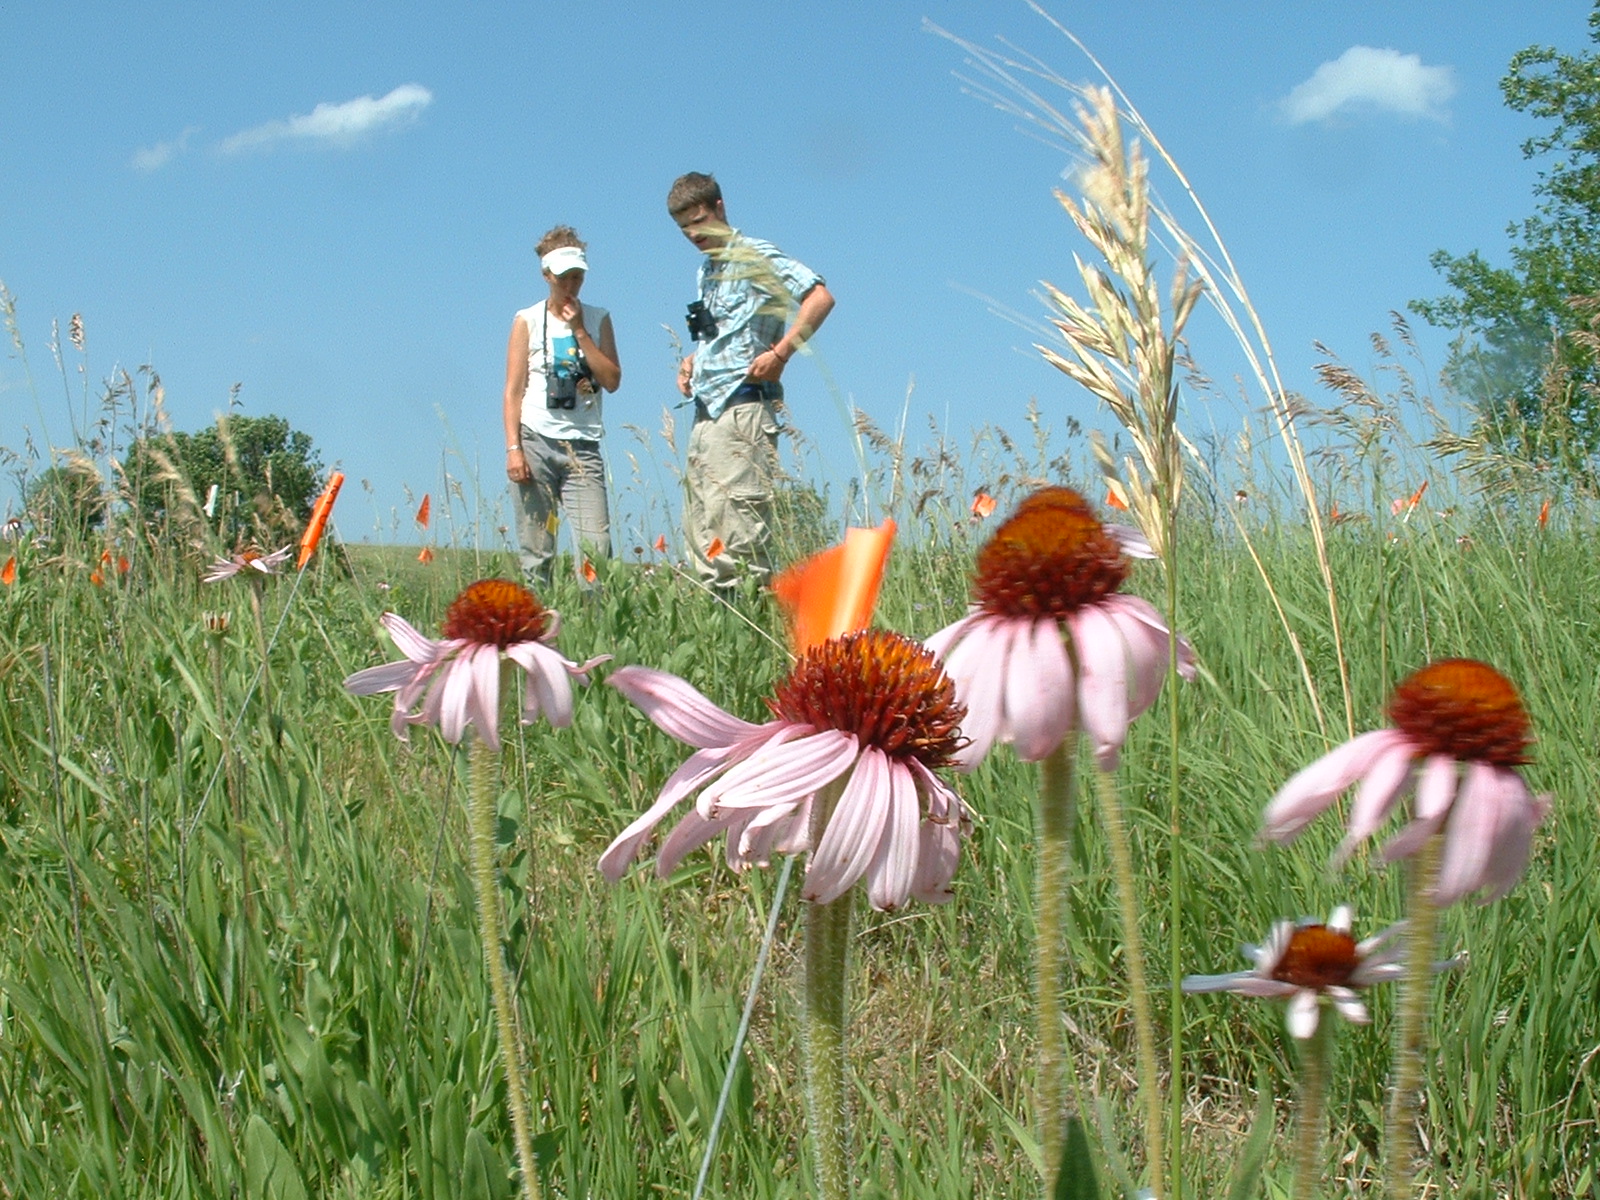
In the afternoon, we flagged and twist-tied every (possibly) flowering head in the entire common garden. We have allegedly 1000 or more flowering heads in the garden. Jameson observes a few of these flowering heads.
Finally, Jameson throws a sandal.
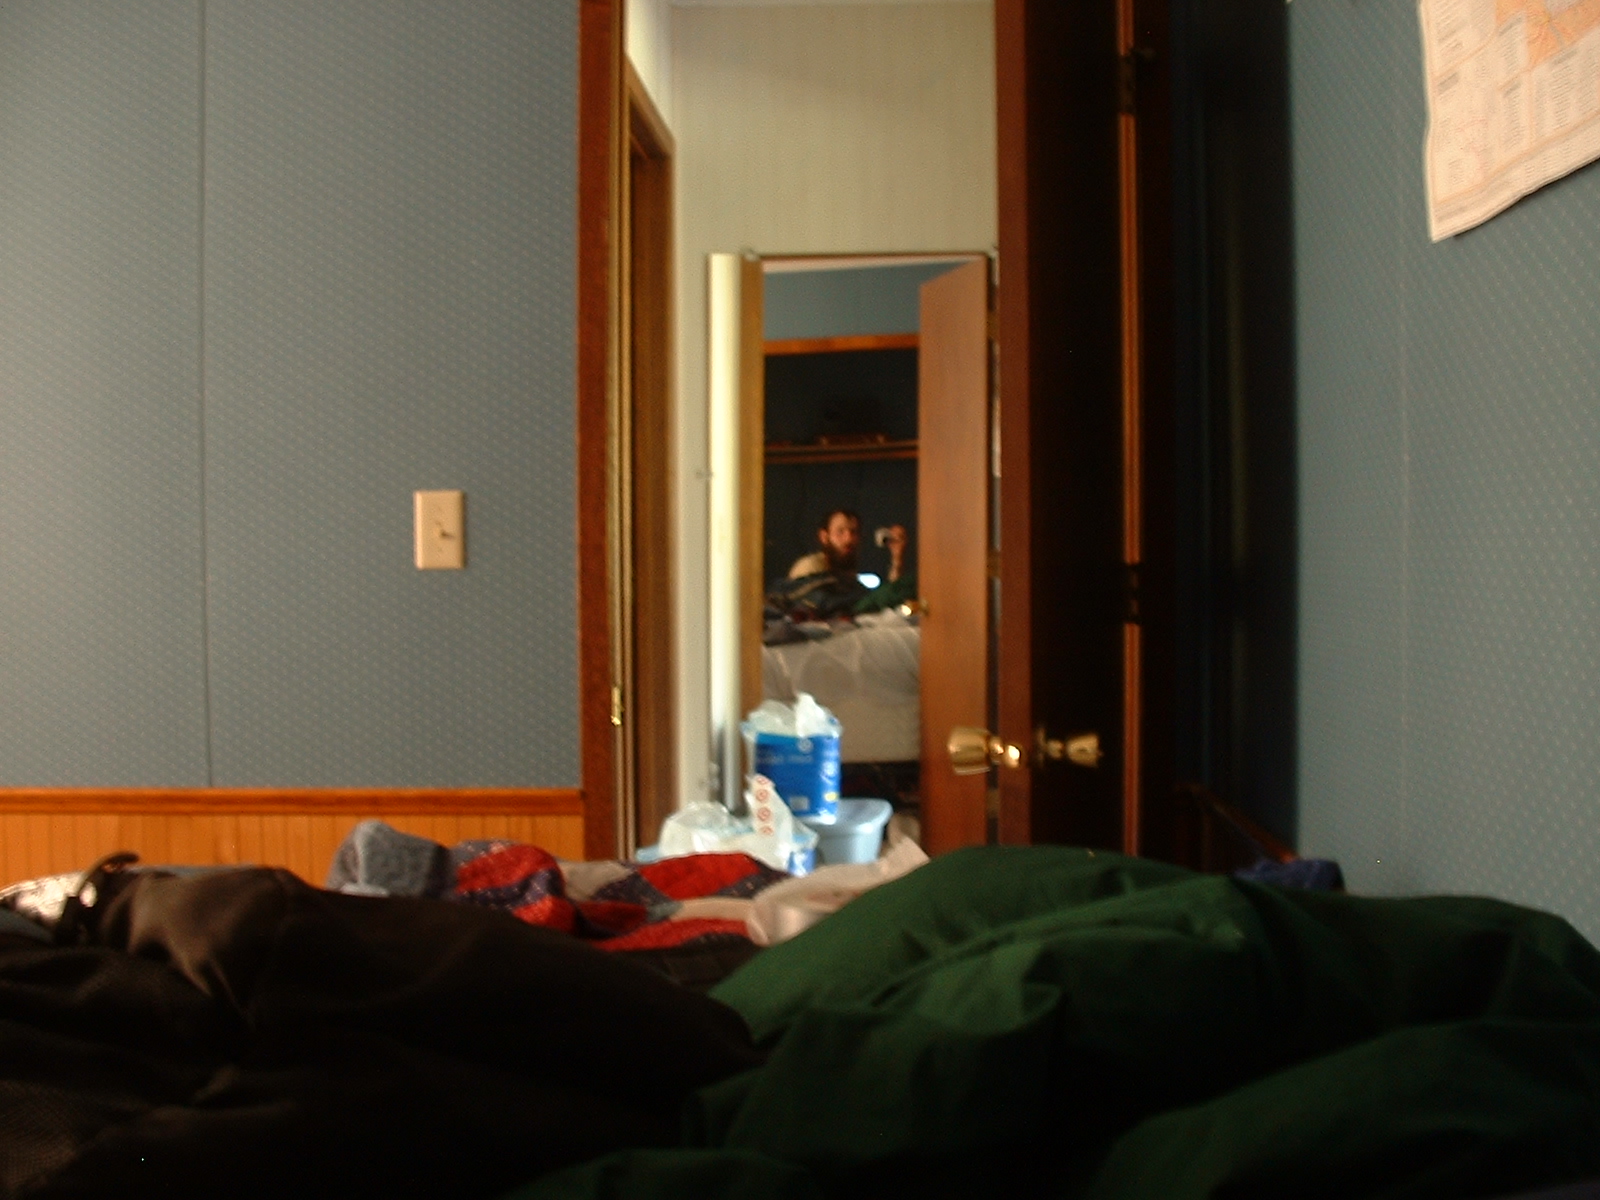
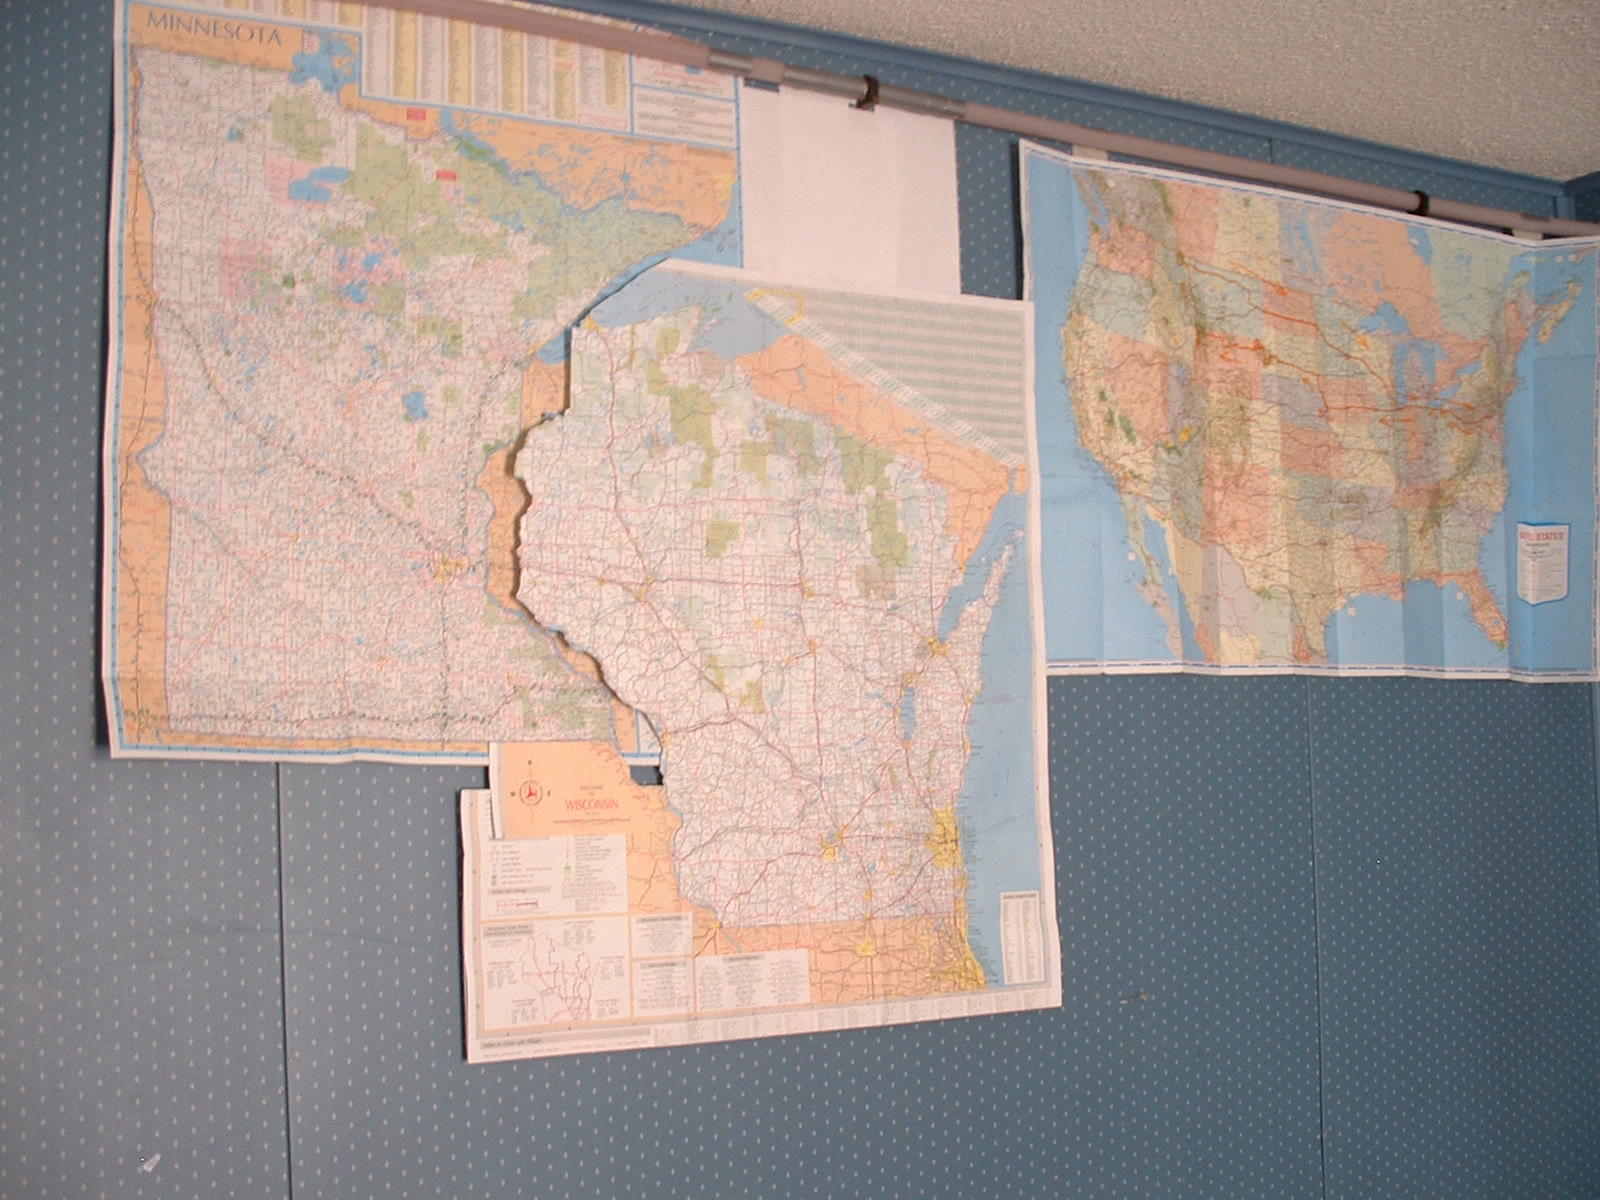
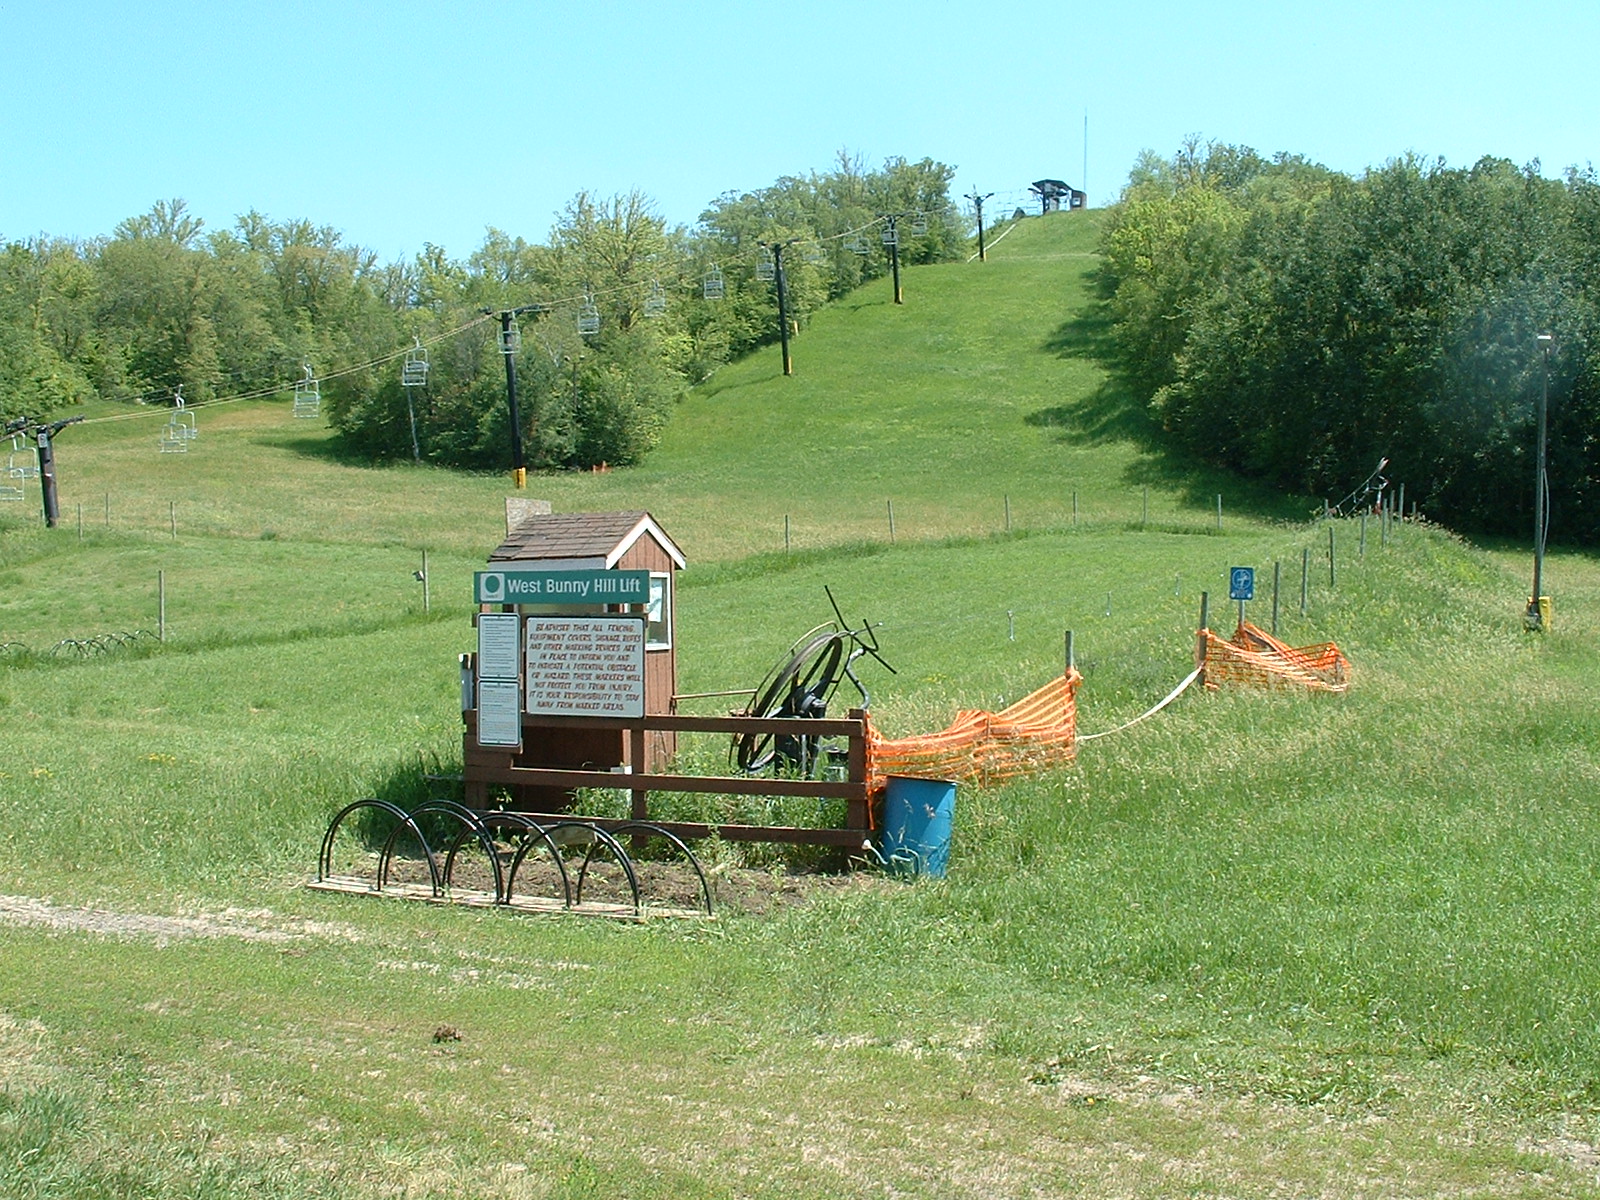
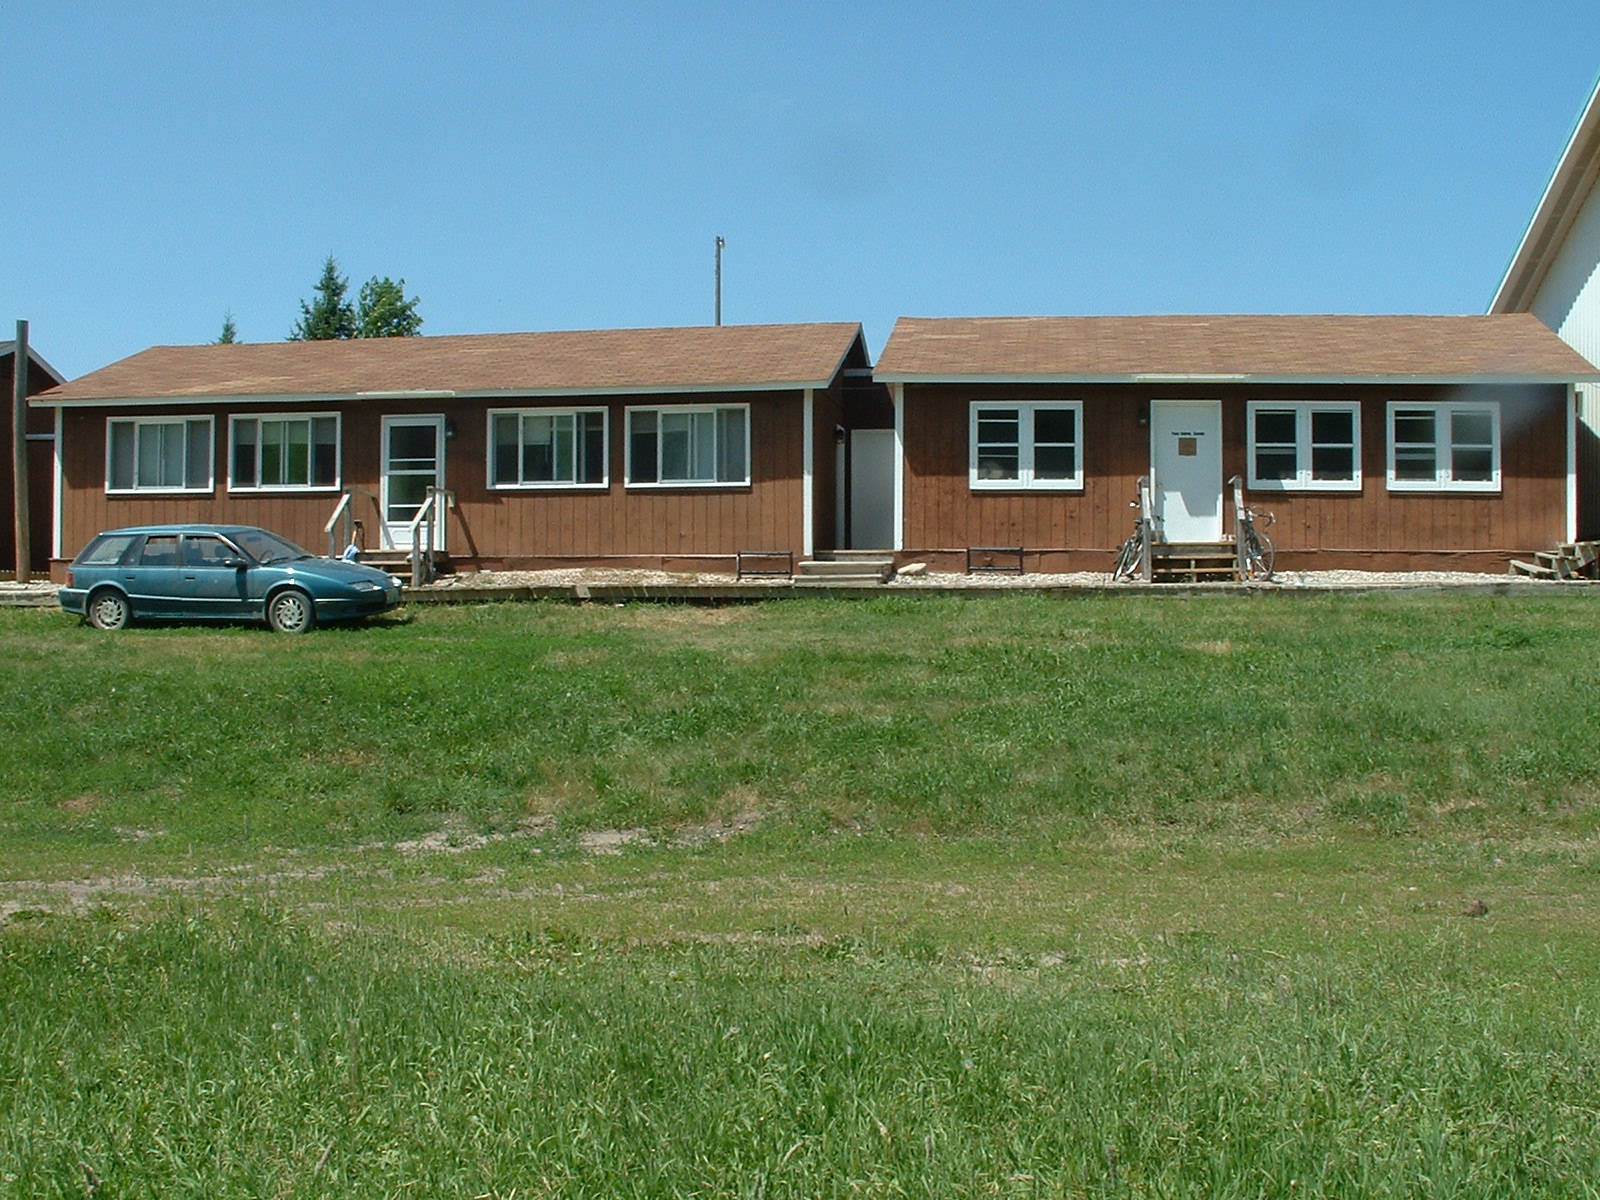
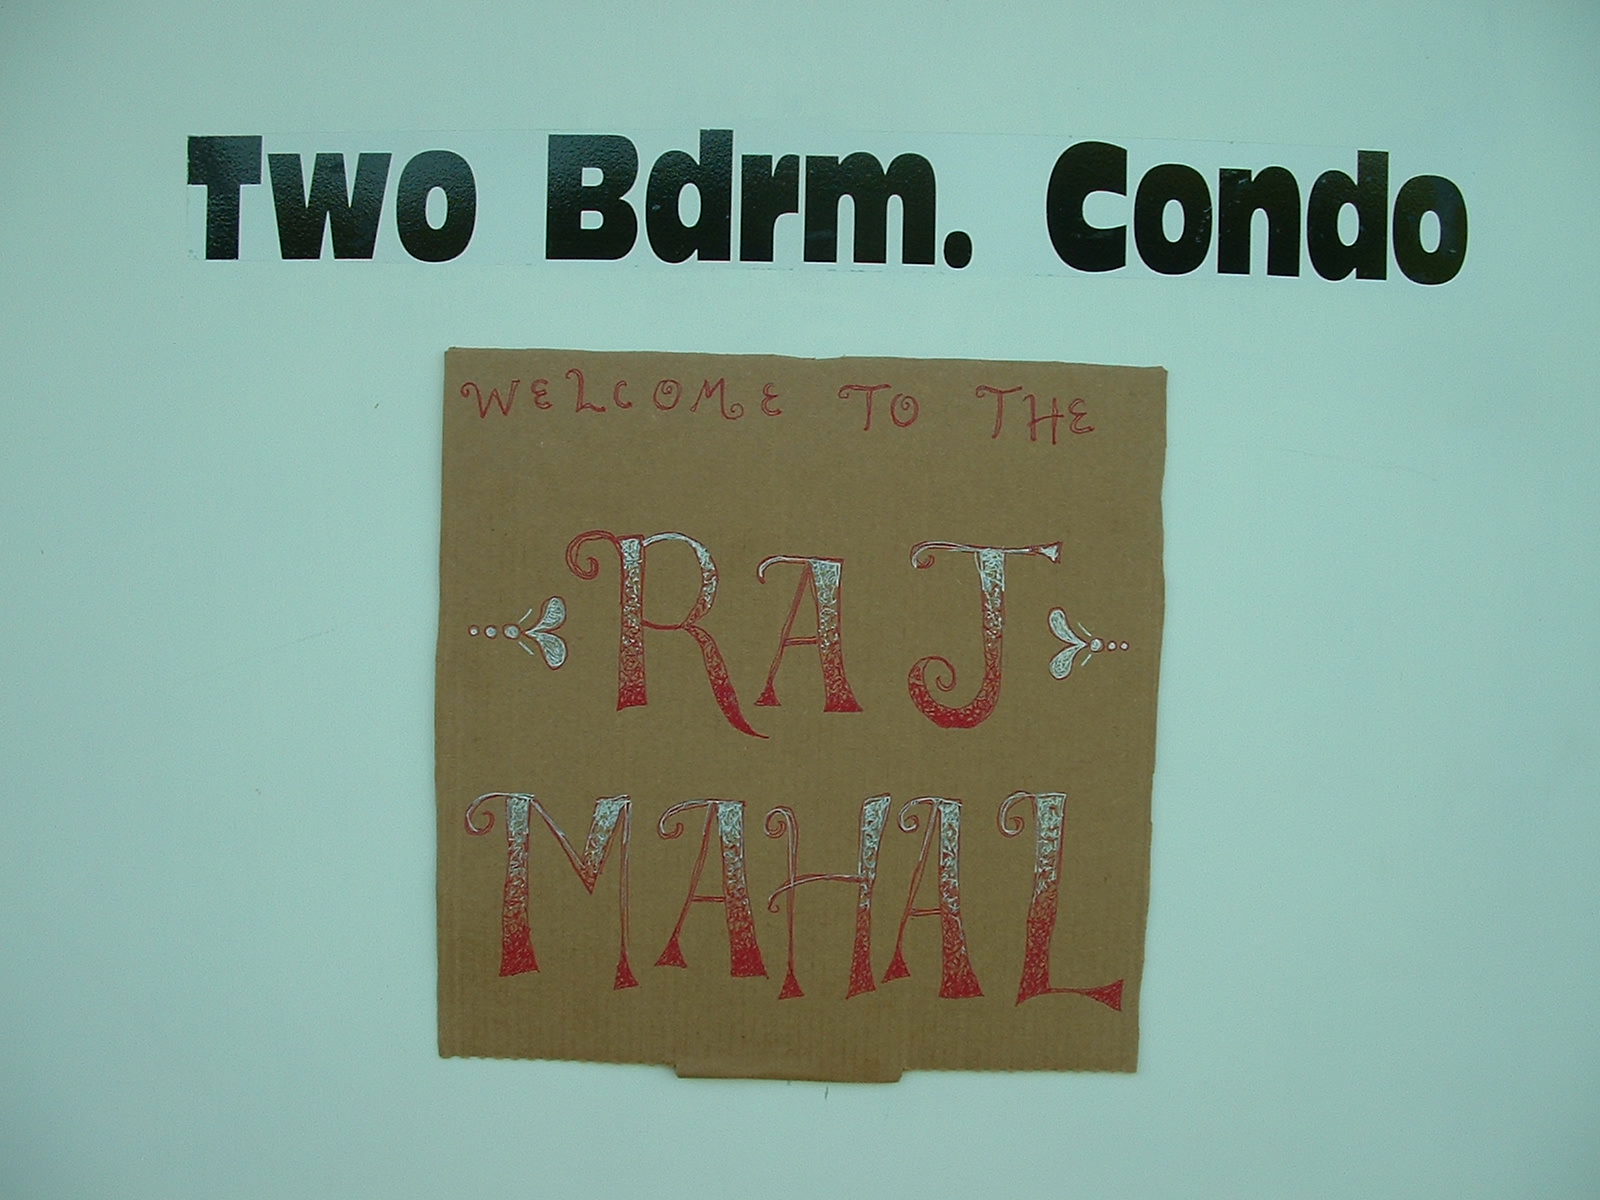
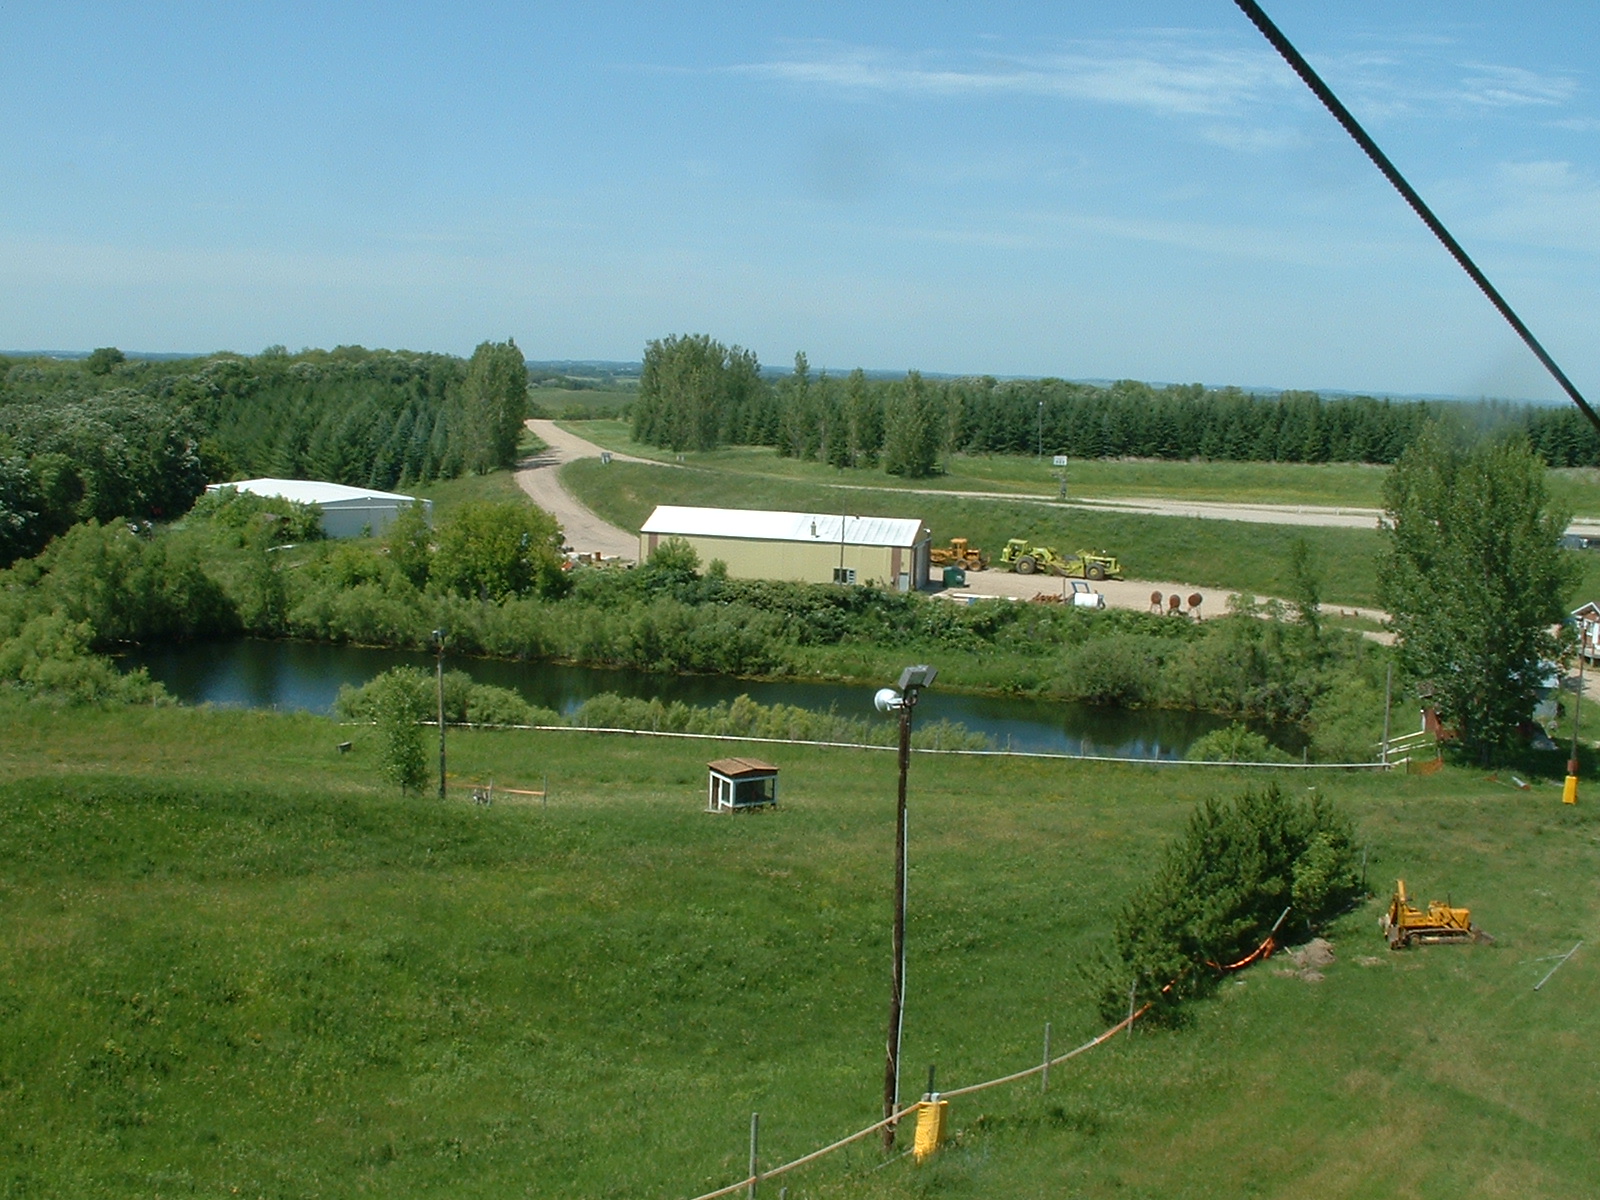
I’m a little behind in my blogging so I’ll write yesterday’s blog today. I’m sitting here in my closet office. I have maps of Wisconsin and Minnesota hanging on the wall. Yesterday I cut them out and pieced them together. It looks pretty cool even though the maps aren’t the same scale. I put up a map of PA, my home state, on the wall above my desk last night too, before I went to bed. I took some pictures around Andes yesterday to show everyone what it’s like here. The top of the tallest part of the hill is the highest point in Douglas county. From the top there is a beautiful view of North Lake Oscar, which is just to the south, and all around there are rolling hills dotted with small farms and small patches of trees. The native landscape of this region, prairie, is hard to find. At the foot of the hill on the north side is our summer residence. They call them Condos, one has two bedrooms and the other three. The men got the three bedroom condo, which Andy has graciously named the Mando. The women have started calling their condo Raj Mahal. Except for the Andes employees who are there when we are at work we have the whole place all to ourselves. We have a pond that we can swim in. We have places of ride bicycles, and catch insects, and read, and dig gardens. I put in most of the tomato stakes yesterday. I think it gives the garden a lot of character that it was previously lacking. Living with so many Bio people is interesting. We have had a bowl of soapy water outside for a week to catch insects. This makes the fact that I’m using a plate to catch the water under one of my peace lilies seem normal. I brought a betta fish and a newt with me from school. Ian catches insects everyday and puts them in kill jars so he can pin them later. There are video cameras everywhere, that are solely for taking video of flowers to monitor pollinator activity, and then there is the garden, and several other house plants (including a small potted grapefruit tree).
Today I got my first verified case of chiggers. They are apparently burrowed in my skin, producing itchy raised red bumps.
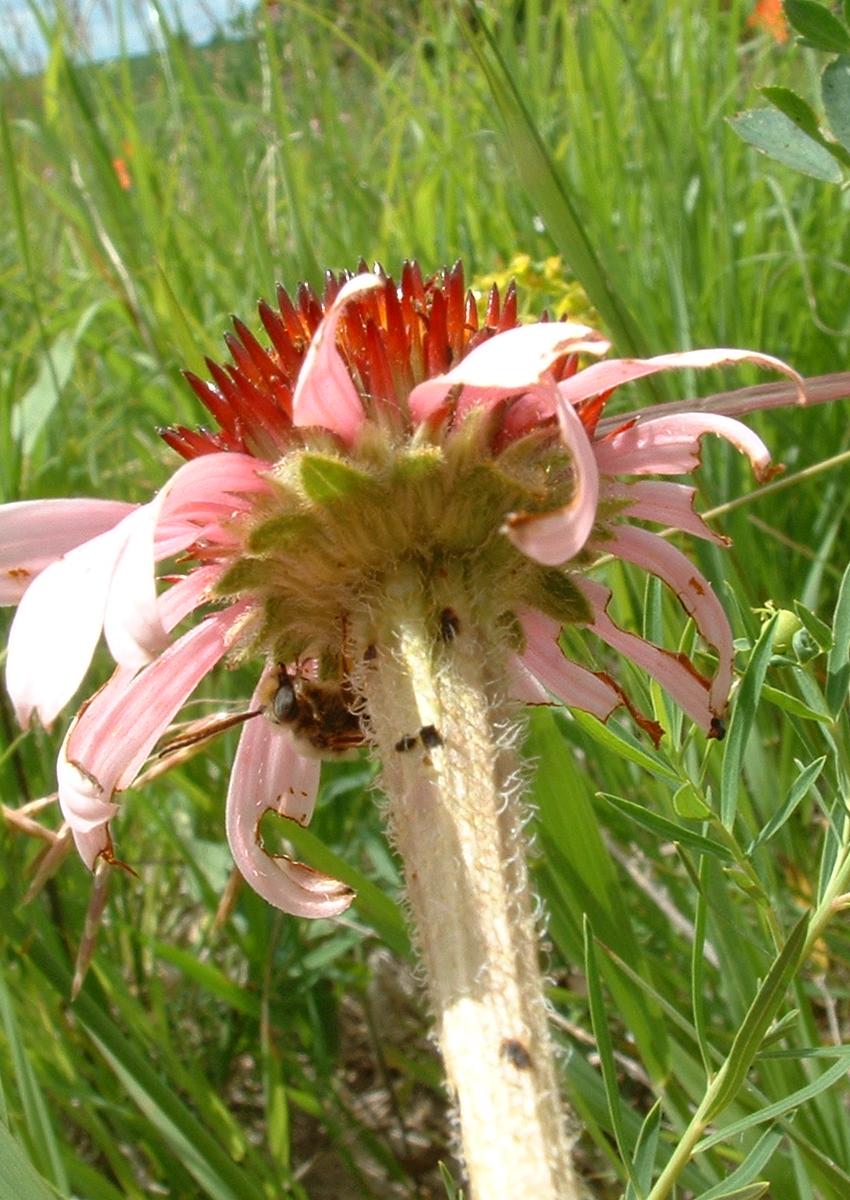
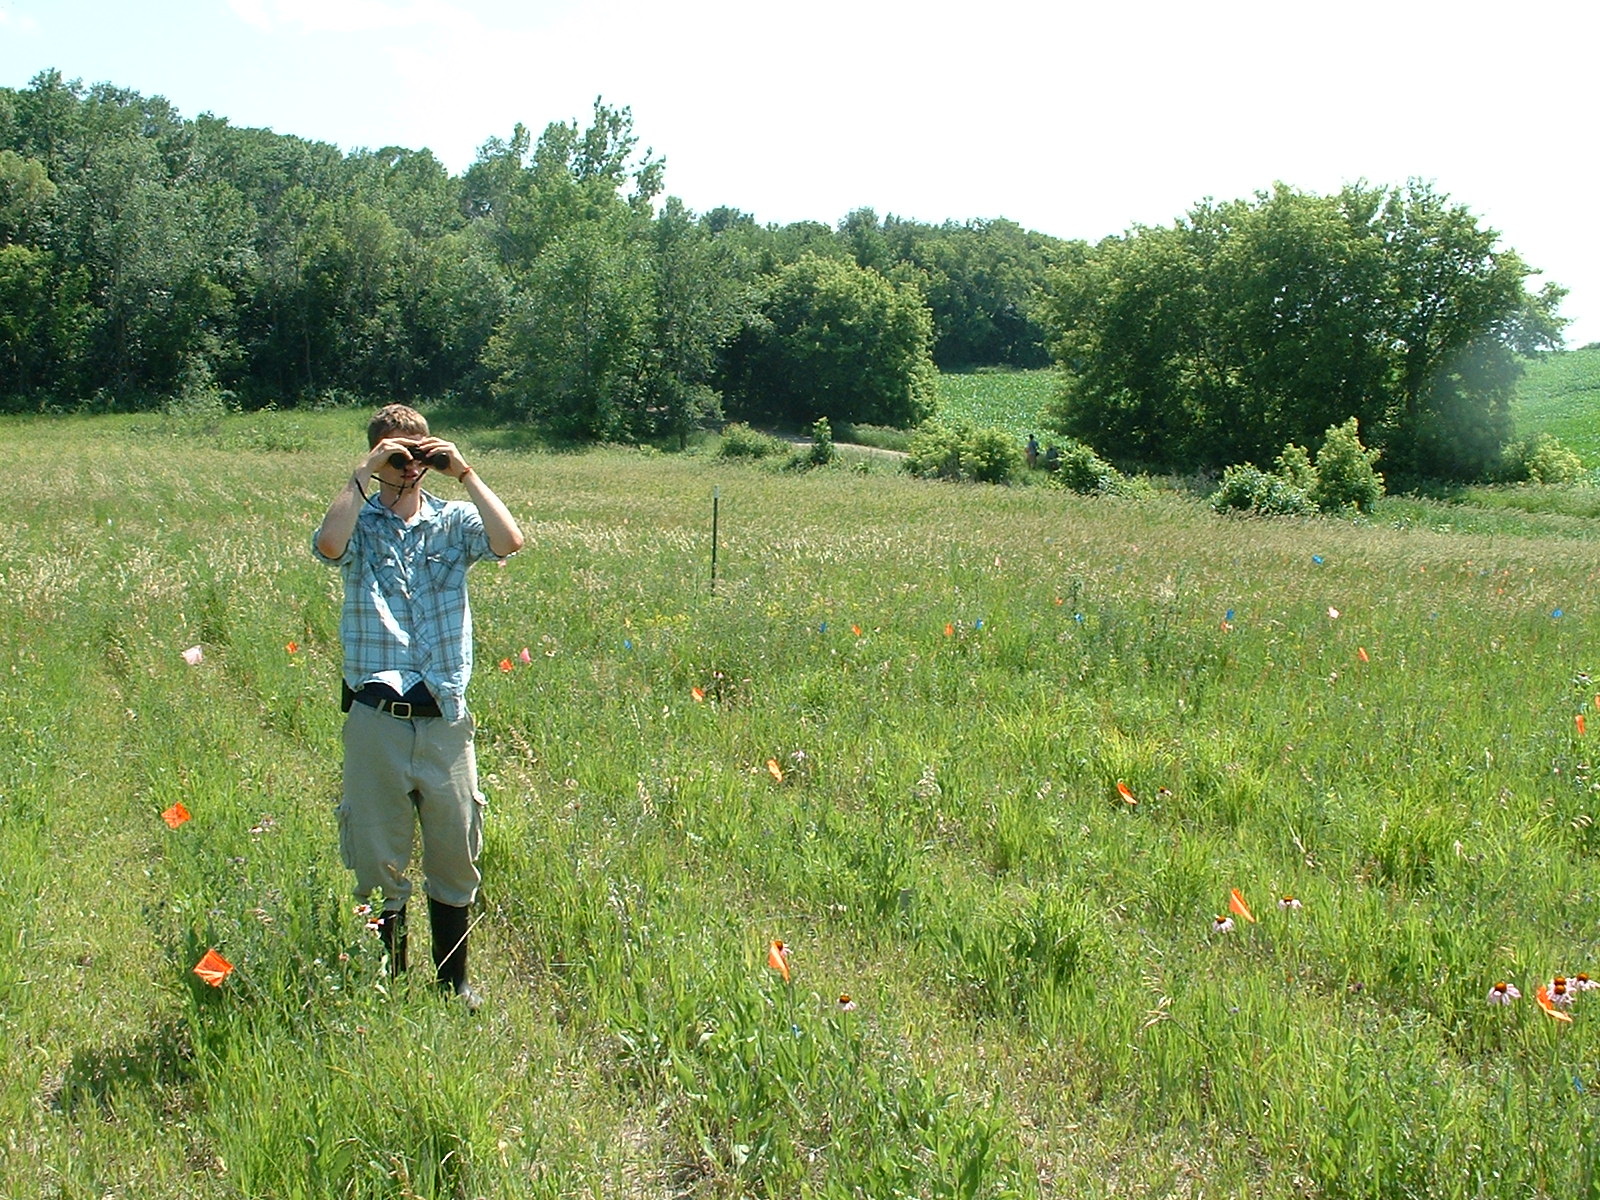
Stuart came back today or last night with his family and two mattress-box spring sets from Chicago. So I upgraded my mattress from the one I had, which had to be the worst quality mattress that i have ever slept on. We started our group/individualer projects today. I’m supposed to be tracking insects that visit Echinacea with binoculars.
This afternoon for work, a kite was flown. Now, this was not just any kite. This kite had a name that involved “16”, as that presumably is roughly the square footage of this beast. Being a gusty afternoon (Rachel clocked the wind speeds at anywhere from 7 to 27 mph). Having trouble getting the kite up by just letting the gusts grab it, I went to the house to grab a few more pairs of gloves (didn’t want rope burn). As I returned, Rachel and Julie figured out the trick to get the kite up: run with it.
In fact, two people run with it. One holds the kite, the other the spool. They both run into the wind. At the right time (during a gust, most likely) the kite-holder lets go and the spool-holder keeps going. This will launch the kite high into the air. It’s interesting to note that the kite pulls back. Hard. We didn’t hook up the camera apparatus, though; our kite-flying skills are not yet honed (we’re not well-oiled enough, probably) and we didn’t want to break an expensive camera. The kite came down hard, incidentally.
Taking the kite down is a three-person job, ideally. One person spools the string (vertically! horizontally it twists, shortening the life of said string) while another pulls the kite down by the string. The third person is between them, feeding the slack to the spooler and preventing the kite from slipping back up while the puller is, ah, pulling. We had gardening gloves on to prevent rope burn. Effective in preventing rope-burn, ineffective in actually holding onto the damn string. We could really use gloves with rubber grips.
The final step is the actual photography part. Once we’re good at flying the kite (Stuart says some call it “poor-man’s sailing), we’ll send up the victim camera to take our aerial photos. We tested the camera at various distances from the side of the storage building (looking for an echinacea-sized X of tape). At 40m (lower than our flying height, I fear), the tape was indistinguishable from the building. It may have been the settings, it may have been the shaded lighting, and it may have been the camera’s tiny screen. We can’t say until they’re on a computer (not easy, as the card reader seems to have failed). While I’m not worried that the camera’s 7.1MP resolution will be too small to discern detail, my concern is that the optics on the camera are simply not good enough to resolve something the size of flower-heads. The camera is a semi-compact camera; ideally, we’d have a good dSLR (Canon Digital Rebel XT[i] or Nikon d40[x]) with a high-quality and fast lens. This is expensive, though, and quite a bit heavier.
Anyway, since the images need to be meshed into a giant map-type image (we’re like Google Earth, only without the satellites), there needs to be a way to have consistent landmarks in the fields we plan on photographing. This is where the painted wooden sticks come in. We’d (preferably) put flat, white-painted pieces of wood on stakes and place them in the field as markers to line up the images later. The final plans for this have yet to be made.
For now, though, we need to consistently get the kite into the air and onto the ground safely before taking pictures. We’ll see how this goes.
Trying to make sense of the batteries!
For the camcorders, the batteries themselves carry a charge of 7.2V and 4.9 Wh. But, the AC adapter’s output is 8.4V and 1.7A. Which to use? Perhaps the adapter is higher because there is some resistance in the cord going to the camcorder, but maybe I am just making that up.
Here is a link to a promising product, a 8.4V NiMh battery with a charger included! 40 bucks, though, so it would be $400 for all 10 cameras. Well, this may be worth it…would love your thoughts on this, SW.
There is a nice primer on choosing batteries here.
For our purposes, we can calculate battery capacity using the formula:
Ah = Watts x Time (h) you want to run the camera / voltage needed for the camera
So,
Ah = 3W x 8h / 7.2 V = roughly 3.3 Ah or 3300 mAh
Here’s a nice closeup of styles waving in the breeze and some shameless anthers shedding pollen:

Major initiatives for this week:
Flowering phenology in the CG: get the visors ready for data collection on Tuesday & Thursday AM.
Herbivory of rays in CG: get the visors ready for data collection. This data we could collect in the afternoon. We’ll probably get better quality data if we do it separately from the phenology data collection.
Style persistence in CG: This data is best collected in the morning. Probably better to collect separately from phenology, but they could go together.
FA: Make bracket for camera and design sampling scheme to take digital images of heads (esp. rays) to quantify symmetry.
Pollinator observations in CG
1. Use video cameras to quantify visitation. The power source is an issue. Batteries would be much easier to use than electric cords. 12V DC sources are cheap & readily available. Andy, what is the voltage output from the transformers on the AC plugins?
2. Use binoculars to estimate flight distances.
Set up computer infrastructure: set up computer network (printer, visor sync station), set up hard drives (is 2.5 GB enough?), get software for raw digital images (UFRaw or irfanview), determine how to back up video footage efficiently.
Aerial photos. This can be an afternoon activity. We need to figure out camera settings, ground markers, and practice.
Style persistence in SPP. Collect data every 3rd day.
Move mowed duff in CG.
Discuss projects & teams with everyone.
These could wait:
Finish data collection in last 3 recruitment experiment plots.
Trimble.
Collect CG tissue.
|
|
